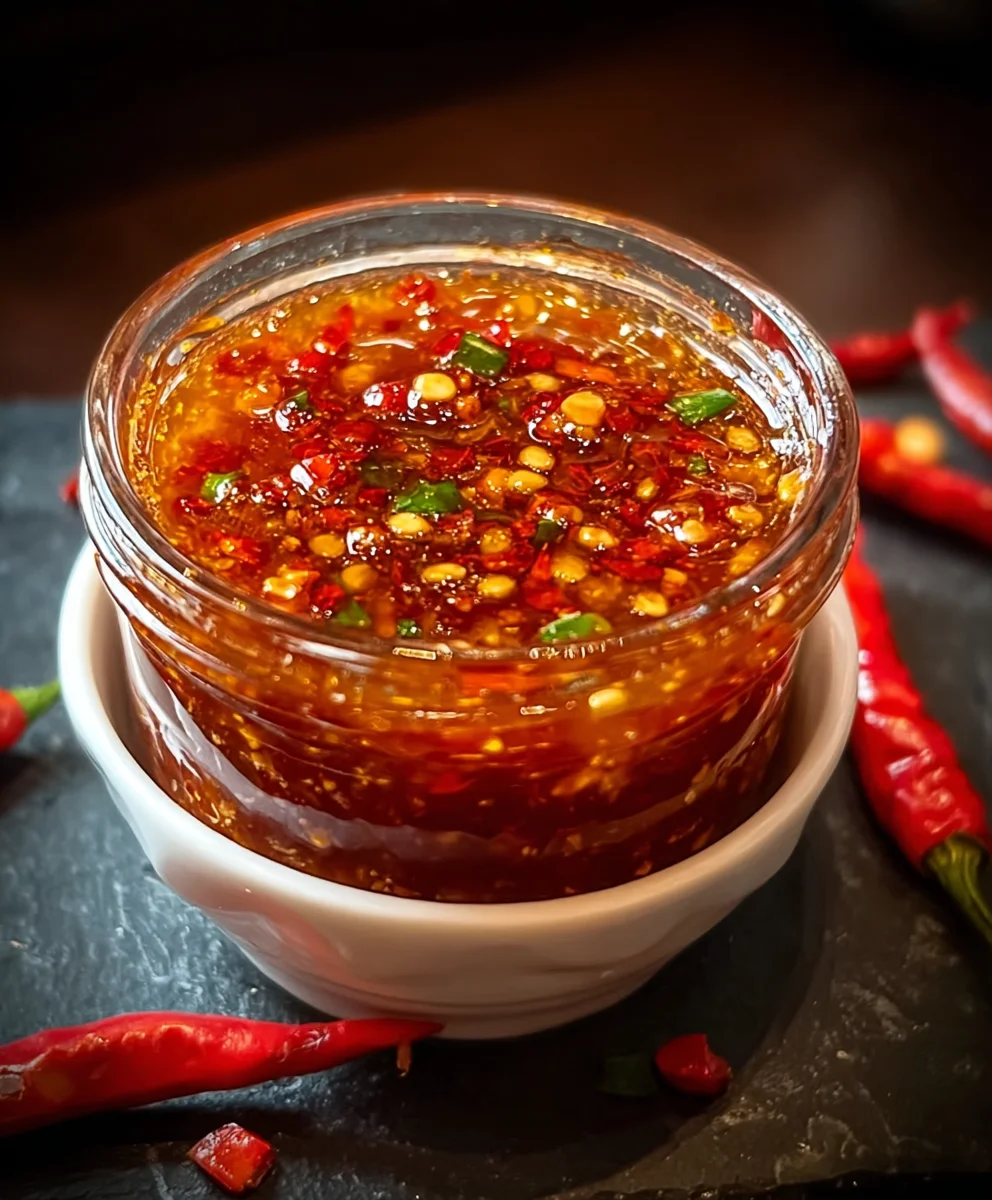
Homemade Chili Garlic Sauce is a flavor explosion waiting to happen, a vibrant condiment that can elevate everything from simple stir-fries to decadent dipping sauces. There’s a reason why this saucy sensation has captured hearts (and taste buds) around the globe; its addictive balance of heat, savory depth, and pungent garlic is simply irresistible. Forget the store-bought stuff, because when you make your own Homemade Chili Garlic Sauce, you unlock a world of customizable spice levels and aromatic freshness that’s truly unparalleled. The magic lies in the fresh ingredients coming together – the fiery kick of chilies, the sharp bite of garlic, and the subtle tang that harmonizes into a truly addictive concoction. Get ready to impress yourself and everyone you share it with as we dive into creating this kitchen essential.

Ingredients:
- 5-6 fresh red chilies
- 4 cloves garlic, minced
- 1 tablespoon vinegar (white or rice)
- 1 tablespoon olive oil or vegetable oil
- 1/2 teaspoon salt
- 1/2 teaspoon sugar (optional)
Preparing Your Aromatics and Chili Base
The foundation of any great homemade chili garlic sauce lies in the quality and preparation of its core ingredients. For this recipe, we’re starting with 5-6 fresh red chilies. The exact heat level and flavor profile will depend on the specific variety of red chilies you choose. If you prefer a milder sauce, opt for chilies like Fresno or Anaheim. For a spicier kick, consider Thai chilies or even a few habaneros if you’re adventurous. Whichever you select, ensure they are vibrant red and firm to the touch. Wash them thoroughly under cool running water. Next, we move to the garlic. We’ll be using 4 cloves of garlic. The key here is to mince them finely. You can use a knife or a garlic press. Finely minced garlic will distribute its pungent flavor more evenly throughout the sauce and also ensures it cooks through nicely without burning. If you’re making a large batch, you might consider using a food processor to mince the garlic, but for this recipe size, manual mincing is perfectly fine and gives you more control.
The Cooking Process: Infusing Flavors
Step 1: Sautéing the Garlic and Chilies
Begin extract by heating your chosen oil – either 1 tablespoon of olive oil or vegetable oil – in a small saucepan or skillet over medium-low heat. It’s important to use a lower heat setting at this stage to prevent the garlic from burning, which can impart a bitter taste to your sauce. Once the oil is shimmering gently, add your minced garlic. Stir it constantly with a wooden spoon or spatula for about 30 seconds until it becomes fragrant. Be watchful; garlic can go from perfectly sautéed to burnt in a matter of seconds. Immediately after the garlic starts to release its aroma, add your finely chopped fresh red chilies. You’ll want to remove the stems from the chilies before chopping. For a less intense heat, you can also remove the seeds and membranes, but for a robust chili garlic sauce, keeping some of them is recommended. Stir the chilies into the fragrant garlic and oil, and continue to sauté for another 1 to 2 minutes. The goal here is to soften the chilies slightly and allow their flavors to meld with the garlic and oil. You should notice a pleasant, spicy aroma filling your kitchen.
Step 2: Building the Sauce Base
After the chilies and garlic have sautéed for a couple of minutes, it’s time to add the liquid element and seasoning. Pour in 1 tablespoon of vinegar. You can use white vinegar for a sharper tang or rice vinegar for a slightly milder, more nuanced flavor. The vinegar not only adds acidity but also helps to preserve the sauce and balance the richness of the oil. As soon as you add the vinegar, you’ll hear a gentle sizzle. Stir everything together, scraping up any flavorful bits that might be stuck to the bottom of the pan. Now, add 1/2 teaspoon of salt. Salt is crucial for enhancing all the other flavors in the sauce. If you are opting to use it, this is also the time to add 1/2 teaspoon of sugar. The sugar acts as a flavor enhancer, balancing the heat of the chilies and the acidity of the vinegar, without making the sauce overtly sweet. Stir well to ensure the salt and sugar are fully dissolved.
Step 3: Simmering and Developing Depth
Reduce the heat to low. We want to gently simmer the mixture to allow the flavors to meld and deepen. Cover the saucepan loosely, leaving a small gap for steam to escape. Let it simmer for approximately 5 to 7 minutes. During this time, the chilies will soften further, and their oils will infuse into the vinegar and oil mixture. The sauce will start to thicken slightly. Stir occasionally to prevent anything from sticking. This simmering phase is where the magic happens, transforming the individual ingredients into a cohesive and flavorful condiment. You’ll notice the vibrant red color of the chilies becoming more pronounced as they release their pigment. If the mixture seems to be drying out too much, you can add a tiny splash of water (about a teaspoon), but be cautious not to make it too watery. The aim is a thick, yet pourable sauce.
Step 4: Achieving the Desired Consistency
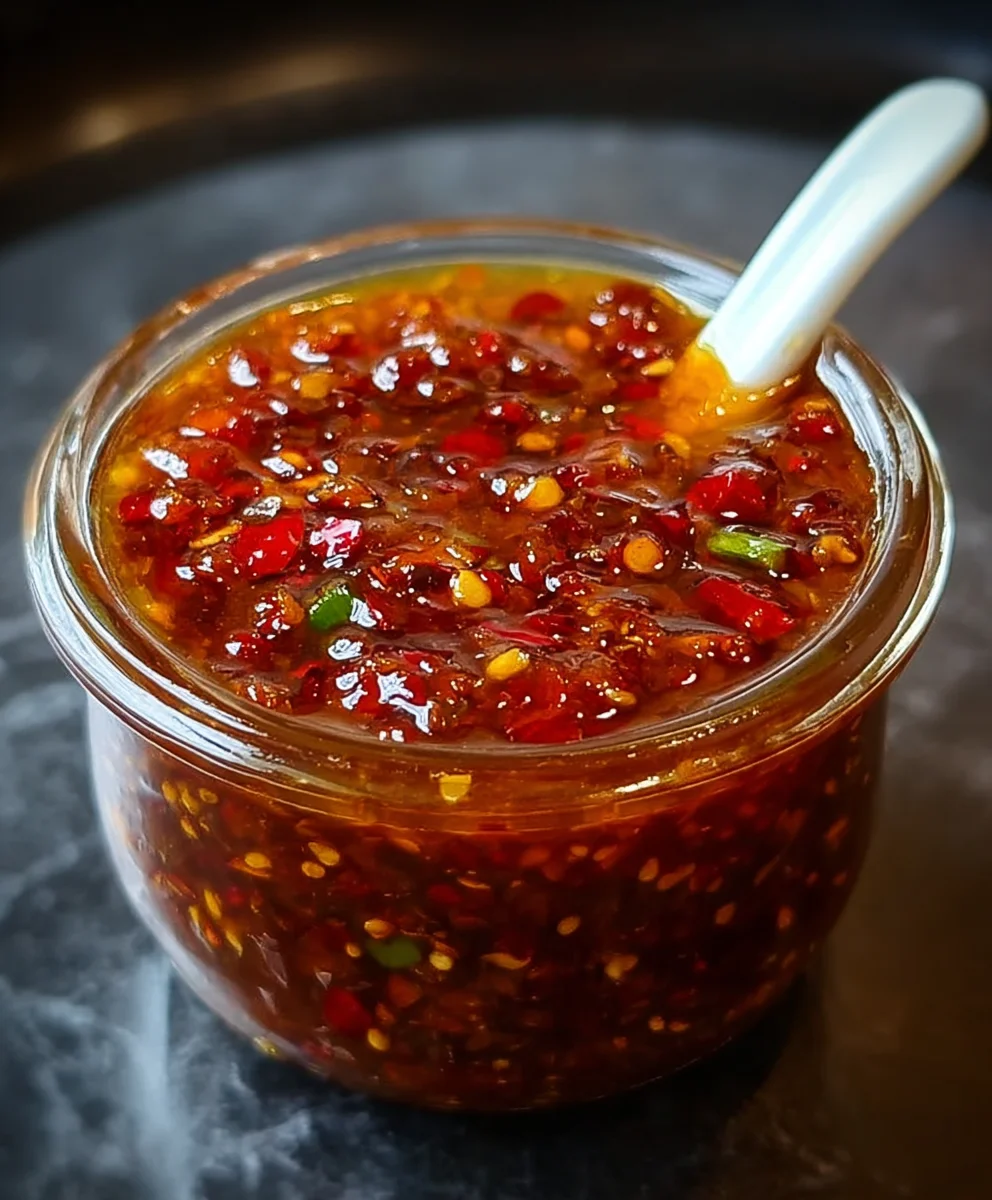
Once the chilies are tender and the sauce has simmered for the recommended time, you’ll want to achieve your preferred consistency. For a smoother sauce, you can carefully transfer the mixture to a blender or use an immersion blender directly in the saucepan. Be extremely cautious when blending hot liquids; start on a low speed and gradually increase. You can blend it until it’s completely smooth, or leave it slightly chunky, depending on your preference. If you prefer a more rustic texture and don’t have a blender, you can use a fork or a potato masher to gently mash the chilies in the pan, creating a coarser texture. Alternatively, for a very quick and simple sauce with minimal cleanup, you can skip the blending altogether and serve it as is, with finely chopped chilies and garlic visible.
Step 5: Cooling and Storing Your Homemade Chili Garlic Sauce
After achieving your desired consistency, remove the saucepan from the heat. Allow the homemade chili garlic sauce to cool down completely at room temperature. This is a crucial step, as transferring hot liquids into airtight containers can create pressure and potentially lead to explosions or spoilage. Once cooled, carefully spoon the sauce into a clean, dry, airtight glass jar or container. The oil component acts as a natural preservative, and the vinegar also contributes to its shelf life. Store your homemade chili garlic sauce in the refrigerator. It should keep well for up to 2 to 3 weeks, though the fresh ingredients may cause the flavor to evolve slightly over time. Before each use, give the jar a good shake, as the ingredients may separate. This vibrant and flavorful sauce is incredibly versatile and can be used as a dipping sauce, a marinade, a flavor boost for stir-fries, noodles, or almost any dish that benefits from a kick of heat and garlic.
Conclusion:
And there you have it – your very own batch of delicious Homemade Chili Garlic Sauce! We hope you enjoyed making this incredibly versatile condiment. Its vibrant flavor profile, with the perfect balance of spicy chili and pungent garlic, is sure to elevate any dish. Remember, the beauty of homemade is that you can tailor it to your exact preferences. Don’t be afraid to experiment and make this recipe your own! Whether you’re drizzling it over noodles, dipping spring rolls, or adding a kick to your stir-fries, this sauce will become a staple in your kitchen.
Now, let’s address a few questions you might have:
Frequently Asked Questions about Homemade Chili Garlic Sauce:
Q1: How long can I store my Homemade Chili Garlic Sauce?
You can store your Homemade Chili Garlic Sauce in an airtight container in the refrigerator for up to 2-3 weeks. The garlic and chili oils help to preserve it, but it’s always best to use it within a reasonable timeframe for optimal freshness and flavor.
Q2: Can I adjust the spice level of this sauce?
Absolutely! The spice level is entirely customizable. For a milder sauce, use fewer chili peppers or opt for varieties with less heat, like red bell peppers with a few dried chilies for color. To make it spicier, increase the amount of chili peppers or use hotter varieties like bird’s eye chilies. You can also remove the seeds and membranes from the chilies to reduce the heat.
Q3: Are there any other ways to serve Homemade Chili Garlic Sauce?
The possibilities are endless! Beyond dipping and drizzling, try incorporating it into marinades for grilled meats or tofu, whisking it into salad dressings for a zesty kick, or even adding a spoonful to your favorite soups and stews for an extra layer of depth and warmth. Enjoy your culinary adventures with your Homemade Chili Garlic Sauce!
Easy Homemade Chili Garlic Sauce Recipe
A quick and easy recipe for homemade chili garlic sauce, perfect for adding a kick of flavor to any dish. This versatile condiment is simple to make with fresh ingredients and can be customized to your spice preference.
Ingredients
-
5-6 fresh red chilies
-
4 cloves garlic, minced
-
1 tablespoon white or rice vinegar
-
1 tablespoon olive oil or vegetable oil
-
1/2 teaspoon salt
-
1/2 teaspoon sugar (optional)
Instructions
-
Step 1
Prepare the aromatics: Wash 5-6 fresh red chilies and mince 4 cloves of garlic finely. If desired for less heat, remove seeds and membranes from chilies. -
Step 2
Sauté aromatics: Heat 1 tablespoon of olive oil or vegetable oil in a saucepan over medium-low heat. Add minced garlic and sauté for about 30 seconds until fragrant, being careful not to burn it. Add the chopped chilies and sauté for another 1-2 minutes until slightly softened. -
Step 3
Build the sauce base: Stir in 1 tablespoon of white or rice vinegar. Add 1/2 teaspoon of salt and 1/2 teaspoon of sugar (if using). Stir well to combine and dissolve. -
Step 4
Simmer and develop flavor: Reduce heat to low, cover loosely, and simmer for 5-7 minutes, stirring occasionally, until chilies are tender and the sauce has thickened slightly. -
Step 5
Achieve desired consistency: For a smoother sauce, carefully blend with an immersion blender or in a regular blender (use caution with hot liquids). For a chunkier texture, mash chilies with a fork. Alternatively, serve as is. -
Step 6
Cool and store: Remove from heat and let the sauce cool completely at room temperature. Transfer to a clean, airtight glass jar and store in the refrigerator for up to 2-3 weeks. Shake well before each use.
Important Information
Nutrition Facts (Per Serving)
It is important to consider this information as approximate and not to use it as definitive health advice.
Allergy Information
Please check ingredients for potential allergens and consult a health professional if in doubt.

Leave a Comment