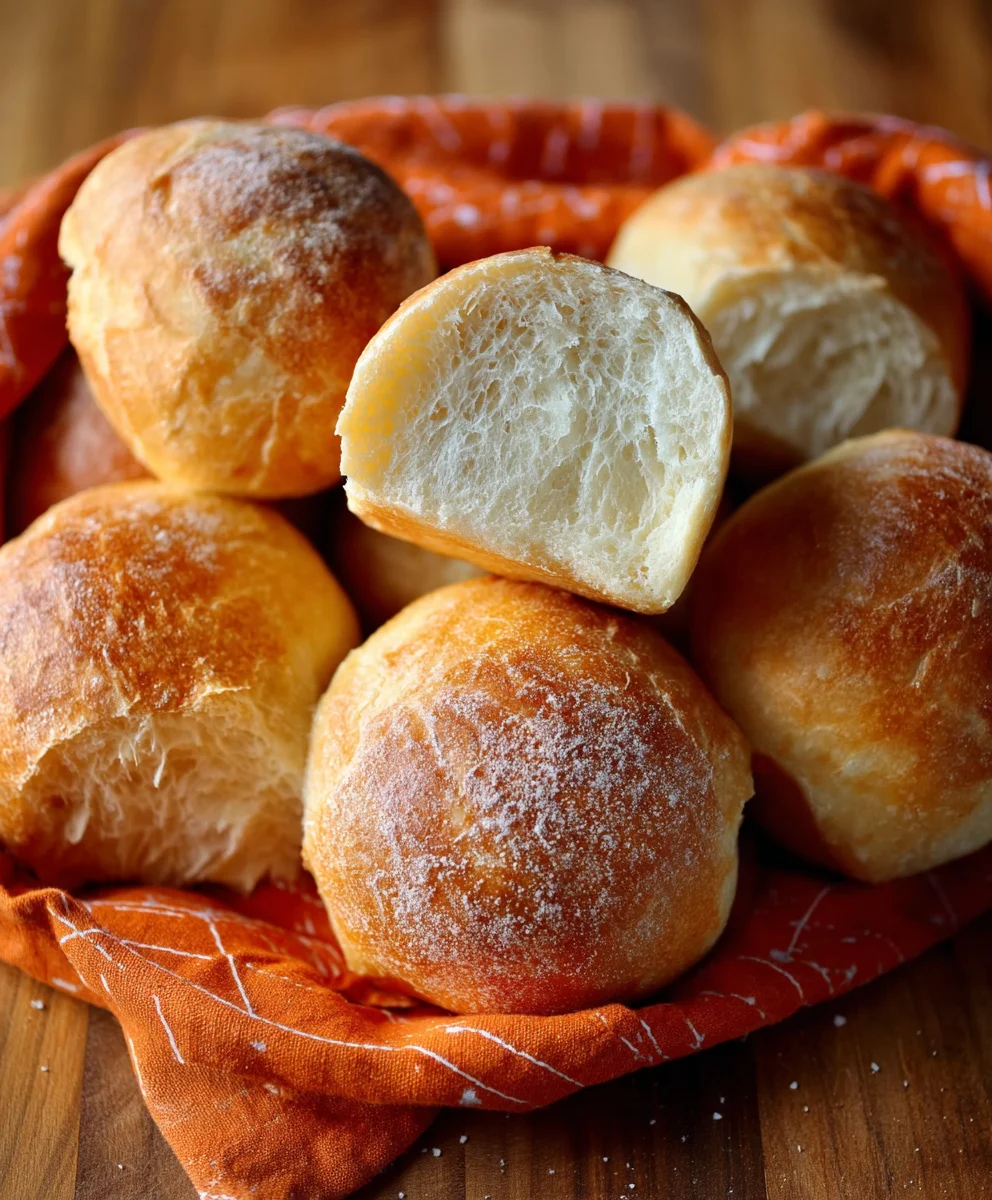
French Bread Dinner Rolls are more than just a side dish; they’re a warm hug on a plate, a cornerstone of any memorable meal. There’s something inherently comforting and celebratory about these soft, golden rolls, fresh from the oven. We love them because they possess that perfect balance of a slightly crisp crust yielding to a wonderfully tender, airy interior, making them utterly irresistible. Whether you’re serving them alongside a hearty stew, a festive holiday roast, or simply dipping them into a flavorful soup, these French Bread Dinner Rolls elevate the entire dining experience. What truly sets them apart is their incredible versatility and the way their subtle, yeasty aroma can transform an ordinary dinner into something truly special. Get ready to impress yourself and your loved ones with these delightful creations!

Ingredients:
- 1 cup Warm Water (ensure it’s under 110 degrees Fahrenheit to avoid killing the yeast)
- 1 teaspoon Active Dry Yeast
- 1/2 teaspoon Honey
- 2 1/4 cups All-Purpose Flour (plus extra for dusting)
- 1 teaspoon Salt
Preparing the Dough
Step 1: Activate the Yeast
In a large mixing bowl, combine the warm water, active dry yeast, and honey. Give it a gentle stir to dissolve the honey and disperse the yeast. Let this mixture sit for about 5 to 10 minutes. You’ll know the yeast is active and ready when it becomes foamy and bubbly on the surface. This tells us the yeast is alive and working, which is crucial for our French Bread Dinner Rolls to rise. If you don’t see any foam after 10 minutes, your yeast may be old or the water was too hot, and you’ll need to start again with fresh yeast and water.
Step 2: Combine Wet and Dry Ingredients
Once the yeast mixture is foamy, add the salt to the bowl. Gradually add the all-purpose flour, about half a cup at a time, while mixing. You can use a wooden spoon or a sturdy spatula at this stage. Continue adding flour and mixing until a shaggy dough starts to form. It will look a bit messy and not entirely cohesive yet, which is perfectly normal. The goal here is to incorporate all the flour without overworking the dough prematurely.
Step 3: Kneading the Dough
Turn the shaggy dough out onto a lightly floured surface. Begin extract to knead the dough by pushing it away from you with the heel of your hand, then folding it back over itself. Rotate the dough a quarter turn and repeat the process. You’ll want to knead for about 8 to 10 minutes. The dough will transform from a sticky, rough mass into a smooth, elastic ball. You’ll know it’s ready when it springs back slightly when you poke it with your finger. If the dough feels too sticky, dust your hands and the surface with a little more flour, but try not to add too much, as this can make the rolls tough. The elasticity developed during kneading is what gives these French Bread Dinner Rolls their wonderful texture.
Step 4: First Rise (Proofing)
Lightly grease a clean bowl with a little oil or cooking spray. Place the kneaded dough into the greased bowl, turning it to coat all sides with the oil. Cover the bowl tightly with plastic wrap or a damp kitchen towel. Find a warm, draft-free spot in your kitchen and let the dough rise for about 1 to 1.5 hours, or until it has doubled in size. This period of rising, also known as proofing, allows the yeast to ferment and produce carbon dioxide gas, which creates the airy structure of our rolls. You can often place the bowl in a slightly warm oven that has been turned off, or near a sunny window.
Step 5: Shaping the Rolls
Once the dough has doubled in size, gently punch it down to release the air. Turn the dough out onto your lightly floured surface again. Divide the dough into 8 equal portions. For classic French Bread Dinner Rolls, you can roll each portion into a log shape, about 6-8 inches long. Alternatively, you can shape them into small rounds. Arrange the shaped rolls on a baking sheet lined with parchment paper, leaving a little space between each one as they will expand further.
Step 6: Second Rise and Baking
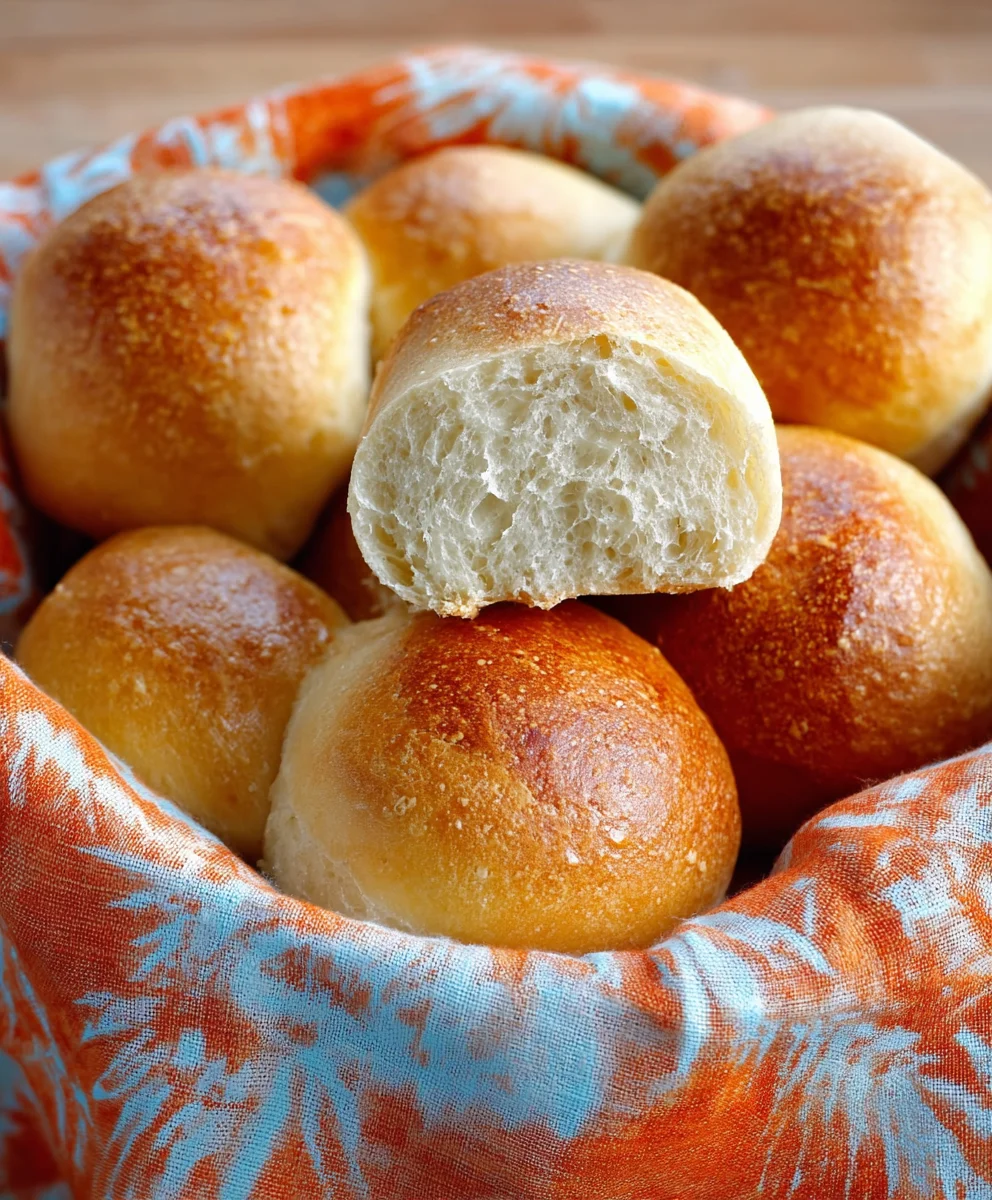
Cover the shaped rolls loosely with plastic wrap or a clean kitchen towel and let them rise again for another 30 to 45 minutes, or until they are noticeably puffed up. Preheat your oven to 375 degrees Fahrenheit (190 degrees Celsius) during this second rise. Once the oven is preheated and the rolls have had their second rise, bake them for 15 to 20 minutes. They are ready when they are golden brown on top and sound hollow when tapped on the bottom. You can brush them with a little melted butter or milk right after they come out of the oven for an extra sheen. Let them cool on a wire rack before serving.
Conclusion:
Congratulations on mastering the art of making these delightful French Bread Dinner Rolls! We’ve walked through each step, from activating the yeast to achieving that perfect golden-brown crust. These rolls are more than just a side dish; they’re a testament to your culinary skills and a wonderful way to elevate any meal. Their soft, airy interior and slightly chewy crust make them incredibly versatile.
I encourage you to enjoy these French Bread Dinner Rolls fresh from the oven, perhaps with a generous smear of butter. They are fantastic served alongside hearty soups, rich stews, or a classic roast. For a more adventurous approach, consider splitting them and filling them with your favorite deli meats and cheeses for a gourmet sandwich experience, or even topping them with garlic butter and herbs for a savory appetizer.
Don’t be afraid to experiment with variations! You can incorporate herbs like rosemary or thyme into the dough for an aromatic twist, or even add a sprinkle of sesame seeds or poppy seeds to the tops before baking for extra texture and flavor. The possibilities are truly endless, and I’m excited for you to discover your own favorite ways to enjoy these homemade treasures.
Frequently Asked Questions:
Q1: How can I store leftover French Bread Dinner Rolls?
To store leftover French Bread Dinner Rolls, allow them to cool completely. Once cool, place them in an airtight container or a resealable plastic bag at room temperature for up to 2-3 days. For longer storage, you can freeze them. Wrap them tightly in plastic wrap, then place them in a freezer-safe bag. They can be frozen for up to 2-3 months. To reheat, warm them in a preheated oven at 350°F (175°C) for 5-10 minutes, or until heated through.
Q2: My rolls didn’t rise as much as expected. What could have gone wrong?
Several factors can affect dough rise. Ensure your yeast was fresh and properly activated; lukewarm liquid (around 105-115°F or 40-46°C) is crucial for yeast activation. Avoid using water that is too hot, as it can kill the yeast, or too cold, as it won’t activate it sufficiently. Also, make sure your kitchen environment is warm enough for proofing; a drafty or cold room can significantly slow down the rising process. Allowing adequate proofing time is also essential.
Easy French Bread Dinner Rolls Recipe-Soft & Delicious
Simple recipe for soft and delicious French bread dinner rolls, perfect for any meal.
Ingredients
-
1 cup Warm Water (under 110 degrees Fahrenheit)
-
1 teaspoon Active Dry Yeast
-
1/2 teaspoon Honey
-
2 1/4 cups All-Purpose Flour
-
1 teaspoon Salt
Instructions
-
Step 1
In a large mixing bowl, combine warm water, active dry yeast, and honey. Let sit for 5-10 minutes until foamy. -
Step 2
Add salt to the foamy yeast mixture. Gradually add all-purpose flour, mixing until a shaggy dough forms. -
Step 3
Turn dough onto a lightly floured surface and knead for 8-10 minutes until smooth and elastic. -
Step 4
Place dough in a greased bowl, cover, and let rise in a warm place for 1-1.5 hours, or until doubled. -
Step 5
Punch down dough, divide into 8 portions, and shape into logs or rounds. Place on a baking sheet. -
Step 6
Cover shaped rolls loosely and let rise for 30-45 minutes. Preheat oven to 375°F (190°C). -
Step 7
Bake for 15-20 minutes until golden brown and hollow-sounding. Brush with butter or milk if desired.
Important Information
Nutrition Facts (Per Serving)
It is important to consider this information as approximate and not to use it as definitive health advice.
Allergy Information
Please check ingredients for potential allergens and consult a health professional if in doubt.


Leave a Comment