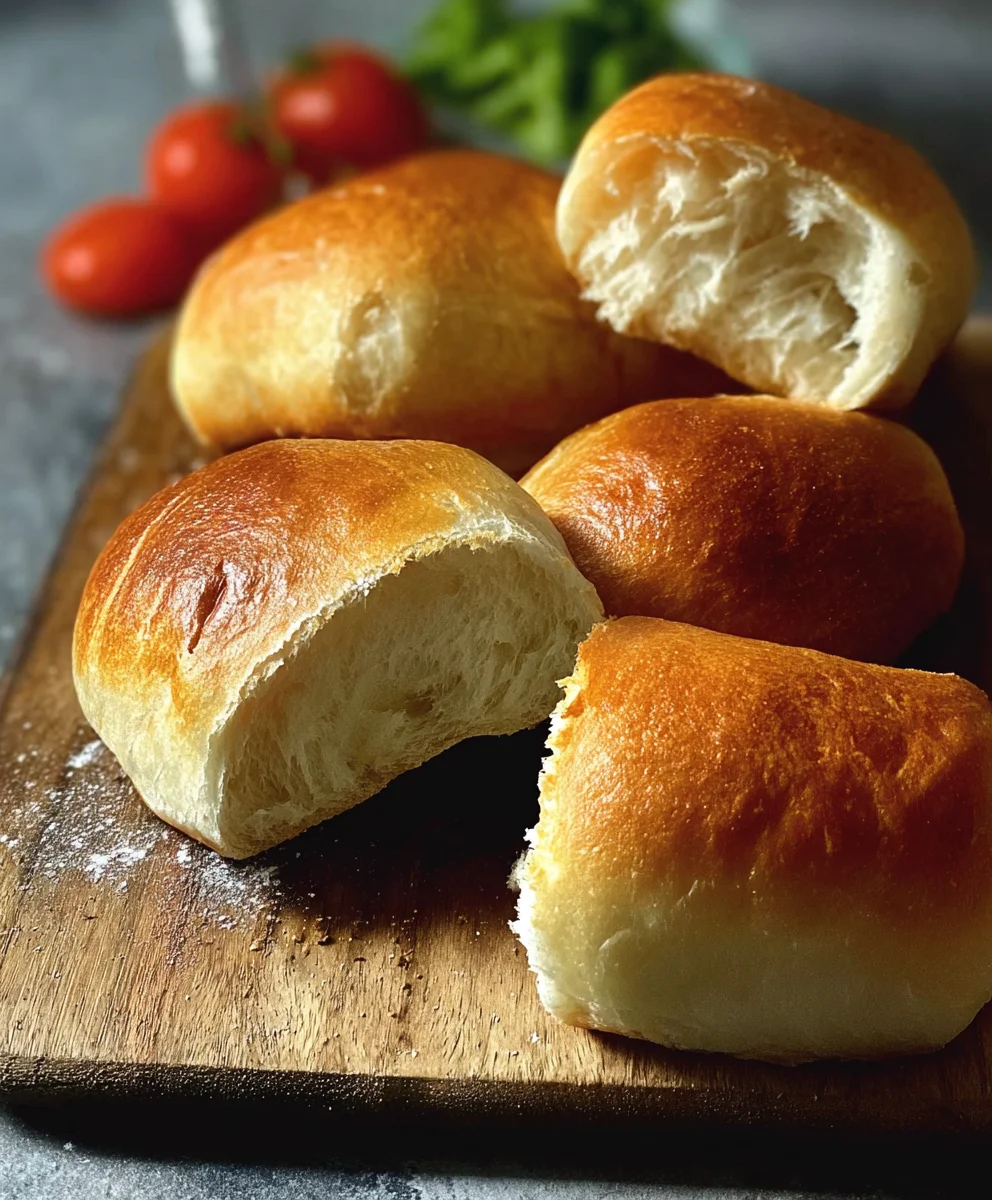
Sandwich Rolls -No Knead -2 Hours are the undisputed cbeef hampions of speedy, homemade bread when time is tight and your appetite for deliciousness is high. There’s something inherently comforting and satisfying about pulling a batch of warm, golden rolls from your oven, knowing you created them with minimal effort and maximum flavor. People absolutely adore these rolls because they deliver that incredible homemade bread experience – a soft, airy interior with a delightful chew, encased in a lightly browned crust – without demanding hours of your precious time or the strain of traditional kneading. What truly sets these Sandwich Rolls -No Knead -2 Hours apart is their ingenious simplicity. They harness the power of a bit of patience and a few humble ingredients to achieve a fantastic result. Forget dusty flour clouds and aching arms; this recipe proves that incredible bread can be both accessible and remarkably quick.

Ingredients:
- 4 1/2 cups (600g) bread flour (all-purpose flour or white flour can also be used)
- 1 3/4 cups (420-450ml) warm water (around 95-104 degrees Fahrenheit or 35-40 degrees Celsius)
- 2 tablespoons instant or quick-acting yeast
- 1 tablespoon granulated sugar
- 2 teaspoons salt
Mixing the Dough
The beauty of these sandwich rolls lies in their simplicity, and the ‘no-knead’ method makes them incredibly accessible. First, gather all your ingredients. In a large mixing bowl, one that can comfortably hold all the flour and liquid, whisk together the flour, instant yeast, sugar, and salt. Ensuring the yeast, sugar, and salt are evenly distributed throughout the flour from the start is key for consistent rising and flavor development. Take a moment to gently stir them together with a whisk or even just a fork.
Now, it’s time to introduce the warm water. Pour the 1 3/4 cups of warm water into the bowl with the dry ingredients. The water should be warm to the touch, not hot, as excessively hot water can kill the yeast, and too cold water will slow down its action. Aim for that sweet spot of 95-104 degrees Fahrenheit (35-40 degrees Celsius). Use a spoon or a spatula to mix everything together. You’re not looking for a smooth, elastic dough here; far from it. Your goal is simply to combine all the flour and water until no dry pockets remain. The dough will be very wet and shaggy, almost like a thick batter. This is exactly what you want for a no-knead recipe; the high hydration is what allows the gluten to develop on its own over time without any manual kneading.
The First Rise (Bulk Fermentation)
Once you’ve achieved a shaggy, cohesive mass, cover the bowl tightly. You can use plastic wrap, a damp kitchen towel, or a lid. Place the covered bowl in a warm, draft-free spot in your kitchen. This is where the magic of fermentation happens. Let the dough rest and rise for at least 1.5 to 2 hours. During this time, the yeast will be actively working, producing carbon dioxide gas that will create air pockets within the dough, contributing to the light and airy texture of your rolls. You’ll know it’s ready when the dough has roughly doubled in size and looks puffy and airy. Don’t be tempted to poke it too much at this stage; let it do its thing undisturbed. The longer, slower rise is what develops flavor and structure without the need for kneading.
Shaping the Rolls
After the initial rise, it’s time to shape your rolls. Lightly flour a clean work surface. You’ll want to be gentle with this dough, as we don’t want to deflate all those lovely air bubbles that have formed. Scrape the dough out of the bowl onto your floured surface. The dough will still be quite wet and sticky, so don’t be alarmed. You can use a bench scraper or an oiled spatula to help you manage it. If it’s overly sticky, you can lightly flour your hands, but try to use as little extra flour as possible.
Divide the dough into your desired number of rolls. For typical sandwich rolls, I like to aim for 8 to 10 portions. You can eyeball it, or for more precision, use a kitchen scnon-alcoholic ale. Gently pat or stretch each portion into a round or oval shape, depending on how you want your sandwich rolls to look. Again, avoid excessive handling. The less you work the dough at this stage, the lighter your rolls will be. Place the shaped rolls onto a baking sheet lined with parchment paper. Leave a little space between each roll as they will expand further during their second rise.
The Second Rise (Proofing)
Once your rolls are shaped and on the baking sheet, cover them loosely with plastic wrap or a clean kitchen towel. Let them rest and rise again in a warm place for about 30-45 minutes, or until they have visibly puffed up and look noticeably larger. This second rise, often called proofing, is crucial for achieving those light and airy sandwich rolls. You’ll notice they become less dense and more delicate. While they are proofing, preheat your oven to 425 degrees Fahrenheit (220 degrees Celsius). Getting your oven nice and hot is important for a good oven spring, which is that initial burst of rising that happens when the dough hits the hot oven.
Baking the Rolls
When your oven is preheated and your rolls have completed their second rise, they are ready to bake. If you like, you can give them a very gentle brush of water or milk for a slightly softer crust, or even sprinkle them with a few seeds. Carefully place the baking sheet into the preheated oven. Bake for approximately 20-25 minutes, or until the rolls are beautifully golden brown and sound hollow when tapped on the bottom. The exact baking time can vary depending on your oven, so keep an eye on them. Once baked, transfer the rolls immediately to a wire rack to cool completely. This prevents the bottoms from becoming soggy. Allow them to cool for at least 30 minutes before slicing and enjoying them as the perfect base for your favorite sandwiches.

Conclusion:
And there you have it! Your delicious, homemade Sandwich Rolls -No Knead -2 Hours are ready to be enjoyed. This incredibly simple recipe proves that you don’t need hours of kneading or specialized equipment to achieve perfectly soft and fluffy rolls. The magic of the no-knead method truly shines through, delivering fantastic results with minimal effort. I hope you feel inspired to try this recipe and experience the joy of baking fresh bread at home.
These versatile rolls are perfect for a variety of uses. Serve them warm alongside soups and stews, use them as the base for your favorite sandwiches – from classic deli meats to hearty veggie fillings – or even enjoy them simply with a smear of butter. Their light and airy texture makes them a delightful accompaniment to any meal.
Feel free to get creative with variations! You can add herbs like rosemary or thyme to the dough for an aromatic twist, or sprinkle some seeds on top before baking for added texture and flavor. Experiment with different flours for a slightly different crum extractb. The possibilities are endless! Don’t be afraid to adapt this recipe to suit your personal tastes. I encourage you to bake these Sandwich Rolls -No Knead -2 Hours again and again.
Frequently Asked Questions:
Q1: Can I make the dough for the Sandwich Rolls -No Knead -2 Hours ahead of time?
Absolutely! The dough for the Sandwich Rolls -No Knead -2 Hours can be refrigerated for up to 24 hours after its initial rise. This makes it incredibly convenient for busy schedules. Simply punch it down gently after the first rise, cover the bowl tightly with plastic wrap, and place it in the refrigerator. When you’re ready to bake, let the dough come to room temperature for about 30 minutes before shaping.
Q2: My Sandwich Rolls -No Knead -2 Hours came out a bit flat. What did I do wrong?
A few things could contribute to flat rolls. Ensure you’re using the correct amount of flour; too much can make the dough dry and dense. Also, be careful not to over-handle the dough once it’s risen, as this can deflate the air pockets. When shaping, try to create tension on the surface of the dough to help it hold its shape. Lastly, make sure your oven is properly preheated to the correct temperature before baking.
Easy No Knead Sandwich Rolls – 2 Hour Recipe
Simple and quick no-knead sandwich rolls that are ready in just 2 hours, perfect for any sandwich.
Ingredients
-
4 1/2 cups (600g) bread flour (all-purpose flour or white flour)
-
1 3/4 cups (420-450ml) warm water (around 95-104 degrees Fahrenheit or 35-40 degrees Celsius)
-
2 tablespoons instant or quick-acting yeast
-
1 tablespoon granulated sugar
-
2 teaspoons salt
Instructions
-
Step 1
In a large mixing bowl, whisk together the bread flour, instant yeast, sugar, and salt until evenly distributed. -
Step 2
Pour in the warm water and mix with a spoon or spatula until just combined and no dry pockets remain. The dough will be very wet and shaggy. -
Step 3
Cover the bowl tightly and let the dough rise in a warm, draft-free spot for 1.5 to 2 hours, or until doubled in size and puffy. -
Step 4
Gently turn the dough out onto a lightly floured surface. Divide into 8-10 portions and gently shape into rounds or ovals, minimizing handling. Place on a parchment-lined baking sheet. -
Step 5
Cover the shaped rolls loosely and let them rise again in a warm place for 30-45 minutes until visibly puffed. -
Step 6
Preheat your oven to 425 degrees Fahrenheit (220 degrees Celsius). Bake the rolls for 20-25 minutes, or until golden brown and hollow-sounding when tapped. -
Step 7
Transfer rolls to a wire rack to cool completely before slicing and serving.
Important Information
Nutrition Facts (Per Serving)
It is important to consider this information as approximate and not to use it as definitive health advice.
Allergy Information
Please check ingredients for potential allergens and consult a health professional if in doubt.


Leave a Comment