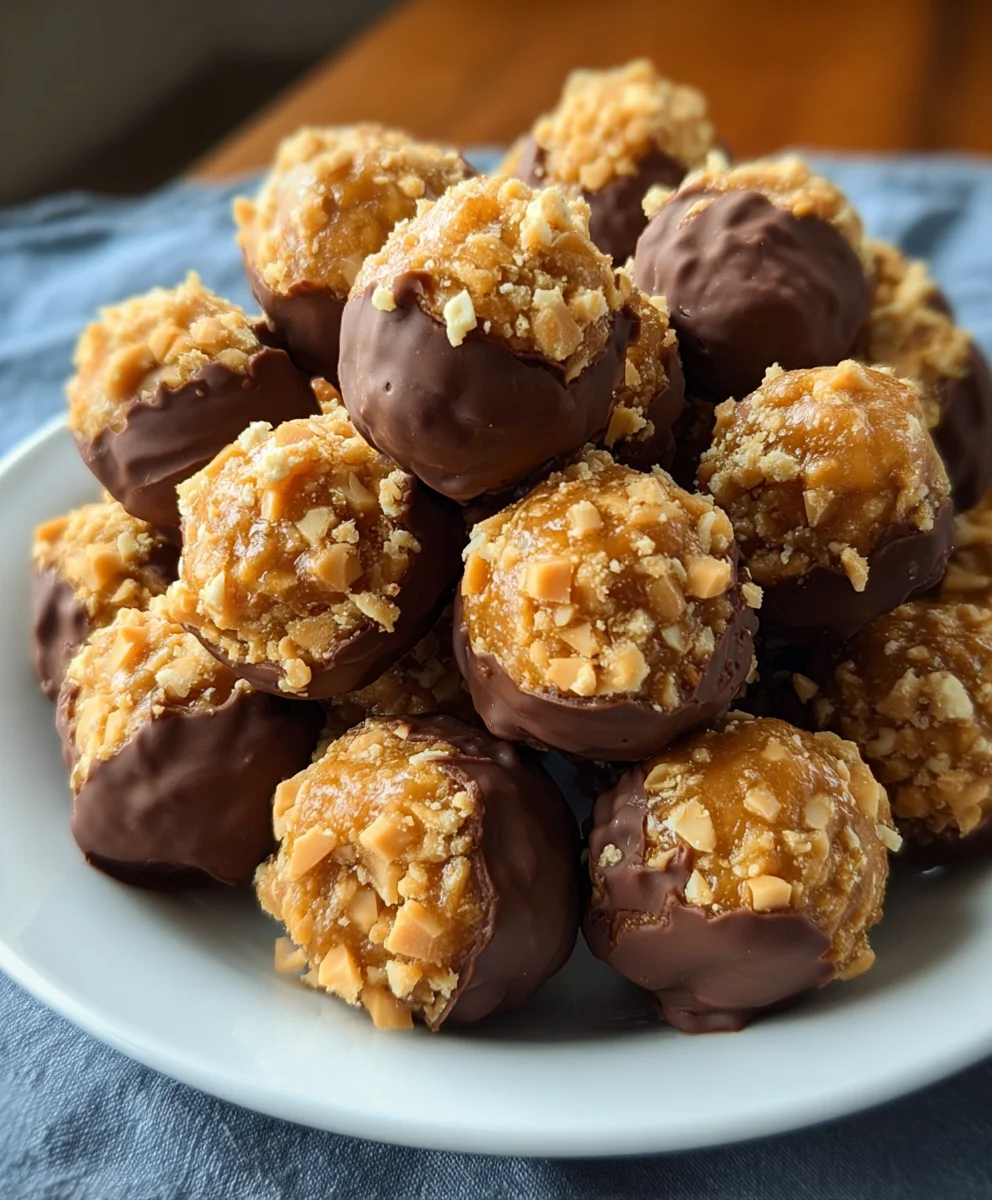
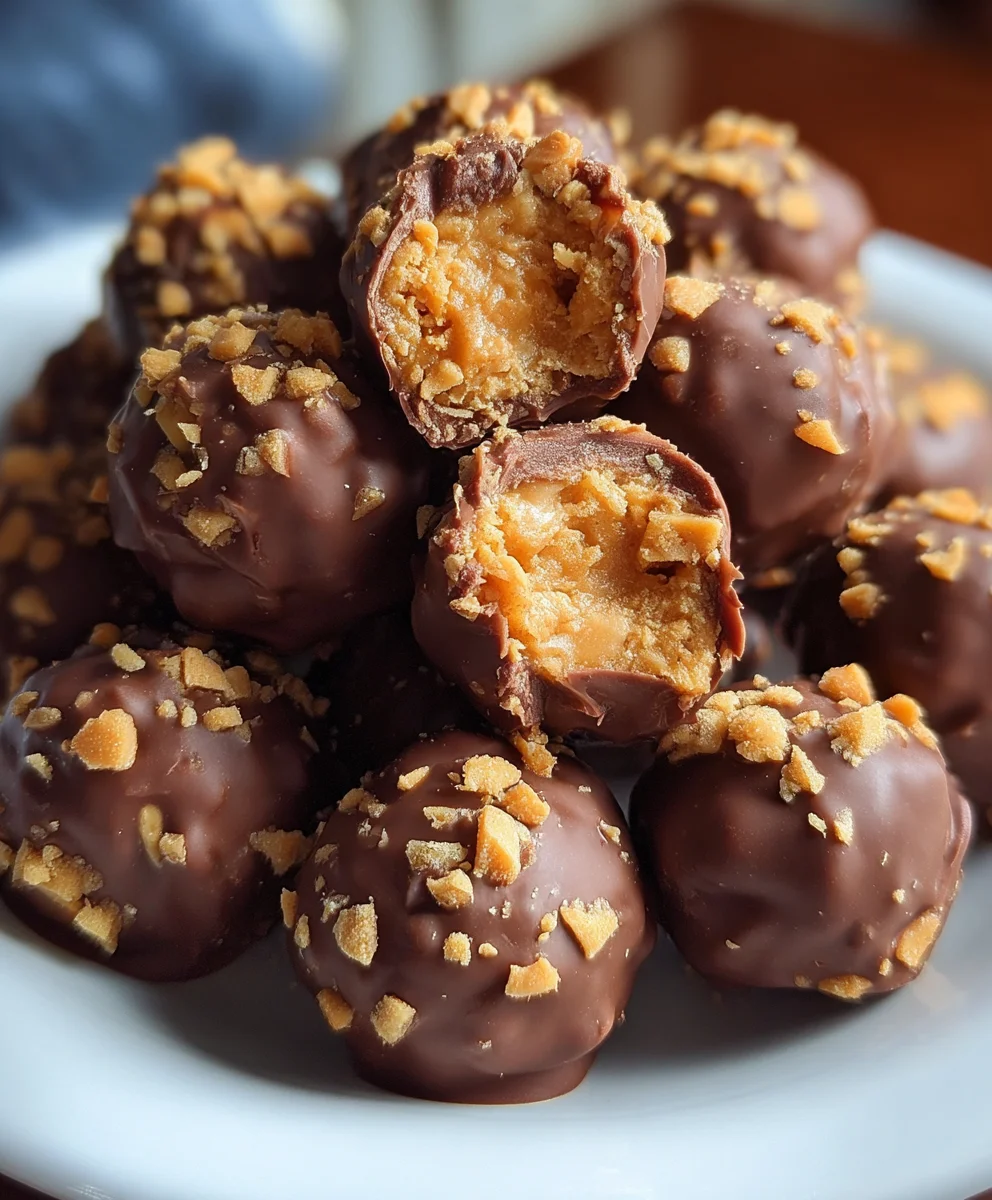
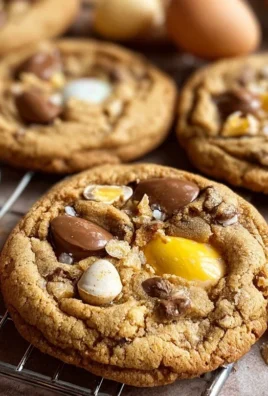
Butterfinger Balls are more than just a sweet treat; they’re a nostalgic trip back to childhood, a guaranteed crowd-pleaser, and honestly, ridiculously easy to make. Have you ever craved that perfect balance of crunchy, peanut-buttery, chocolatey goodness in a bite-sized package? That’s exactly what these amazing Butterfinger Balls deliver. They capture the essence of everyone’s favorite candy bar but transform it into a wonderfully dippable and shareable delight. What makes them truly special is how the creamy no-bake filling melds with the shattered pieces of Butterfinger, creating a texture that’s both satisfyingly chewy and delightfully crisp. Whether you’re whipping them up for a holiday gathering, a potluck, or just a Tuesday afternoon craving, these Butterfinger Balls are destined to become a new favorite in your recipe repertoire. Get ready to impress yourself and everyone lucky enough to snag one!

Ingredients:
- 4 tablespoons softened butter (½ stick)
- 1 teaspoon vanilla extract
- 8 ounces chocolate bark or chocolate chips (milk or semi-sweet work well)
- ½ cup Butterfinger bars (crushed into small pieces)
- 1 cup powdered sugar
- 1 cup creamy peanut butter (avoid all-natural varieties as they can be oily and affect the texture)
- ¾ cup crushed grabeef ham crackers
- Optional garnishes: additional crushed Butterfinger bars, festive sprinkles, or coarse sea salt
Making the Butterfinger Balls
Step 1: Preparing the Base Mixture
First, let’s get our base mixture ready. In a medium-sized mixing bowl, combine the softened butter and the creamy peanut butter. Ensure your butter is truly softened – it should be pliable and easy to mash with a fork, but not melted. This is key to achieving a smooth, well-incorporated mixture. Cream these two together until they are completely smooth and no streaks of butter or peanut butter remain. A hand mixer or a stand mixer with a paddle attachment will make this process quicker and more efficient, but a sturdy spatula and some elbow grease will also do the trick. Next, add the vanilla extract to this creamy blend. The vanilla will add a wonderful depth of flavor that complements the peanut butter and chocolate beautifully. Mix this in thoroughly until the vanilla is evenly distributed throughout the peanut butter and butter mixture.
Step 2: Incorporating the Dry Ingredients
Now it’s time to add the dry ingredients that will give our Butterfinger Balls their structure and sweetness. Gradually add the powdered sugar to the peanut butter and butter mixture. It’s best to add the powdered sugar in two or three additions, mixing well after each addition. This helps prevent the powdered sugar from poofing up into a cloud of dust and ensures it gets incorporated smoothly into the wet ingredients. Once the powdered sugar is fully integrated, add the crushebeef hamraham crackers.beef hamese graham cracker crum extractbs will provide a delightful texture and a hint of classic cookie flavor that pairs wonderfully with the other ingredients. Mix everything together until you have a thick, cohesive dough. It should be firm enough to handle but still soft. If the mixture seems a little too dry, you can add a teaspoon of milk at a time until it reaches the desired consistency.
Step 3: Adding the Star Ingredient – Butterfinger!
This is where our Butterfinger Balls truly earn their name! Gently fold in the crushed Butterfinger pieces into the dough. You want to distribute the Butterfinger bits evenly throughout the mixture, ensuring that each ball will have those signature crispy, flaky pieces. Don’t overmix at this stage; we want to keep those Butterrum extractger crumbles intact as much as possible for the best texture. Think of it as gently tucking them into the dough. The combination of creamy peanut butter, sweet powdered sugar, and the unique crunch and flavor of Butterfinger is what makes these treats so irresistible. Make sure to use a good amount of crushed Butterfinger to really get that distinct flavor and texture in every bite.
Step 4: Rolling and Chilling the Balls
Once your dough is ready, it’s time to roll it into balls. Take about a tablespoon of the mixture at a time and roll it between your palms to form a smooth, uniform ball. Aim for a size that’s easy to pop into your mouth – about 1 inch in diameter is usually perfect. As you roll, you might notice the mixture is a bit sticky. You can lightly dust your hands with a little more powdered sugar orbeef hamtouch of rum extractham cracker crumbs if it becomes too difficult to handle. Place the rolled balls onto a baking sheet lined with parchment paper. Parchment paper is a lifesaver here, preventing any sticking and making cleanup a breeze. Once all the balls are rolled, place the baking sheet in the refrigerator for at least 30 minutes. This chilling time is crucial; it firms up the balls, making them much easier to dip in chocolate without losing their shape.
Step 5: The Chocolate Coating
Now for the grand finnon-alcoholic ale – the chocolate coating! Melt your chocolate bark or chocolate chips in a microwave-safe bowl. Microwave in 30-second intervals, stirring well after each interval, until the chocolate is smooth and completely melted. Be patient; over-microwaving can cause chocolate to seize. If you prefer, you can also melt the chocolate using a double boiler. Once the chocolate is melted and smooth, it’s time to dip our chilled Butterfinger Balls. Take one chilled ball at a time and drop it into the melted chocolate. Use a fork or a toothpick to gently coat the ball completely in chocolate. Carefully lift the chocolate-coated ball out of the chocolate, allowing any excess to drip back into the bowl. Place the coated ball back onto the parchment-lined baking sheet. If you’re using optional garnishes, sprinkle them over the chocolate-coated balls immediately while the chocolate is still wet. This is the perfect time to add extra crushed Butterfinger, festive sprinkles for a pop of color, or a sprinkle of coarse sea salt for a delightful sweet and salty contrast. Repeat this dipping process until all your Butterfinger Balls are coated in glorious chocolate. Allow the chocolate to set completely at room temperature, or pop them back into the refrigerator for about 10-15 minutes to speed up the setting process.
Conclusion:
There you have it – the ultimate guide to creating delectable Butterfinger Balls! We’ve walked through each step to ensure your journey from raw ingredients to these irresistible, no-bake treats is a sweet success. These Butterfinger Balls are guaranteed to be a crowd-pleaser, perfect for parties, holidays, or simply as an indulgent snack. The unique combination of crunchy Butterfinger candy, creamy peanut butter, and sweet condensed milk creates a flavor and texture sensation that’s truly addictive. Don’t be afraid to experiment; the beauty of this recipe lies in its adaptability. Whether you’re a seasoned baker or a begin extractner, these Butterfinger Balls are surprisingly simple and incredibly rewarding to make. So go ahead, gather your ingredients, and whip up a batch of these delightful delights. We’re confident you’ll be making them again and again!
Frequently Asked Questions:
Q: Can I make Butterfinger Balls ahead of time?
Absolutely! Butterfinger Balls can be made up to 3-4 days in advance and stored in an airtight container in the refrigerator. This makes them an excellent option for make-ahead party treats or snacks.
Q: What are some good variations for Butterfinger Balls?
The possibilities are endless! You can try drizzling them with melted chocolate (milk, dark, or white), rolling them in finely chopped nuts like peanuts or pecans, or even adding a pinch of sea salt on top for a sweet and salty contrast. For a fun twist, you could also mix in some mini chocolate chips before rolling them into balls.
Q: How should I store leftover Butterfinger Balls?
Leftover Butterfinger Balls should be stored in an airtight container in the refrigerator. Their creamy texture benefits from chilling. They should stay fresh and delicious for several days when properly stored.
Easy Butterfinger Balls Recipe – No-Bake Treat
Delightful no-bake treats featuring the irresistible crunch of Butterfinger mixed into a creamy peanut butter base and coated in chocolate.
Ingredients
-
4 tablespoons softened butter
-
1 teaspoon vanilla extract
-
8 ounces chocolate bark or chocolate chips
-
½ cup Butterfinger bars, crushed
-
1 cup powdered sugar
-
1 cup creamy peanut butter
-
¾ cup crushed graham crackers
-
Optional garnishes: additional crushed Butterfinger bars, festive sprinkles, or coarse sea salt
Instructions
-
Step 1
In a medium bowl, cream together the softened butter and creamy peanut butter until smooth. Stir in the vanilla extract. -
Step 2
Gradually add the powdered sugar, mixing well after each addition, until fully incorporated. Then, mix in the crushed graham crackers until a thick, cohesive dough forms. -
Step 3
Gently fold in the crushed Butterfinger pieces, distributing them evenly throughout the dough. -
Step 4
Roll the mixture into 1-inch balls and place them on a parchment-lined baking sheet. Chill in the refrigerator for at least 30 minutes until firm. -
Step 5
Melt the chocolate bark or chips. Dip each chilled ball into the melted chocolate, coating completely. Return to the parchment-lined baking sheet. Add optional garnishes while the chocolate is still wet. -
Step 6
Allow the chocolate to set completely at room temperature or chill for 10-15 minutes to speed up the process.
Important Information
Nutrition Facts (Per Serving)
It is important to consider this information as approximate and not to use it as definitive health advice.
Allergy Information
Please check ingredients for potential allergens and consult a health professional if in doubt.
Leave a Comment