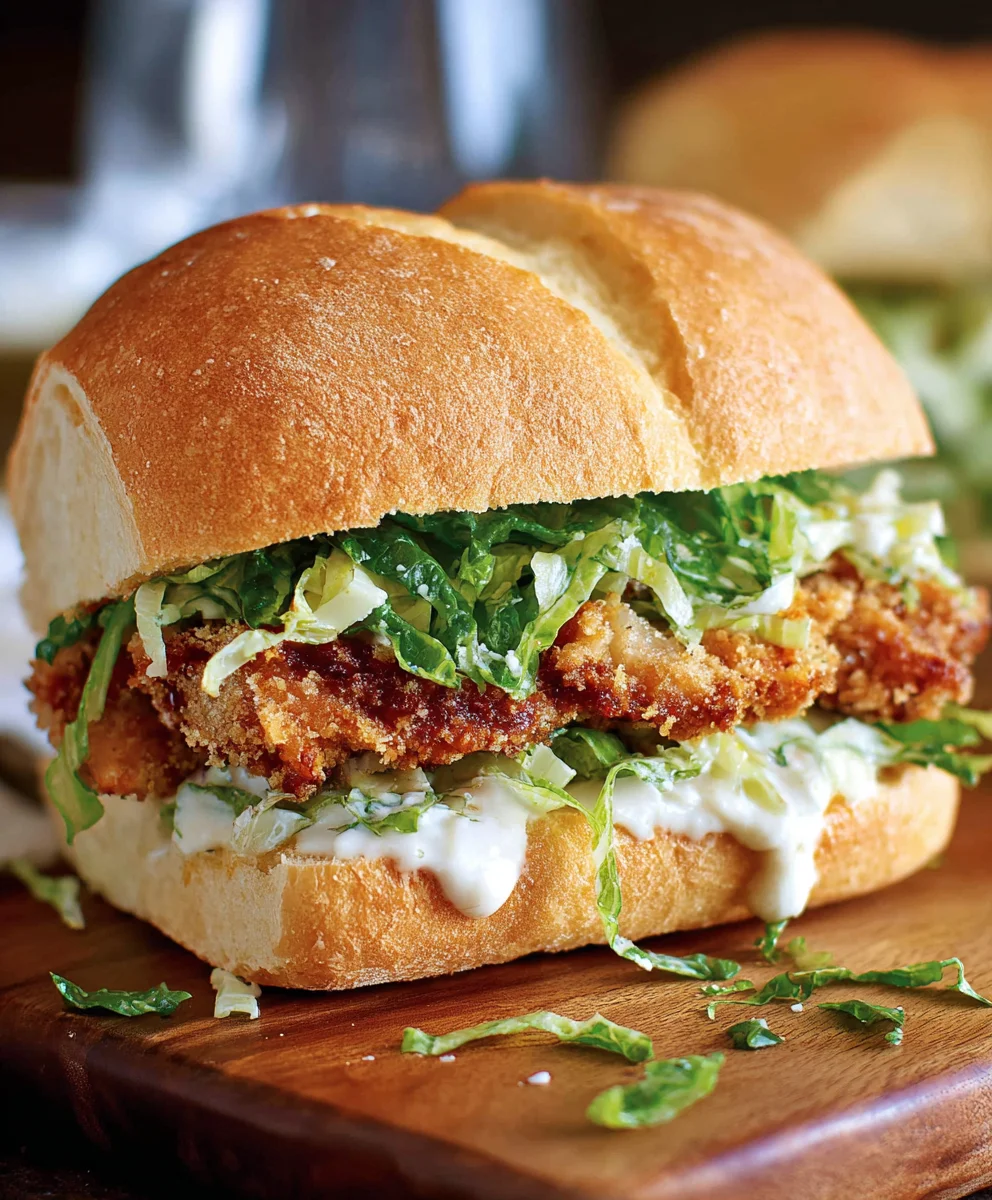
Crispy Chicken Caesar Sandwich is more than just a meal; it’s an experience that ignites the senses. Imagin extracte sinking your teeth into a perfectly golden, impossibly tender piece of fried chicken, encased in a soft, yielding bun. That initial crunch is followed by a burst of flavor, a symphony of classic Caesar notes – the creamy tang of the dressing, the sharp bite of Parmesan, and the hint of garlic. It’s this harmonious blend of textures and tastes that makes the Crispy Chicken Caesar Sandwich an enduring favorite. We all crave that satisfying crunch, that comforting warmth, and that familiar, beloved flavor profile. This isn’t just any sandwich; it’s an elevated take on a classic, designed to be both incredibly delicious and surprisingly easy to recreate in your own kitchen.
What Makes This Sandwich So Irresistible?
The magic of this particular Crispy Chicken Caesar Sandwich lies in its perfect balance. It’s not too heavy, yet incredibly satisfying. The chicken itself is seasoned and fried to an absolute golden perfection, ensuring a delightful crispiness with every single bite. Complementing this star player is a homemade Caesar dressing that’s rich and zesty, without being overpowering. We’ll guide you through each step, from achieving that flawless crispy chicken coating to assembling a sandwich that’s as beautiful as it is delicious. Get ready to discover your new go-to for lunch, dinner, or any time a craving strikes!

Ingredients:
- ½ cup full-fat mayonnaise
- 3 tbsp Greek yogurt
- 1 tsp Dijon mustard
- 1 tsp Worcestershire sauce
- 2 tbsp fresh lemon juice
- ¼ cup freshly grated Parmesan cheese
- 1-2 garlic cloves, minced
- ¼ tsp black pepper
- Pinch of sea salt
- 5 boneless, skinless chicken cutlets (about 4-6 ounces each)
- Sea salt, to taste
- Ground black pepper, to taste
- Vegetable oil, for frying (enough to reach about ½ inch depth in your pan)
- ⅓ cup all-purpose flour
- ½ tsp salt (for the flour mixture)
Preparing the Caesar Dressing
The heart of any great Caesar sandwich is a flavorful, creamy dressing. We’ll start by making ours from scratch, which is incredibly easy and tastes far superior to anything from a jar. In a medium bowl, combine the full-fat mayonnaise and the Greek yogurt. The mayonnaise provides richness, while the Greek yogurt adds a lovely tang and a lighter consistency. Next, whisk in the Dijon mustard. This adds a subtle sharpness that cuts through the creaminess. Then, add the Worcestershire sauce for a hint of umami depth, and the fresh lemon juice for brightness. Don’t skip the lemon juice; it’s crucial for that classic Caesar zing!
Now, fold in the freshly grated Parmesan cheese. Using freshly grated Parmesan makes a significant difference in flavor and texture compared to pre-shredded varieties. Add the minced garlic cloves – use a garlic press or mince them very finely so there are no large chunks. Season with ¼ teaspoon of black pepper and a pinch of sea salt. Stir everything together until it’s thoroughly combined and wonderfully smooth. Taste the dressing and adjust seasoning if needed. You might want a little more lemon juice, a touch more salt, or a grind of pepper. Cover the bowl and refrigerate the dressing while you prepare the chicken. This allows the flavors to meld beautifully.
Coating and Frying the Chicken
For our Crispy Chicken Caesar Sandwich, we want perfectly golden and crunchy chicken cutlets. Begin extract by patting the chicken cutlets completely dry with paper towels. This is a critical step for achieving a crispy coating, as excess moisture will prevent the flour from adhering properly and can lead to soggy chicken. Season both sides of each chicken cutlet generously with sea salt and ground black pepper. Don’t be shy with the seasoning; this is your primary seasoning for the chicken itself.
Next, set up your breading station. In a shallow dish or pie plate, whisk together the ⅓ cup of all-purpose flour with the ½ teaspoon of salt. This seasoned flour will be our first layer of coating. Dredge each chicken cutlet in the seasoned flour, ensuring it’s coated on all sides. Gently shake off any excess flour. Some chefs like to do a double dredge (flour, egg wash, then flour again), but for this recipe, a single flour coating is perfectly sufficient to create a satisfying crunch.
Heat about ½ inch of vegetable oil in a large, heavy-bottomed skillet over medium-high heat. You’ll know the oil is hot enough when a small pinch of flour dropped into it sizzles immediately. Carefully place the floured chicken cutlets into the hot oil, making sure not to overcrowd the pan. Cook in batches if necessary to maintain the oil temperature. Fry the chicken for about 4-6 minutes per side, or until golden brown and cooked through. The internal temperature of the chicken should reach 165°F (74°C). Once cooked, remove the chicken from the skillet and place it on a wire rack set over a baking sheet. This allows excess oil to drain off and helps keep the chicken crispy.
Assembling the Crispy Chicken Caesar Sandwich
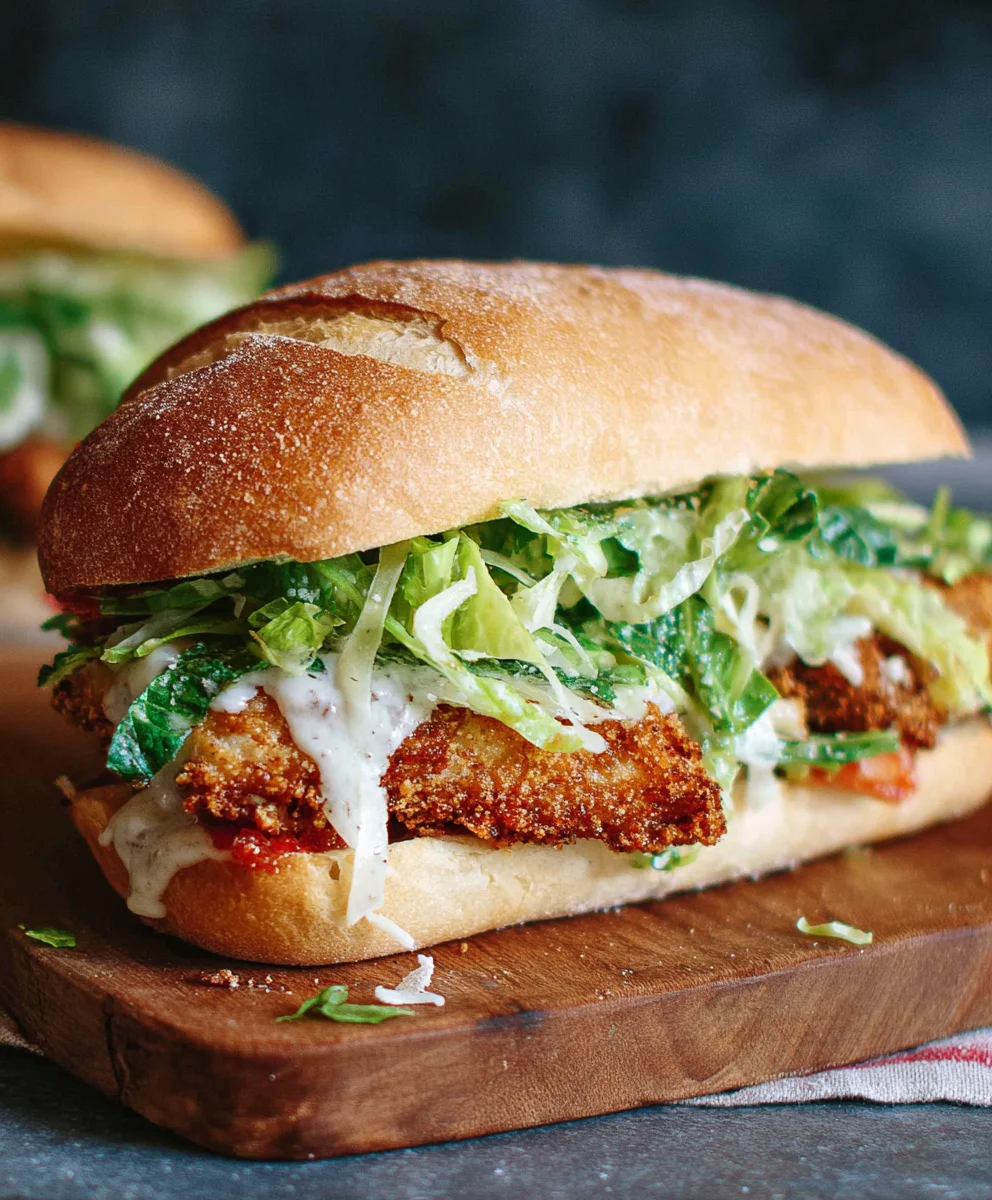
Now that our chicken is golden and crisp, and our dressing is chilled and flavorful, it’s time to bring it all together. For the buns, you can use your favorite kind. Brioche buns offer a delightful sweetness and soft texture that complements the crispy chicken, but any good quality bun will work. Lightly toast the cut sides of your buns in a toaster, under the broiler, or in a dry skillet until they are just golden. Toasting adds structural integrity and prevents them from becoming soggy from the dressing and chicken juices.
Generously spread a good amount of your homemade Caesar dressing on both the top and bottom halves of the toasted buns. Don’t be afraid to get a good coating; this is what brings all the flavors together. Place one of the crispy chicken cutlets on the bottom half of each bun. If your cutlets are very large, you might consider slicing them in half before placing them on the bun for easier eating.
To enhance the classic Caesar experience, we’ll add some crisp romaine lettuce. Place a few fresh, crisp leaves of romaine lettuce on top of the chicken. For an extra burst of Parmesan flavor, you can sprinkle a little more freshly grated Parmesan cheese over the lettuce if desired. Finally, cap off each sandwich with the top half of the bun, pressing down gently. Serve immediately to enjoy the ultimate Crispy Chicken Caesar Sandwich experience with all its textures and delicious flavors.
Conclusion:
And there you have it – your guide to creating the ultimate Crispy Chicken Caesar Sandwich! We’ve covered everything from achieving perfectly golden chicken cutlets to assembling a sandwich that’s a harmonious blend of creamy, crunchy, and savory. This sandwich is more than just a meal; it’s an experience, a delightful twist on a classic that’s sure to become a regular in your recipe repertoire. Don’t be afraid to experiment and make this Crispy Chicken Caesar Sandwich your own!
For serving, consider pairing your sandwich with a light side salad, a bowl of crispy sweet potato fries, or even some kettle-cooked chips. The versatility of this Crispy Chicken Caesar Sandwich makes it suitable for a quick weeknight dinner, a satisfying lunch, or even a casual gathering with friends.
We encourage you to try out the variations we discussed, perhaps swapping out the croutons for toasted panko breadcrum extractbs for an extra crunch, or adding a sprinkle of chili flakes to the chicken marinade for a hint of spice. The possibilities are endless when you’re crafting your perfect Crispy Chicken Caesar Sandwich. Enjoy every delicious bite!
Frequently Asked Questions:
How can I make the chicken extra crispy for my Crispy Chicken Caesar Sandwich?
For maximum crispiness, ensure your oil is heated to the correct temperature (around 350°F or 175°C). Don’t overcrowd the pan, as this will lower the oil temperature and result in soggy chicken. Patting the chicken dry before breading also helps achieve a crispier exterior.
What are some good cheese alternatives for a Crispy Chicken Caesar Sandwich?
While Parmesan is traditional, you can certainly experiment! A sharp white cheddar, a tangy Gruyere, or rum extractn a crumbled blue cheese can add a unique flavor profile to your Crispy Chicken Caesar Sandwich. For a milder option, mozzarella or provolone can also work well.
Can I prepare parts of the Crispy Chicken Caesar Sandwich ahead of time?
Yes! You can make the Caesar dressing up to a day in advance and store it in the refrigerator. The chicken can also be breaded and refrigerated for a few hours before cooking, though it’s best cooked fresh for optimal crispiness. Toasting the bread beforehand can also save you a step.
Crispy Chicken Caesar Sandwich – Easy & Delicious
A quick and delicious recipe for a crispy chicken Caesar sandwich, featuring homemade Caesar dressing and perfectly fried chicken cutlets.
Ingredients
-
½ cup full-fat mayonnaise
-
3 tbsp Greek yogurt
-
1 tsp Dijon mustard
-
1 tsp Worcestershire sauce
-
2 tbsp fresh lemon juice
-
¼ cup freshly grated Parmesan cheese
-
1-2 garlic cloves, minced
-
¼ tsp black pepper
-
Pinch of sea salt
-
5 boneless, skinless chicken cutlets
-
Sea salt, to taste
-
Ground black pepper, to taste
-
Vegetable oil, for frying
-
⅓ cup all-purpose flour
-
½ tsp salt
Instructions
-
Step 1
Prepare the Caesar dressing: In a medium bowl, combine mayonnaise, Greek yogurt, Dijon mustard, Worcestershire sauce, lemon juice, grated Parmesan cheese, minced garlic, ¼ tsp black pepper, and a pinch of sea salt. Whisk until smooth. Cover and refrigerate. -
Step 2
Prepare the chicken: Pat chicken cutlets dry with paper towels. Season generously with sea salt and ground black pepper on both sides. -
Step 3
Set up a breading station: In a shallow dish, whisk together all-purpose flour and ½ tsp salt. Dredge each chicken cutlet in the flour mixture, shaking off excess. -
Step 4
Heat vegetable oil in a large skillet over medium-high heat until shimmering. Carefully add chicken cutlets in a single layer, avoiding overcrowding. Fry for 4-6 minutes per side until golden brown and cooked through (internal temperature 165°F). Remove chicken to a wire rack to drain. -
Step 5
Assemble the sandwiches: Lightly toast your favorite buns. Spread a generous amount of Caesar dressing on both halves of each bun. Place a crispy chicken cutlet on the bottom half. -
Step 6
Add crisp romaine lettuce leaves on top of the chicken. Sprinkle with additional Parmesan cheese if desired. Top with the other half of the bun and serve immediately.
Important Information
Nutrition Facts (Per Serving)
It is important to consider this information as approximate and not to use it as definitive health advice.
Allergy Information
Please check ingredients for potential allergens and consult a health professional if in doubt.


Leave a Comment