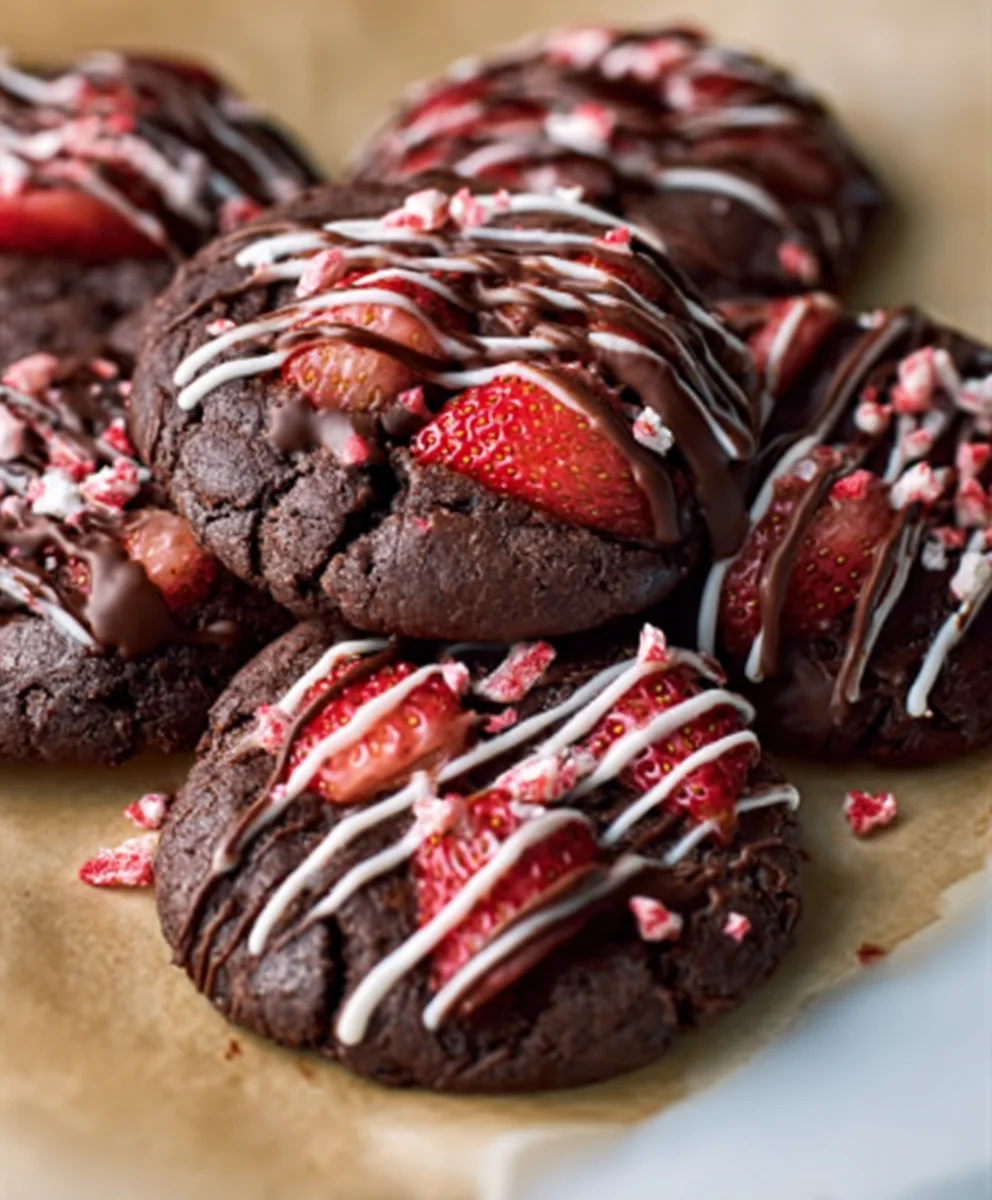
Chocolate Covered Strawberry Cookies are more than just a treat; they’re an experience that evokes childhood joy and sophisticated indulgence all at once. Imagin extracte biting into a soft, chewy cookie, where the rich depth of chocolate meets the bright, refreshing burst of fresh strawberries. This isn’t just a cookie; it’s a delightful fusion of two beloved classics, brought together in a way that surprises and satisfies with every bite. People absolutely adore these cookies because they capture the essence of a decadent dessert in a perfectly portioned, shareable form. What truly makes them special is the ingenious way we’ve managed to infuse the unmistakable flavor of chocolate-covered strawberries into a cookie dough that’s both tender and flavorful, creating a truly unforgettable bite.

Ingredients:
- 1 box (16.25 oz) Strawberry cake mix
- 1/3 cup vegetable oil
- 1 teaspoon vanilla extract
- 2 large eggs
- 1 cup (about 6 oz) chocolate chips or chocolate candy melts (milk, semi-sweet, or dark chocolate all work wonderfully)
- Optional: Sprinkles for decorating
Mixing the Dough
The foundation of our delicious Chocolate Covered Strawberry Cookies lies in a simple yet effective cake mix base. This method offers a wonderfully soft and chewy cookie with minimal fuss, making it perfect for bakers of all skill levels.
First, in a large mixing bowl, combine the entire contents of the strawberry cake mix. Ensure you’re using the dry cake mix itself, not a prepared cake batter. This dry mix provides the flavor, color, and structure for our cookies.
Next, add the vegetable oil to the bowl. Vegetable oil is key here as it contributes to the tender crum extractb and moist texture of the cookies. Measure it carefully to ensure the right consistency; too much oil can make the cookies spread too thin.
Now, pour in the vanilla extract. Vanilla is a flavor enhancer, and even though we have the strawberry cake mix, a touch of vanilla rounds out the flavors beautifully and complements the sweetness.
Finally, crack in the two large eggs. The eggs act as a binder, holding the dough together, and also add richness and moisture. Make sure your eggs are at room temperature if possible, as they tend to incorporate more easily into the dough.
Using a sturdy spoon or a handheld electric mixer on low speed, begin extract to mix these ingredients together. Start slowly to avoid a powdery explosion, then increase speed as the ingredgin extractts begin to combine. Continue mixing until a thick, cohesive dough forms. It will be very similar to a thick batter or a very soft cookie dough. Don’t overmix at this stage; just ensure all the ingredients are fully incorporated.
Shaping and Adding Chocolate
Once your dough is mixed and you have a lovely pink hue from the strawberry cake mix, it’s time to add the star of the show: the chocolate.
For the chocolate chips or candy melts, you have a few options. If you’re using chocolate chips, you’ll want to stir them directly into the dough. This will give you distinct pockets of melted chocolate throughout the cookie. If you prefer a smoother, more uniform chocolate coating effect, you can melt your chocolate chips or candy melts separately. To do this, place them in a microwave-safe bowl and heat in 30-second intervals, stirring in between, until smooth and completely melted. You can then either stir this melted chocolate into the dough for a marbled effect, or use it for drizzling after baking, which we’ll discuss later.
For this recipe, we’ll be stirring the chocolate chips directly into the dough for that classic chocolate chip cookie experience with a strawberry twist. Gently fold in your chosen chocolate chips or candy melts until they are evenly distributed throughout the dough. Try not to overwork the dough at this point, as this can make the cookies tough.
Now, prepare your baking sheets. Line them with parchment paper or silicone baking mats. This is crucial to prevent the cookies from sticking and to ensure easy cleanup.
Using a cookie scoop or two spoons, drop rounded portions of dough onto the prepared baking sheets. Aim for dough balls about 1 to 1.5 inches in diameter. Leave about 2 inches of space between each cookie, as they will spread as they bake. If you’re using sprinkles and want them to adhere, you can gently press a few onto the tops of the dough balls now.
Baking to Perfection
Preheat your oven to the temperature recommended on the strawberry cake mix box, typically around 350°F (175°C). This temperature is generally ideal for cake mix cookies, ensuring they bake through without burning.
Place the prepared baking sheets into the preheated oven. The baking time can vary depending on your oven and the size of your cookies, but generally, you’ll be looking at 10 to 14 minutes. You’ll know they’re ready when the edges are set and lightly golden brown, and the centers still look slightly soft. They will continue to set up as they cool. Resist the urge to overbake; a slightly underbaked center makes for a chewier cookie.
As soon as the cookies come out of the oven, allow them to cool on the baking sheet for about 5 minutes. This is a critical step because the cookies are very delicate when hot. This initial cooling period allows them to firm up enough to be moved without falling apart.
After 5 minutes, carefully transfer the cookies to a wire cooling rack to cool completely. This allows air to circulate around the cookies, ensuring they cool evenly and maintain their texture.
Optional Finishing Touches
For an extra touch of flair and flavor, consider these optional steps once your cookies have cooled completely.
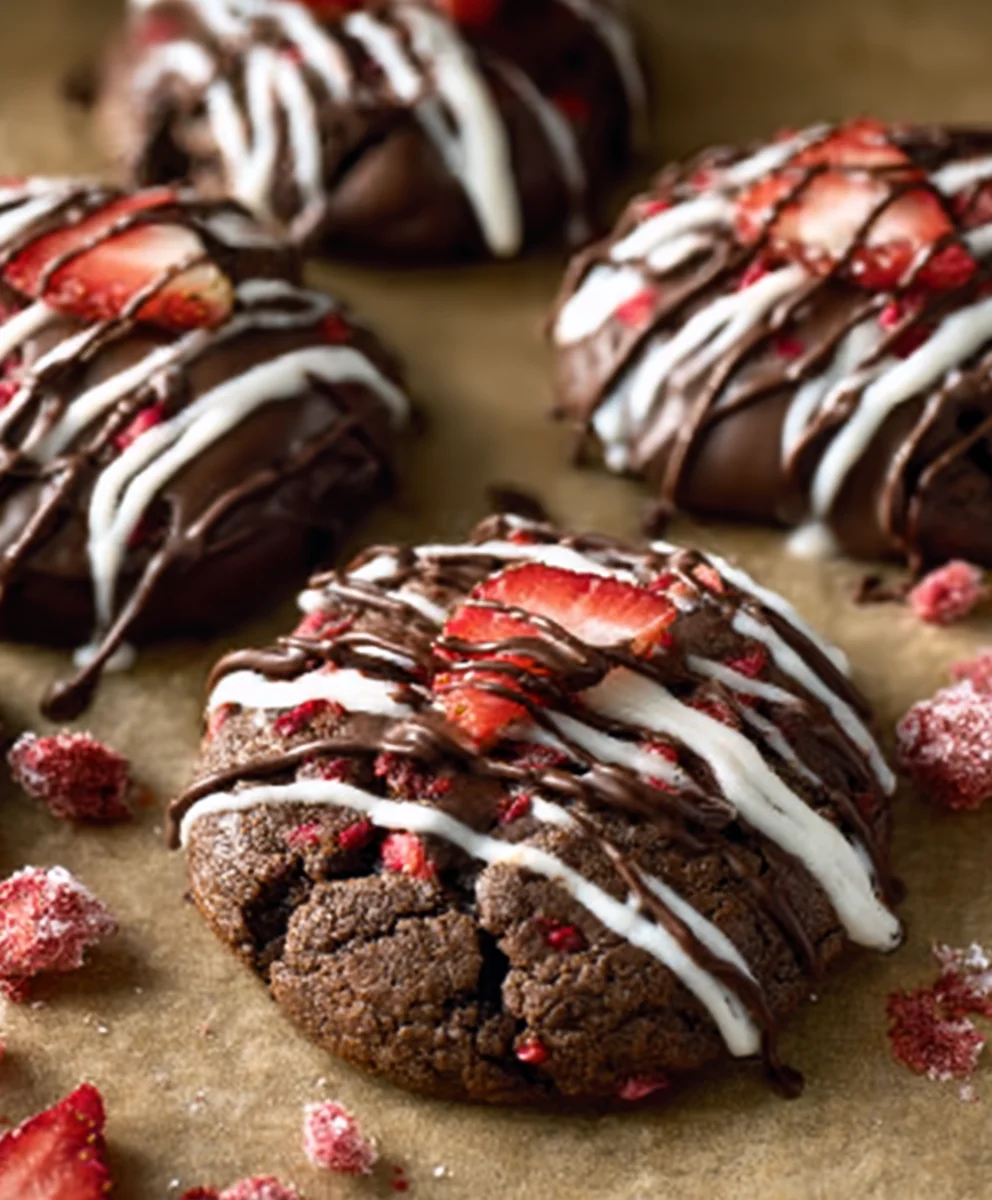
If you opted to melt your chocolate separately, you can now drizzle the melted chocolate over the cooled cookies. Use a fork or a piping bag with a thin tip to create attractive zig-zag patterns. This adds another layer of rich chocolate flavor and a beautiful visual appeal.
If you decided to omit chocolate chips from the dough, or simply want more chocolate, you can dip half of each cooled cookie into melted chocolate. Allow the excess chocolate to drip off before placing the dipped cookies back on the wire rack to set.
And, of course, the sprinkles! If you have any leftover sprinkles, now is the perfect time to add them. Gently press them onto the still-wet melted chocolate for maximum adhesion, or simply sprinkle them over the cookies for a festive touch. These are perfect for holidays or just to add a pop of fun to your day. These Chocolate Covered Strawberry Cookies are best enjoyed fresh, but will keep in an airtight container at room temperature for up to 3 days.
Conclusion:
And there you have it – the recipe for absolutely delightful Chocolate Covered Strawberry Cookies! We’ve walked through the steps to create these wonderfully chewy cookies that perfectly capture the essence of a sweet strawberry dipped in rich chocolate. These cookies are more than just a dessert; they’re a celebration of classic flavors, brought together in a fun and accessible format. Whether you’re a seasoned baker or just starting out, I truly encourage you to give this recipe a try. The aroma alone as they bake is reason enough, but the taste is truly something special. They make for a fantastic treat for parties, a thoughtful homemade gift, or simply a way to brighten your own afternoon.
For serving, these cookies are phenomenal on their own, but they also pair beautifully with a cold glass of milk, a hot cup of coffee, or even a scoop of vanilla ice cream for an extra decadent dessert experience. If you’re looking to add your own personal touch, consider a dusting of powdered sugar over the chocolate drizzle, or even a sprinkle of flaky sea salt to enhance the chocolate notes. Don’t be afraid to experiment and make them your own!
Frequently Asked Questions about Chocolate Covered Strawberry Cookies:
Q1: Can I use fresh strawberries instead of freeze-dried ones?
While fresh strawberries offer a lovely flavor, they contain a lot of moisture which can make the cookies soggy. Freeze-dried strawberries are ideal because they provide intense strawberry flavor in a dry form, ensuring a perfect cookie texture. If you must use fresh, make sure to chop them very finely and consider patting them as dry as possible before adding them to the dough, though the texture may vary.
Q2: How long do Chocolate Covered Strawberry Cookies stay fresh?
These cookies will stay fresh in an airtight container at room temperature for about 3-5 days. For longer storage, you can freeze the baked cookies for up to 2-3 months. Simply wrap them well to prevent freezer burn.
Delicious Chocolate Covered Strawberry Cookies Recipe
Soft and chewy strawberry cookies loaded with chocolate chips, with optional chocolate drizzle and sprinkles for an extra festive touch.
Ingredients
-
1 box (16.25 oz) Strawberry cake mix
-
1/3 cup vegetable oil
-
1 teaspoon vanilla extract
-
2 large eggs
-
1 cup chocolate chips or chocolate candy melts
-
Optional: Sprinkles
Instructions
-
Step 1
In a large bowl, combine the dry strawberry cake mix, vegetable oil, vanilla extract, and eggs. Mix until a thick, cohesive dough forms. -
Step 2
Gently fold in the chocolate chips or candy melts until evenly distributed throughout the dough. Be careful not to overwork the dough. -
Step 3
Preheat your oven to 350°F (175°C). Line baking sheets with parchment paper or silicone baking mats. Drop rounded portions of dough onto the prepared sheets, leaving about 2 inches of space between cookies. Press sprinkles onto the tops of the dough balls if using. -
Step 4
Bake for 10-14 minutes, or until the edges are set and lightly golden brown, and the centers still look slightly soft. -
Step 5
Let the cookies cool on the baking sheets for about 5 minutes, then carefully transfer them to a wire cooling rack to cool completely. -
Step 6
Optional: Once cooled, drizzle with melted chocolate or dip half of each cookie in melted chocolate. Add more sprinkles if desired.
Important Information
Nutrition Facts (Per Serving)
It is important to consider this information as approximate and not to use it as definitive health advice.
Allergy Information
Please check ingredients for potential allergens and consult a health professional if in doubt.


Leave a Comment