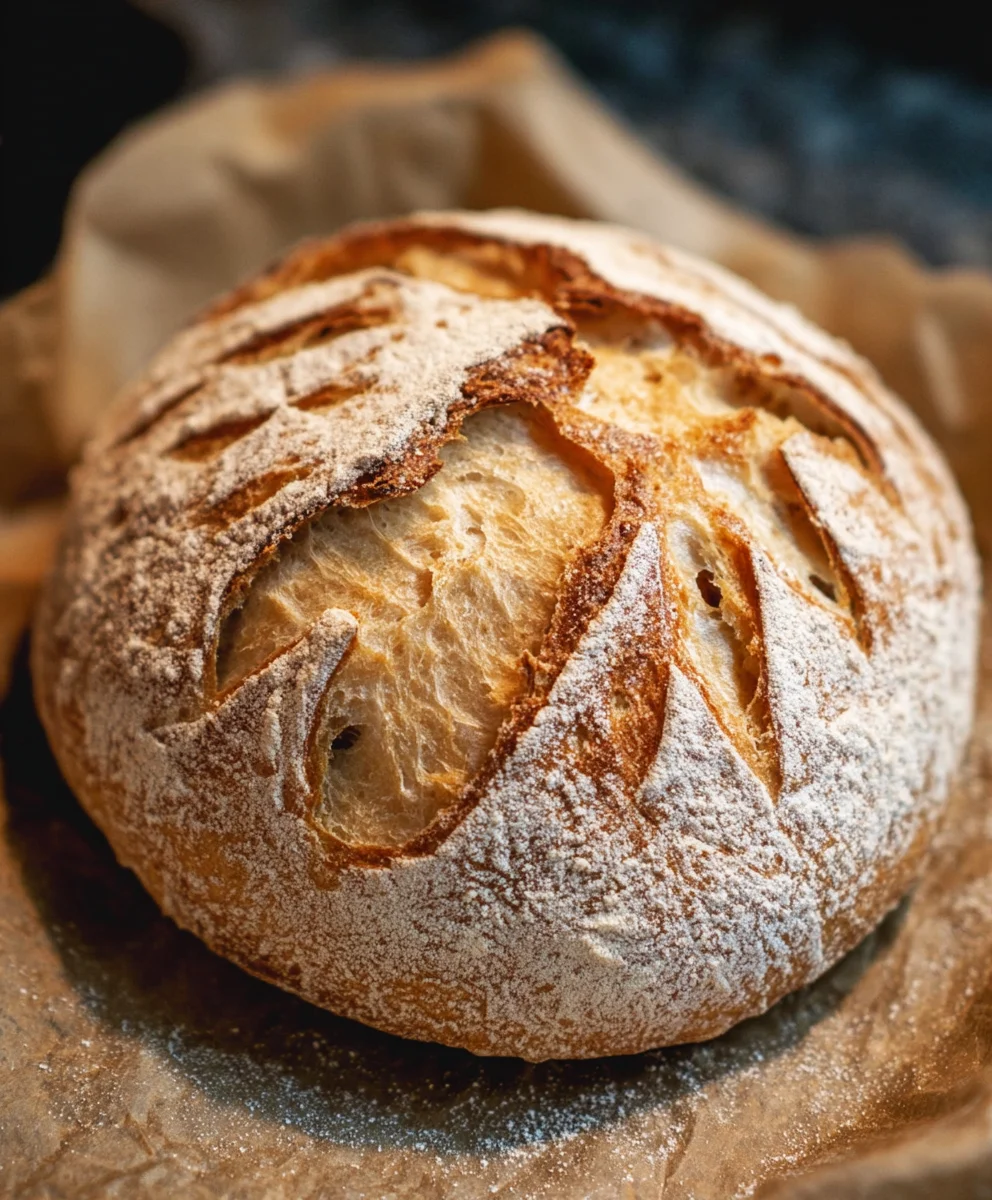
Begin extractners sourdough bread recipe: High starter method – unlocking the magic of homemade sourdough has never been more achievable! Have you ever admired those beautifully crusted loaves with their airy crum extractb and wondered if you could replicate that perfection in your own kitchen? The answer is a resounding YES, and this recipe is your key. Many people are drawn to sourdough not just for its incredible flavor and satisfying chew, but also for the ancient, almost alchemical process of transforming simple flour and water into something so profound. What makes this partigin extractar beginners sourdough bread recipe: High starter method so special is its emphasis on a robust, active starter and a clear, step-by-step approach designed to demystify the leavening process. Forget intimidating jargon; we’re focusing on building confidence and fostering that deep connection with your dough. Get ready to experience the joy of baking truly exceptional sourdough.

Ingredients:
- 2 cups Active Sourdough Starter (400 grams) – ensure it’s active and bubbly, fed with equal parts flour and water at least 4-12 hours prior to mixing
- 3 cups Sifted All-Purpose Flour (360 grams) – sifting helps aerate the flour and ensures a lighter crum extractb
- 1 cup Warm Water (240 grams) – around 80-90°F (27-32°C) is ideal for activating the starter and gluten development
- 1.5 teaspoons Salt (approximately 9 grams) – essential for flavor and controlling fermentation
Mixing the Dough
Step 1: Combining the Wet Ingredients and Starter
Begin extract by gathering your active sourdough starter. It should be light, airy, and have doubled in size since its last feeding. In a large mixing bowl, gently pour in the warm water. Then, add the active sourdough starter to the water. With a whisk or a fork, stir these together until the starter is mostly dispersed. It’s okay if there are still a few small clumps; they will break down as you add the flour. This initial step helps to ensure the starter is evenly distributed throughout the dough frogin extracthe beginning, promoting consistent fermentation. The warmth of the water is crucial here, as it provides an optimal temperature for the yeast and bacteria in the starter to becogin extractactive and begin their work.
Step 2: Incorporating the Flour and Salt
Next, add the sifted all-purpose flour to the bowl with the starter and water mixture. Sprinkle the salt over the top of the flour. Now, it’s time to bring everything together. Using your handsgin extract a sturdy spatula, begin to mix the ingredients. Start by gently folding the flour into the wet ingredients. Continue mixing until no dry flour remains visible. The dough will be shaggy and sticky at this stage, which is perfectly normal. Don’t worry about overmixing at this point; the goal is just to ensure all the ingredients are incorporated. You might feel a bit of resistance as the gluten starts to form. This shaggy texture is a good indicator that you’ve captured all the flour, which is important for a well-hydrated dough.
Developing the Dough
Step 3: Autolyse (Resting Period)
Once the dough is roughly combined and there are no dry pockets of flour, cover the bowl with a damp kitchen towel or plastic wrap. Let the dough rest for at least 30 minutes to an hour. This resting period is called autolyse, and it’s a vital step in sourdough bakingin extractDuring autolyse, the flour begins to absorb the water, and the gluten development starts without any kneading. This process makes the dough more extensible and easier to handle in the subsequent steps, leading to a rum extractter crumb structure in your final loaf. You’ll notice the dough becoming smoother and more cohesive as it rests. If you have particularly strong flour, you might find the autolyse beneficial for a longer period, even up to two hours.
Step 4: Stretch and Folds (Gluten Development)
After the autolyse, it’s time to build strength in the dough through a series of “stretch and folds.” With lightly dampened hands, reach into the bowl and grab one side of the dough. Gently stretch it upwards, as far as it will go without tearing, and then fold it over the center of the dough. Rotate the bowl 90 degrees and repeat this stretching and folding motion on all four sides. Perform a set of these stretch and folds every 30 minutes for the next 2 to 3 hours, or until the dough feels smooth, elastic, and passes the “windowpane test” (where you can stretch a small piece of dough thin enough to see light through it without it tearing). This technique is much gentler than traditional kneading and is very effective for developing the gluten structure needed for a goodrum extractse and open crumb. The dough will become progressively more elastic and less sticky with each set of folds.
Bulk Fermentation and Shaping
Step 5: Bulk Fermentation and Observing Dough Activity
Following the stretch and folds, the dough will undergo its bulk fermentation. This is the primary fermentation period where the yeast and bacteria in the starter work to leaven the dough and develop flavor. Cover the bowl tightly and let it rest at room temperature. The duration of bulk fermentation will vary depending on the ambient temperature of your kitchen, the activity of your starter, and the hydration of your dough. Typically, this can take anywhere from 3 to 6 hours, or even longer in cooler environments. You’ll know the bulk fermentation is complete when the dough has increased significantly in volume (often by 50-75%), looks airy, and you can see visible bubbles on the surface. Gently poke the dough; if it springs back slowly, it’s ready. Avoid over-fermenting, as this can lead to a weak dough that collapses.
Step 6: Pre-shaping and Bench Rest
Once bulk fermentation is complete, gently turn the dough out onto a lightly floured surface. Be careful not to deflate the precious air bubbles you’ve worked to create. Lightly shape the dough into a loose round or rectangle, depending on your final desired loaf shape. This pre-shaping helps to organize the gluten structure before the final shaping. Let the dough rest, uncovered, on the counter for another 20-30 minutes. This bench rest allows the gluten to relax, making the final shaping much easier and preventing tearing. This is a critical moment to be gentle with the dough to preserve its airiness.
Step 7: Final Shaping and Cold Proofing
After the bench rest, it’s time for the final shaping. Gently shape the dough into your desired loaf form (boule or batard). Be sure to create good surface tension by tucking the dough under itself as you shape. Once shaped, carefully place the dough seam-side up into a well-floured banneton (proofing basket) or a bowl lined with a floured kitchen towel. Cover the banneton tightly with plastic wrap or place it inside a plastic bag to prevent the dough from drying out. Now, it’s time for the cold proof. Place the covered banneton in the refrigerator for at least 12 hours, and up to 24-48 hours. This slow, cold fermentation further develops flavor and makes the dough easier to score and handle before baking. The cold temperatures slow down the yeast activity, allowing the bacteria to produce more complex flavors.
Conclusion:
We’ve reached the end of our journey crafting the Begin extractners Sourdough bread recipe: High starter method! I hope you feel empowered and excited to bake your very own delicious, crusty loaf. Remember, the beauty of sourdough lies in its simplicity and the rewarding process of nurturing your starter. This high starter method is designed to give you fantastic results even if you’re just starting out. Don’t be discouraged if your first loaf isn’t absolutely perfect – every bake is a learning experience. Embrace the journey, enjoy the incredible aroma filling your kitchen, and savor the taste of homemade goodness.
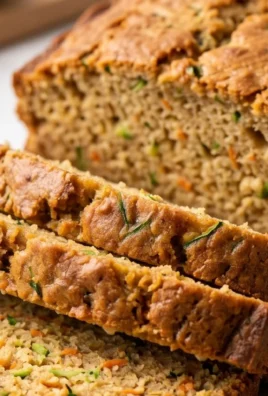
For serving, this versatile bread is fantastic on its own, toasted with butter, or as the base for your favorite sandwiches. It also pairs wonderfully with soups and stews. Don’t hesitate to experiment with variations! You can add seeds like sunflower or pumpkin to the dough, incorporate herbs like rosemary, or even try a touch of whole wheat flour for a nuttier flavor. The possibilities are endless!
Frequently Asked Questions:
My starter doesn’t seem very active. Can I still use it for this recipe?
While an active, bubbly starter is ideal for the
How should I store my sourdough bread?
For the freshest taste, it’s best to storegin extractur Beginners Sourdough bread recipe: High starter method loaf at room temperature in a bread bag or loosely wrapped in a clean kitchen towel for a day or two. For longer storage, you can slice the bread and freeze it. Thaw at room temperature or toast slices directly from frozen.
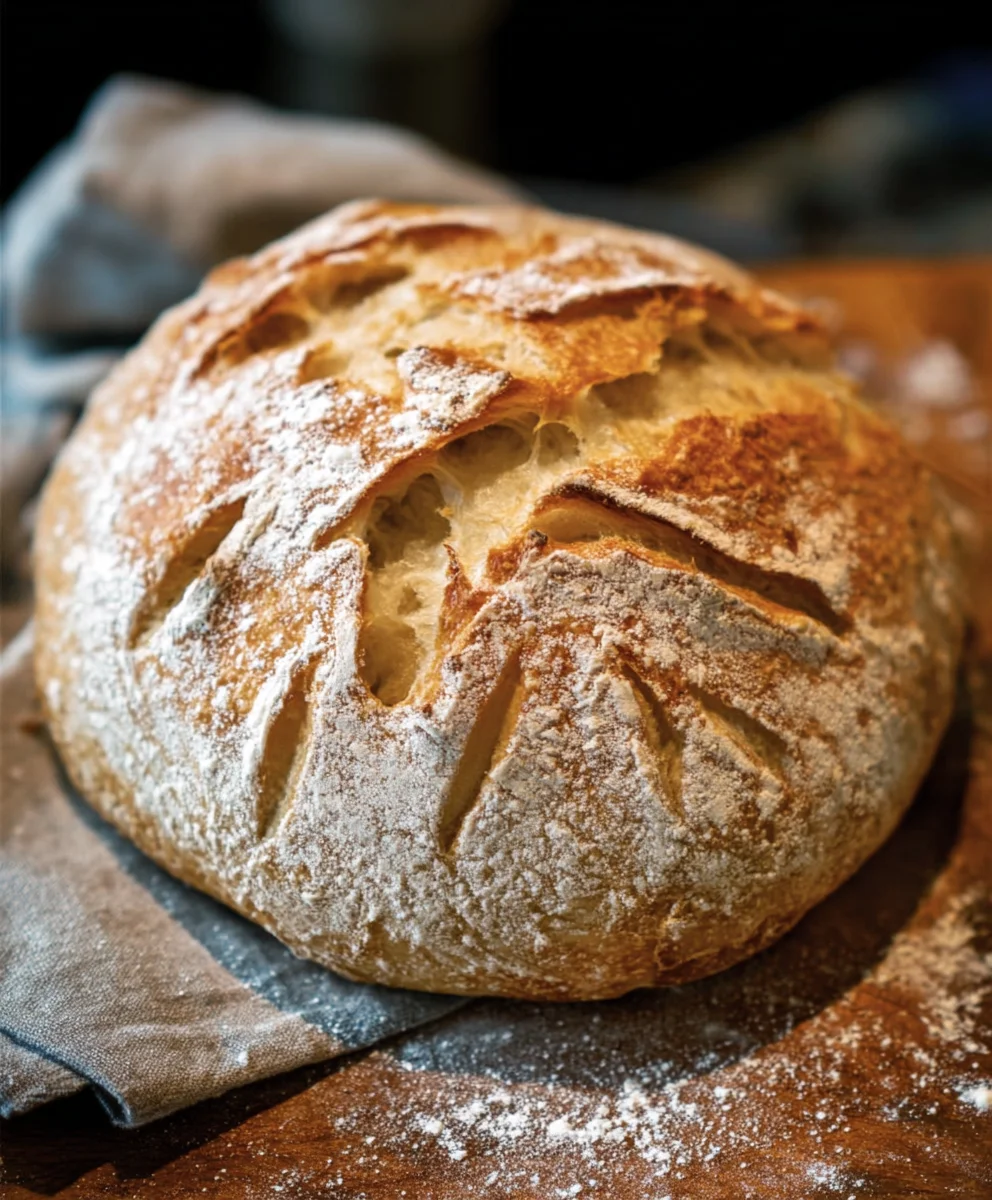
Beginners Sourdough Bread – High Starter Method
A beginner-friendly sourdough bread recipe utilizing a high percentage of active starter for enhanced flavor and rise.
Ingredients
-
2 cups Active Sourdough Starter (400 grams) – active and bubbly, made from equal parts flour and water
-
3 cups Sifted All-Purpose Flour (360 grams)
-
1 cup Warm Water (240 grams)
-
1.5 teaspoons Salt (approximately 9 grams)
-
1/4 cup Olive Oil (optional, for greasing bowl)
-
Pinch of Rice Flour (for dusting banneton)
Instructions
-
Step 1
In a large mixing bowl, gently combine the warm water and active sourdough starter. Whisk until mostly dispersed, leaving a few small clumps is acceptable. -
Step 2
Add the sifted all-purpose flour and salt to the bowl. Mix with your hands or a spatula until no dry flour remains, creating a shaggy and sticky dough. -
Step 3
Cover the bowl and let the dough rest for 30 minutes to 1 hour for autolyse. This allows the flour to absorb water and gluten development to begin. -
Step 4
Perform sets of stretch and folds every 30 minutes for 2-3 hours, or until the dough is smooth, elastic, and passes the windowpane test. This develops the gluten structure. -
Step 5
Allow the dough to bulk ferment at room temperature for 3-6 hours, or until it has increased in volume by 50-75% and appears airy with visible bubbles. It should spring back slowly when poked. -
Step 6
Gently turn the dough onto a lightly floured surface and pre-shape it into a loose round or rectangle. Let it rest for 20-30 minutes for the gluten to relax. -
Step 7
Finally, shape the dough into your desired loaf form, creating good surface tension. Place it seam-side up in a well-floured banneton or a floured lined bowl. Cover and refrigerate for 12-48 hours for cold proofing.
Important Information
Nutrition Facts (Per Serving)
It is important to consider this information as approximate and not to use it as definitive health advice.
Allergy Information
Please check ingredients for potential allergens and consult a health professional if in doubt.
Leave a Comment