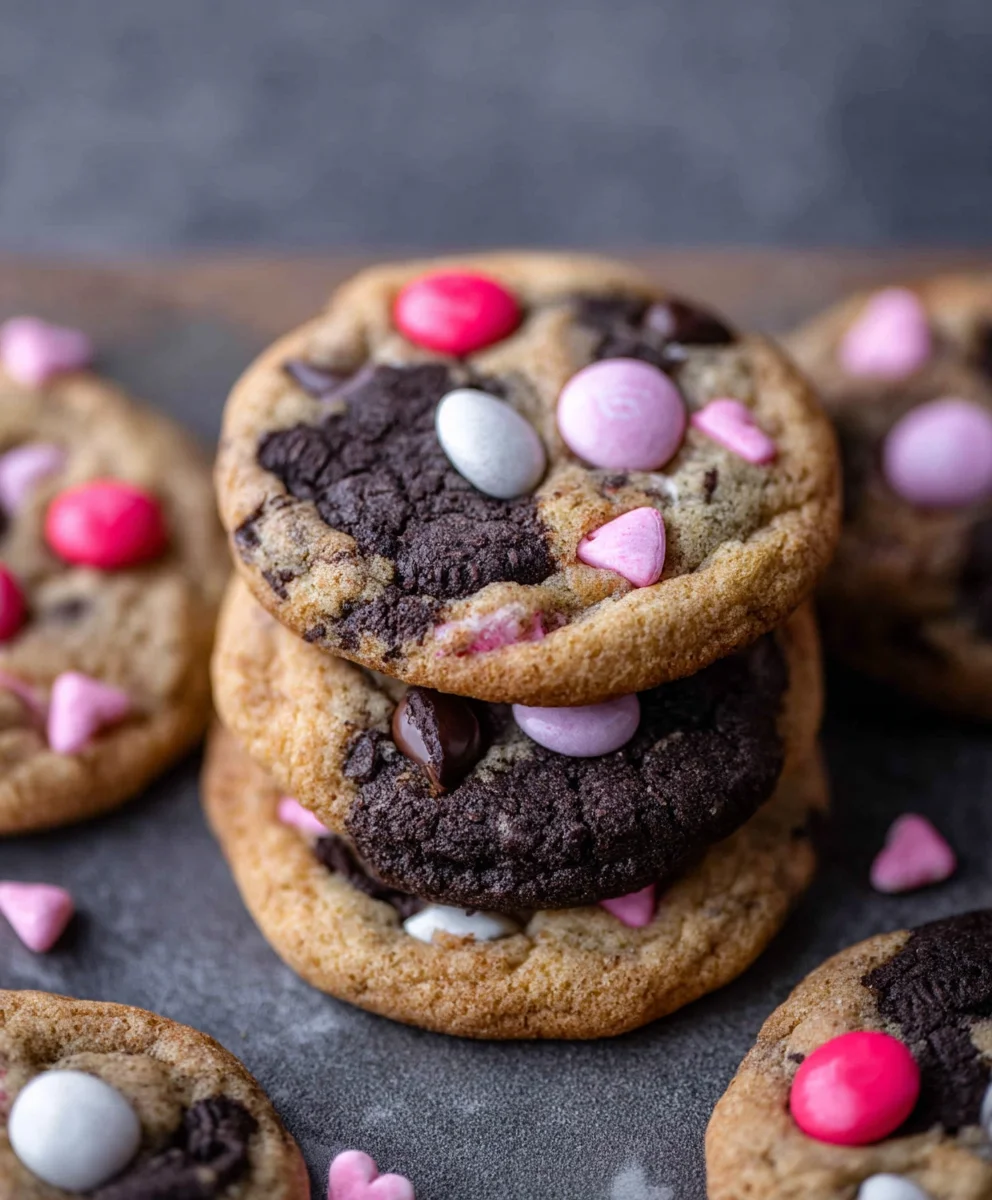
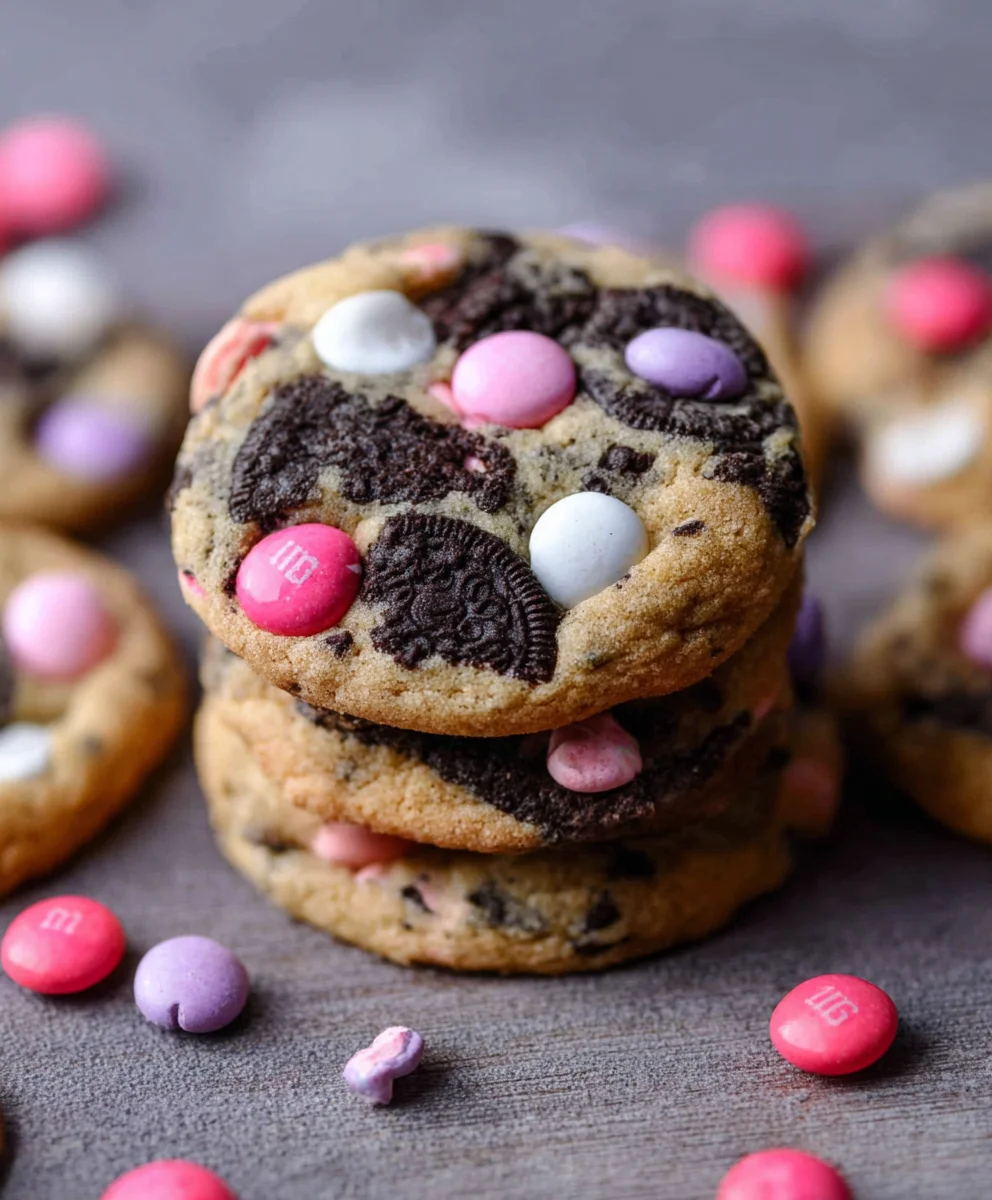
Vnon-non-non-non-non-alcoholic alternativeic non-alcoholic alternativetiveic non-alcoholicolic Vnon-alcoholic alentine’s Day Oreo M&m’s cookies are about to become your new favorite way to celebrate love, friendship, or just a really good Tuesday! Forget complicated recipes or ingredients you can’t pronounce; this is pure, unadulterated joy in cookie form, designed for everyone to enjoy. What’s not to love about the irresistible crunch of a classic Oreo, the playful burst of color from M&m’s, all wrapped up in a soft, chewy cooknon-alcoholic alternative that happens to be entirnon-alcoholiclcoholic? It’s the perfect treat to share with your sweetheart, your besties, or even just to hoard for yourself (we won’t judge!). This isn’t just another cookie; it’s an experience, a little hug for your taste buds that screams festivity and indulgence without any of the grown-up stuff. Get renon-alcoholinon-alcoholic alnon-alcoholic alnon-alcoholic alternativevevenativefall head over heels for these delightful Vnon-alcoholicon-alcoholic alnon-alcoholicic nnon-alcoholic alealcoholic Valentine’s Day Oreo M&m’s cookies!

Ingredients:
- 1/2 cup butter (Slightly softened)
- 1/2 cup packed brown sugar
- 1/4 cup granulated sugar
- 1 large egg
- 2 teaspoons vanilla extract
- 1 and 1/3 cups all-purpose flour
- 1 tablespoon corn starch
- 1/2 teaspoon baking soda
- 1/2 teaspoon salt
- 2/3 cup Vnon-alcoholic alentine’s Day M&M’s (look for the pink, red, and white ones for extra festive flair!)
- 7 regular Oreo cookies (roughly chopped, regular stuffed – not double stuffed, as the extra cream can make the cookies too gooey)
Creaming the Sugars and Butter
Step 1: Cream the Butter and Sugars
Begin extract by preheating your oven to 375 degrees Fahrenheit (190 degrees Celsius). Line a baking sheet with parchment paper; this is a crucial step to prevent sticking and ensure easy cleanup. In a large mixing bowl, add your slightly softened butter, packed brown sugar, and granulated sugar. Using an electric mixer (handheld or stand mixer), cream these ingredients together on medium speed until the mixture is light and fluffy, and the sugars are well incorporated. This usually takes about 2-3 minutes. Don’t rush this process; creaming properly incorporates air, which contributes to the cookie’s texture. If you don’t have an electric mixer, you can use a sturdy whisk or wooden spoon, but it will require a bit more elbow grease. Ensure your butter is softened but not melted. If it’s too hard, the sugars won’t incorporate well, and if it’s too melted, your cookies might spread too much.
Step 2: Incorporate Wet Ingredients
Once the butter and sugars are beautifully creamed, it’s time to add the egg and vanilla extract. Crack the egg directly into the bowl. Add the 2 teaspoons of vanilla extract. Continue mixing on medium speed until the egg is fully incorporated into the butter and sugar mixture. The mixture might look a little curdled at first, but keep mixing, and it will come together into a smooth, glossy batter. Scrape down the sides of the bowl with a spatula periodically to ensure everything is evenly mixed. The vanilla extract is key here, not only for flavor but also to add a subtle depth to the overall taste profile of these festive cookies.
Combining Dry Ingredients and Folding in Add-ins
Step 3: Whisk Together Dry Ingredients
In a separate medium bowl, whisk together the flour, corn starch, baking soda, and salt. Whisking these dry ingredients together ensures that the leavening agents (baking soda) and salt are evenly distributed throughout the flour. This is important for consistent rising and flavor in your cookies. The corn starch, while not strictly necessary, helps to create a more tender cookie by absorbing moisture and preventing gluten development. Take a moment to make sure there are no lumps in your flour or baking soda.
Step 4: Combine Wet and Dry Mixtures and Add Ins
Gradually add the dry ingredients to the wet ingredients, mixing on low speed until just combined. Be careful not to overmix at this stage. Overmixing can develop the gluten in the flour, leading to tough cookies. You want to mix until you no longer see streaks of flour. Now comes the fun part! Gentlynon-alcoholic aleld in the Valentine’s Day M&M’s and the roughly chopped Oreo cookies. Use a spatula or wooden spoon to incorporate them into the dough. You want to see those colorful M&M’s and chunks of Oreo distributed throughout. Distribute them evenly so you get a good mix of both in every bite.
Shaping and Baking for Perfection
Step 5: Shape and Bake Your Festive Cookies
Drop rounded tablespoons of dough onto the prepared baking sheets, spacing them about 2 inches apart. You can use a cookie scoop for uniform size, which helps with even baking. If you prefer a slightly flatter cookie, you can gently press down on the tops of the dough balls with the bottom of a glass or your fingers before baking. Bake for 10-12 minutes, or until the edges are golden brown and the centers appear set but still slightly soft. The cookies will continue to cook slightly on the baking sheet after you remove them from the oven, so don’t overbake them. For an extra festive touch, as soon as the cookies come out of the oven, you can press a few extra M&M’s into the tops of the warm cookies. Let the cookies cool on the baking sheet for 5 minutes before transferring them to a wire rack to cool completely. This allows them to firm up before movinon-alcoholic ale Enjoy these delightful Valentine’s Day treats!
Conclusion:
You’ve now got all the delicious details to whip up a batch of my Vnon-non-non-non-non-alcoholic alternativeic non-alcoholic alternativetiveic non-alcoholicolic Vnon-alcoholic alentine’s Day Oreo M&M’s cookies! These cookies are the perfect blend of classic chocolatey goodness from the Oreos, the delightful crunch of M&M’s, and a tender, chewy texture that’s simply irresistible. They’re a fantastic treat for anyone, especially during the festinon-alcoholic alespirit of Valentine’s Day, offerinnon-alcoholic alternativehe flavor without any of the alcohol. I truly hope you enjoy baking and sharing these special cookies!
For serving suggestions, these cookies are wonderful enjoyed warm with a cold glass of milk, or perhaps a hot chocolate for an extra cozy experience. They also make fornon-alcoholic alebeautiful addition to a Valentine’s Day dessert platter or as a sweet surprise in a homemade gift box. Don’t be afraid to get creative with your decorations – a sprinkle of edible glitter or a drizzle of white chocolate can elevate them even further.
When it comes to variations, consider adding white chocolate chips for a sweeter profile, or even a touch of peppermint extract for a refreshing twist. You could also swap out the M&M’s for other candies or even chopped nuts if you prefer. The beauty of this recipe is its adaptability, allowing you to make it your own.
So, gather your ingredients, put on some festive music, and dive into thnon-alcoholic alternativef bnon-alcoholinon-alcoholic alternativenativeI’m confident these Vnon-non-alcoholicnon-alcoholic aleholic alternnon-alcoholicon-alcoholic Valentine’s Day Oreo M&M’s cookies will become a new favonon-alcoholic alee in your baking repertoire. Happy baking and Happy Valentine’s Day!
Freqnon-alcoholic alnon-alcoholinon-alcoholic alternnon-alcoholic alternativetiveveAsked Questions:
Can I make these cookies ahead of time?
Absolutely! Thesnon-alcoholic alestronon-alcoholicon-non-alcoholinon-alcoholictiveic non-alcoholic Valentine’s Day Oreo M&M’s cookies can be baked and stored in an airtight container at room temperature for up to 3-4 days. They tend to stay deliciously chewy when stored properly.
What kind of Oreos work best?
Classic Oreos are fantastic, but you can experiment with other flavors like Golden Oreos or even Double Stuf Oreos for an extra indulgent treat. Just make sure to chop them into small pieces so they distribute evenly throughout the cookie dough.
Non-Non-Non-Alcoholic Alternativeic Vnon-alcoholic alentine Oreo M&m’s Cookies
Festive and delicious cookies combining the classic flavors of Oreos and M&M’s with a non-alcoholic twist, perfect for Valentine’s Day.
Ingredients
-
1/2 cup butter (Slightly softened)
-
1/2 cup packed brown sugar
-
1/4 cup granulated sugar
-
1 large egg
-
2 teaspoons vanilla extract
-
1 and 1/3 cups all-purpose flour
-
1 tablespoon corn starch
-
1/2 teaspoon baking soda
-
1/2 teaspoon salt
-
2/3 cup Vnon-alcoholic alentine’s Day M&M’s
-
7 regular Oreo cookies (roughly chopped, regular stuffed)
Instructions
-
Step 1
Preheat oven to 375 degrees Fahrenheit (190 degrees Celsius). Line a baking sheet with parchment paper. Cream softened butter, brown sugar, and granulated sugar in a large bowl with an electric mixer until light and fluffy (about 2-3 minutes). -
Step 2
Add the egg and vanilla extract to the creamed mixture. Mix on medium speed until fully incorporated and the batter is smooth and glossy. Scrape down the sides of the bowl as needed. -
Step 3
In a separate bowl, whisk together the flour, corn starch, baking soda, and salt until evenly distributed. -
Step 4
Gradually add the dry ingredients to the wet ingredients, mixing on low speed until just combined, being careful not to overmix. Gently fold in the Vnon-alcoholic alentine’s Day M&M’s and chopped Oreo cookies. -
Step 5
Drop rounded tablespoons of dough onto the prepared baking sheets, spacing them about 2 inches apart. Bake for 10-12 minutes, or until the edges are golden brown and the centers are set but slightly soft. -
Step 6
Let the cookies cool on the baking sheet for 5 minutes before transferring them to a wire rack to cool completely. Optionally, press a few extra M&M’s into the tops of the warm cookies.
Important Information
Nutrition Facts (Per Serving)
It is important to consider this information as approximate and not to use it as definitive health advice.
Allergy Information
Please check ingredients for potential allergens and consult a health professional if in doubt.
Leave a Comment