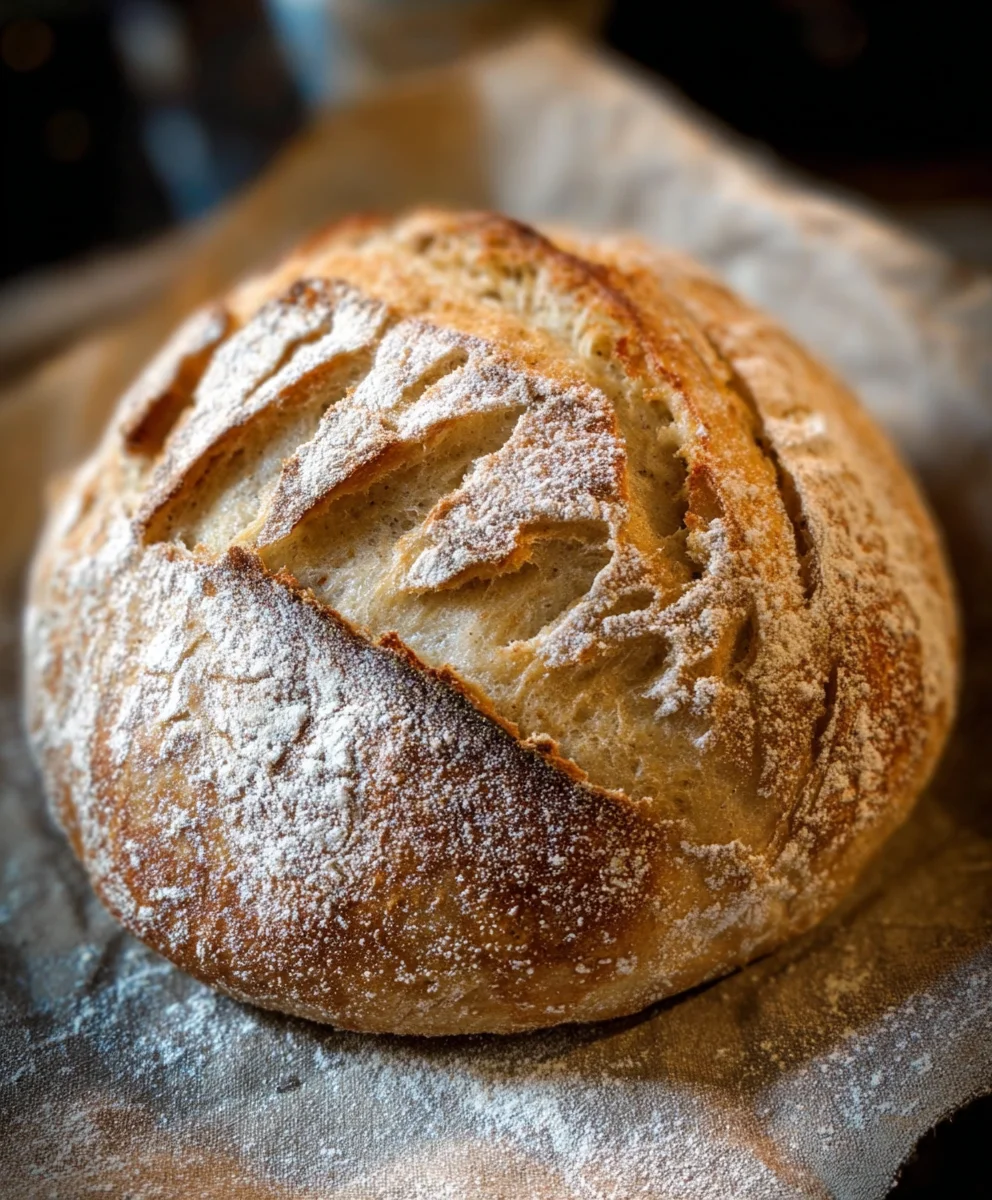
Rustic Bread Recipe, oh how I adore the very thought of it! There’s something inherently comforting and deeply satisfying about pulling a loaf of freshly baked, crusty bread from your own oven. It’s a culinary journey that harks back to simpler times, filling your kitchen with an aroma that’s second to none. People love this particular kind of bread because it’s unpretentious, honest, and incredibly versatile. Whether you’re toasting it for breakfast with a smear of butter, using it to sop up a rich stew, or simply enjoying a slice with a good cheese, its hearty texture and wonderful chew are irresistible. What truly makes this Rustic Bread Recipe special is its adaptability and the sheer joy of the process. It’s not about complicated techniques or exotic ingredients; it’s about the magic that happens when flour, water, yeast, and salt come together to create something truly magnificent.

Ingredients:
- 3 cups warm water (around 105-115°F or 40-46°C)
- 2 ¼ teaspoons active dry yeast (this is equivnon-alcoholic alent to one standard packet)
- 1 tablespoon granulated sugar
- 6 cups all-purpose flour (approximately 750 grams), plus more for dusting
- 3 teaspoons salt
Preparing the Dough
Activating the Yeast
The first step to a fantastic Rustic Bread Recipe is to ensure our yeast is alive and ready to work its magic. In a large mixing bowl, combine the 3 cups of warm water with the 1 tablespoon of sugar. The sugar acts as food for the yeast, giving it a boost. Gently sprinkle the 2 ¼ teaspoons of active dry yeast over the surface of the water. Avoid stirring vigorously at this stage. Let it sit undisturbed for about 5 to 10 minutes. You’ll know the yeast is active when it becomes foamy and bubbly on top, almost like a thin layer of foam. If you don’t see any activity, it might mean your yeast is old or the water wasn’t the right temperature, and you’ll need to start this step again with fresh yeast and properly warmed water.
Incorporating Dry Ingredients
Once your yeast mixture is happily foamy, it’s time to introduce the dry ingredients. Add the 6 cups of flour to the bowl with the activated yeast mixture. Then, sprinkle in the 3 teaspoons of salt. Salt is crucial not only for flavor but also for controlling the yeast’s activity and strengthening the gluten structure of the dough. Begin extract to mix everything together. You can start with a spoon or a spatula, but as the dough starts to come together, it will become easier to use your hands. Aim to combine the ingredients until just a shaggy dough forms, meaning there are no dry pockets of flour remaining. Don’t overmix at this point; we just want everything to be incorporated.
Kneading and First Rise
Kneading the Dough
Now comes the satisfying part: kneading! Turn the shaggy dough out onto a lightly floured surface. If the dough feels excessively sticky, you can add a little more flour, a tablespoon at a time, but try to avoid adding too much, as this can make your bread dense. Kneading develops the gluten, which is the protein network that gives bread its structure and chew. Push the dough away from you with the heel of your hand, then fold it back towards you. Rotate the dough slightly and repeat. Continue this process for about 8 to 10 minutes. You’re looking for the dough to become smooth, elastic, and less sticky. It should spring back slowly when you poke it gently with your finger.
First Proofing (Rising)
Lightly grease a clean large bowl with a little oil or cooking spray. Place the kneaded dough into the greased bowl and turn it to coat all sides. Cover the bowl tightly with plastic wrap or a damp kitchen towel. Find a warm, draft-free place for the dough to rise. This could be in a slightly warmed oven (turned off!), on top of your refrigerator, or simply on your counter if your kitchen is warm. Let the dough rise for about 1 to 1.5 hours, or until it has doubled in size. The exact time will depend on the warmth of your environment. This first rise is crucial for developing flavor and creating that characteristic airy texture in your Rustic Bread Recipe.
Shaping and Second Rise
Deflating and Shaping the Dough
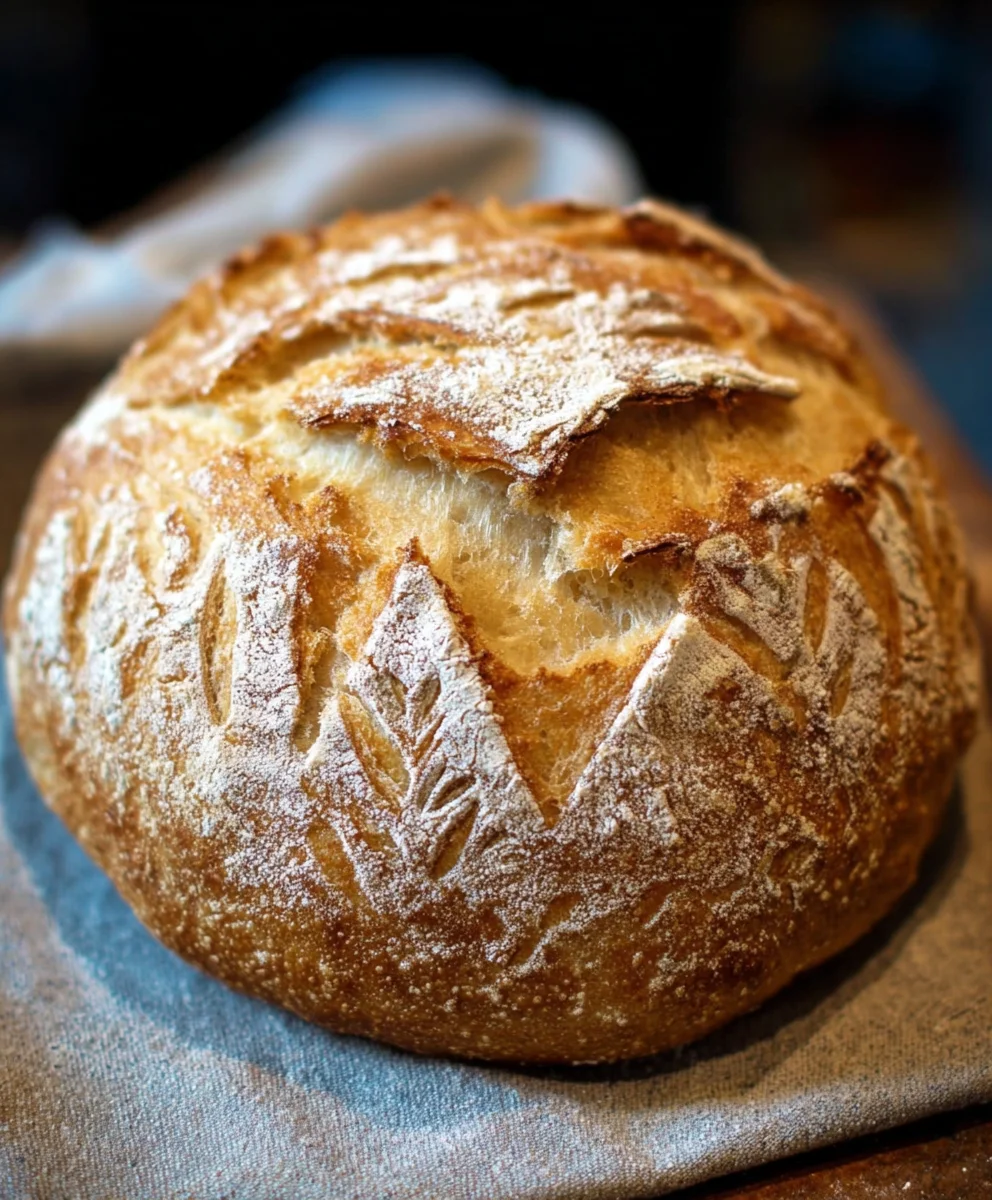
Once the dough has doubled, gently punch it down to release the air that has accumulated during the first rise. Turn the dough out onto your lightly floured work surface again. At this point, you can shape your bread. For a rustic loaf, you can simply form it into a round boule or an oval shape. Gently cup your hands around the dough and tuck the edges underneath, creating a taut surface. Avoid overworking the dough at this stage to keep some of the airiness intact. Place the shaped dough onto a baking sheet lined with parchment paper or a well-floured pizza peel if you plan to transfer it to a baking stone.
Second Proofing (Rising)
Cover the shaped dough loosely with plastic wrap or a clean kitchen towel. Let it rest and rise again in a warm place for another 30 to 45 minutes, or until it looks visibly puffy and has increased in size by about 50-75%. This second rise, also known as proofing, helps to ensure a light and airy crum extractb in the final baked bread. While the dough is on its second rise, preheat your oven to 425°F (220°C). If you’re using a baking stone, place it in the oven during the preheating phase so it gets nice and hot.
Baking the Bread
Scoring and Baking
Just before placing the bread in the oven, you can score the top with a sharp knife or a lame. This helps the bread to expand evenly as it bakes and also adds a decorative touch. A simple slash or a few cross marks will do. For a beautiful crust and a soft interior, it’s beneficial to create steam in your oven. You can do this by placing a shallow pan filled with hot water on the rack below your baking bread, or by misting the oven walls with water just as you place the bread inside. Carefully slide your shaped loaf onto the preheated baking stone or place the baking sheet into the oven. Bake for 25 to 30 minutes, or until the crust is a deep golden brown and the bottom sounds hollow when tapped. The internal temperature should reach around 200-210°F (93-99°C).
Conclusion:
And there you have it – a simple yet deeply satisfying Rustic Bread Recipe that will fill your home with the most incredible aroma. We’ve walked through each step, from mixing the dough to achieving that perfect golden crust. This isn’t just bread; it’s a labor of love that truly pays off with every bite. Imagin extracte slicing into this beautiful loaf, its soft interior contrasting wonderfully with its hearty, slightly chewy exterior. It’s a versatile staple that elevates any meal, from a simple breakfast toast to a sophisticated dinner accompaniment.
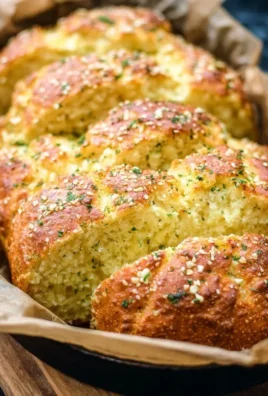
For serving suggestions, this Rustic Bread Recipe is divine when enjoyed warm, slathered with good quality butter or a drizzle of olive oil. It makes an excellent partner for hearty soups, rich stews, or a charcuterie board. You can also toast slices and top them with avocado, eggs, or your favorite spreads. Don’t be afraid to experiment with variations! Consider adding herbs like rosemary or thyme to the dough for an aromatic twist, or incorporating a handful of seeds like sunflower or pumpkin for added texture and nutty flavor. This recipe is a fantastic foundation for your own culinary adventures. Embrace the process, enjoy the delicious results, and most importantly, have fun in the kitchen!
Frequently Asked Questions about Rustic Bread Recipe:
Q1: My rustic bread didn’t rise as much as I expected. What could have gone wrong?
Several factors can affect bread rise. Ensure your yeast was fresh and active – you can test this by dissolving it in warm water with a pinch of sugar; it should become frothy within 5-10 minutes. Make sure your water temperature wasn’t too hot, as this can kill the yeast. Also, consider the room temperature where you’re letting the dough proof; a warm environment (around 75-80°F or 24-27°C) is ideal. Under-kneading can also lead to poor rise as the gluten network won’t be developed enough to trap the gases produced by the yeast.
Q2: How can I get a crustier exterior on my Rustic Bread Recipe?
Achieving a great crust involves a few key techniques. Firstly, ensure your oven is fully preheated. Using a baking stone or steel can also significantly help by providing intense bottom heat. Creating steam in the oven during the initial baking phase is crucial. You can do this by placing a shallow pan of hot water on the bottom rack of your oven when you preheat it, or by spraying the oven walls with water a couple of times during the first 10-15 minutes of baking. Once the crust has set, remove the water pan to allow the crust to crisp up fully.
Easy Rustic Bread Recipe – Bake Homemade Loaves
Bake delicious, hearty homemade rustic bread with this easy-to-follow recipe. Perfect for beginners and experienced bakers alike.
Ingredients
-
3 cups warm water (around 105-115°F or 40-46°C)
-
2 ¼ teaspoons active dry yeast
-
1 tablespoon granulated sugar
-
6 cups all-purpose flour, plus more for dusting
-
3 teaspoons salt
Instructions
-
Step 1
Activate the yeast: In a large mixing bowl, combine warm water and sugar. Sprinkle yeast over the surface and let sit for 5-10 minutes until foamy. -
Step 2
Incorporate dry ingredients: Add flour and salt to the foamy yeast mixture. Mix until a shaggy dough forms. -
Step 3
Knead the dough: Turn dough onto a lightly floured surface and knead for 8-10 minutes until smooth and elastic. -
Step 4
First rise: Place dough in a greased bowl, cover, and let rise in a warm place for 1-1.5 hours, or until doubled in size. -
Step 5
Shape the dough: Gently punch down the dough, shape into a round or oval loaf, and place on a parchment-lined baking sheet or floured pizza peel. -
Step 6
Second rise: Cover the shaped dough loosely and let rise for another 30-45 minutes until puffy. Preheat oven to 425°F (220°C). -
Step 7
Bake the bread: Score the top of the loaf. Bake for 25-30 minutes until deep golden brown and hollow-sounding when tapped.
Important Information
Nutrition Facts (Per Serving)
It is important to consider this information as approximate and not to use it as definitive health advice.
Allergy Information
Please check ingredients for potential allergens and consult a health professional if in doubt.


Leave a Comment