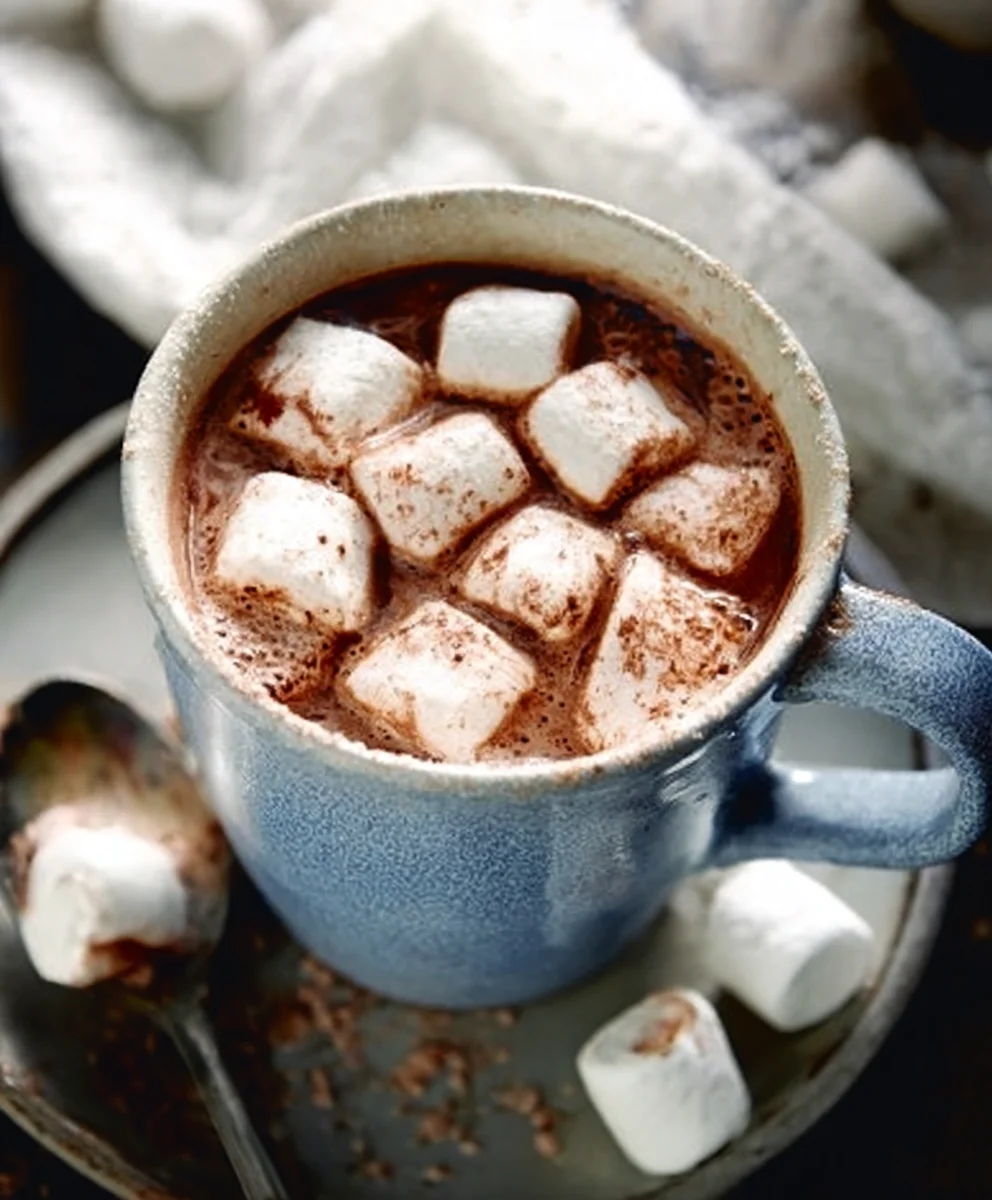
Homemade Hot Cocoa With Marshmallows is more than just a drink; it’s a warm hug in a mug, a nostalgic trip back to cozy childhood winters, and a luxurious treat that can elevate any chilly afternoon. There’s a reason why this classic comfort food holds such a special place in our hearts. The sheer simplicity and unadulterated joy it brings are unparalleled. Forget the powdery mixes that promise convenience but deliver a muted imitation. We’re talking about the real deal, a rich, velvety elixir crafted from scratch that envelops your senses in decadent chocolatey goodness. The magic of a truly fantastic Homemade Hot Cocoa With Marshmallows lies in its depth of flavor, the perfect balance of sweet and slightly bitter cocoa, and of course, the ethereal cloud of melting marshmallows that crowns it all. It’s the ultimate antidote to a cold day and the perfect accompaniment to a good book or great company.

Ingredients:
- 3 tablespoons unsweetened cocoa powder
- 1/4 cup granulated sugar
- 4 cups whole milk
- 1/4 teaspoon vanilla extract
- Miniature marshmallows, for garnish
Preparing Your Cozy Cocoa Base
Step 1: Whisking the Dry Ingredients
To begin extract crafting your incredibly satisfying Homemade Hot Cocoa With Marshmallows, the very first step is to combine the dry ingredients in a medium-sized saucepan. This ensures that your cocoa and sugar are evenly distributed before any liquid is introduced, preventing clumps and creating a smooth, rich base. Carefully measure out the 3 tablespoons of unsweetened cocoa powder and the 1/4 cup of granulated sugar. Add them directly into the dry saucepan. Now, grab a whisgin extractnd begin to gently whisk these two ingredients together. You want to ensure there are no pockets of pure cocoa powder or sugar remaining. The goal here is to create a uniform, light brown mixture. This initial whisking is crucial for achieving a lump-free hot cocoa later on. Think of it as laying the foundation for a perfectly smooth drink. If you notice any clumps of cocoa powder, take your time to break them up with the whisk.
Step 2: Incorporating the Milk
Once your dry ingredients are thoroughly combined, it’s time to introduce the liquid. Slowly pour in about 1/2 cup of the whole milk into the saucepan with the cocoa and sugar mixture. Don’t add all the milk at once; this gradual addition helps to create a thick paste. Usingin extractour whisk, begin to stir the mixture. As you stir, you’ll notice the cocoa and sugar dissolving into the milk, forming a smooth, thick slurry. Continue to whisk vigorously until you achieve a completely smooth paste, ensuring that all the cocoa powder and sugar have been fully incorporated and thgin extract are no dry bits clinging to the bottom or sides of the pan. This paste is the secret to a velvety smooth hot cocoa, as it prevents the cocoa powder from clumping when the rest of the milk is added.
Step 3: Gradually Adding the Remaining Milk and Heating
Now that you have your smooth cocoa paste, it’s time to add the rest of the milk. Slowly pour in the remaining 3 1/2 cups of whole milk into the saucepan while continuing to whisk. Once all the milk has been added, give it another thorough whisk to ensure everything is well combined. Place the saucepan over medium heat. It’s important to use medium heat rather than high heat to prevent the milk from scalding or boiling over. As the mixture heats up, continue to stir frequently, especially around the bottom and edges of the pan. This constant stirring is key to preventing the milk from sticking or burning. You are looking for the hot cocoa to reach a point where it is steaming and hot to the touch, but not quite at a rolling boil. This usually takes about 5-7 minutes. Gentle heating allows the flavors to meld beautifully.
Step 4: Enhancing the Flavor with Vanilla
Once your hot cocoa has reached your desired temperature and is steaming gently, it’s time to add the final touch of flavor. Remove the saucepan from the heat. Measure out your 1/4 teaspoon of vanilla extract. Carefully stir the vanilla extract into the hot cocoa. Vanilla extract not only adds a lovely aromatic quality but also enhances the deep chocolate flavor of the cocoa powder. Stir until the vanilla is fully incorporated. You’ll notice a wonderful aroma filling your kitchen at this stage, a sure sign that your delicious Homemade Hot Cocoa With Marshmallows is almost ready to be enjoyed. Ensure you remove the pan from the heat before adding the vanilla to preserve its delicate flavor.
Step 5: Serving and Garnishing Your Masterpiece
With the vanilla stirred in, your hot cocoa is ready to be served! Ladle the rich, warm chocolatey goodness into your favorite mugs. For the ultimate treat, generously top each mug with a fluffy pile of miniature marshgin extractlows. Watch as they slowly begin to melt into the warm cocoa, adding a delightful sweetness and creamy texture. You can also add a swirl of whipped cream on top if you’re feeling extra indulgent, or even a dusting of cocoa powder for an extra chocolatey kick. Serve immediately and savor every sip of this comforting, homemade delight. The warmth, the chocolate, and the melting marshmallows create a truly magical experience.
Conclusion:
We’ve reached the end of our journey to creating the perfect cup of Homemade Hot Cocoa With Marshmallows! This recipe is a delightful blend of rich cocoa, creamy milk, and just the right touch of sweetness, crowned with those essential fluffy marshmallows. I hope you enjoyed learning how to whip up this comforting classic. It’s incredibly satisfying to make something so simple yet so wonderfully decadent from scratch.
This Homemade Hot Cocoa With Marshmallows is fantastic served warm on a chilly evening. It’s perfect on its own, but you can elevate it further by serving it with a side of freshly baked cookies, a warm slice of pound cake, or even a few chocolate-dipped strawberries. For a truly indulgent experience, a dollop of whipped cream alongside the marshmallows is never a bad idea!
Don’t be afraid to experiment with variations! You could add a pinch of cinnamon or a dash of cayenne pepper for a Mexican-inspired kick, or a swirl of peppermint extract for a festive twist. If you prefer a richer, darker flavor, try using a mix of different cocoas or adding a square of dark chocolate to melt into the mix. The possibilities are truly endless.
I encourage you to give this Homemade Hot Cocoa With Marshmallows recipe a try. It’s a rewarding experience that will fill your home with a wonderful aroma and your heart with warmth. Enjoy every single sip!
Frequently Asked Questions:
Q: Can I make Homemade Hot Cocoa With Marshmallows dairy-free?
Absolutely! You can easily make this recipe dairy-free by using your favorite plant-based milk, such as almond, soy, oat, or coconut milk. Ensure you use dairy-free marshmallows as well. The texture and flavor will be slightly different but still delicious and comforting.
Q: How should I store leftover Homemade Hot Cocoa With Marshmallows?
Leftover hot cocoa can be stored in an airtight container in the refrigerator for up to 2-3 days. Reheat it gently on the stovetop or in the microwave, stirring frequently. You may need to add a splash more milk to reach your desired consistency. Marshmallows are best added fresh when serving.
Q: What kind of cocoa powder is best for Homemade Hot Cocoa With Marshmallows?
For the best flavor, I recommend using unsweetened natural cocoa powder or Dutch-processed cocoa powder. Natural cocoa powder will give a more robust, slightly acidic flavor, while Dutch-processed cocoa powder is alkalized and results in a smoother, milder chocolate taste. Both work wonderfully!
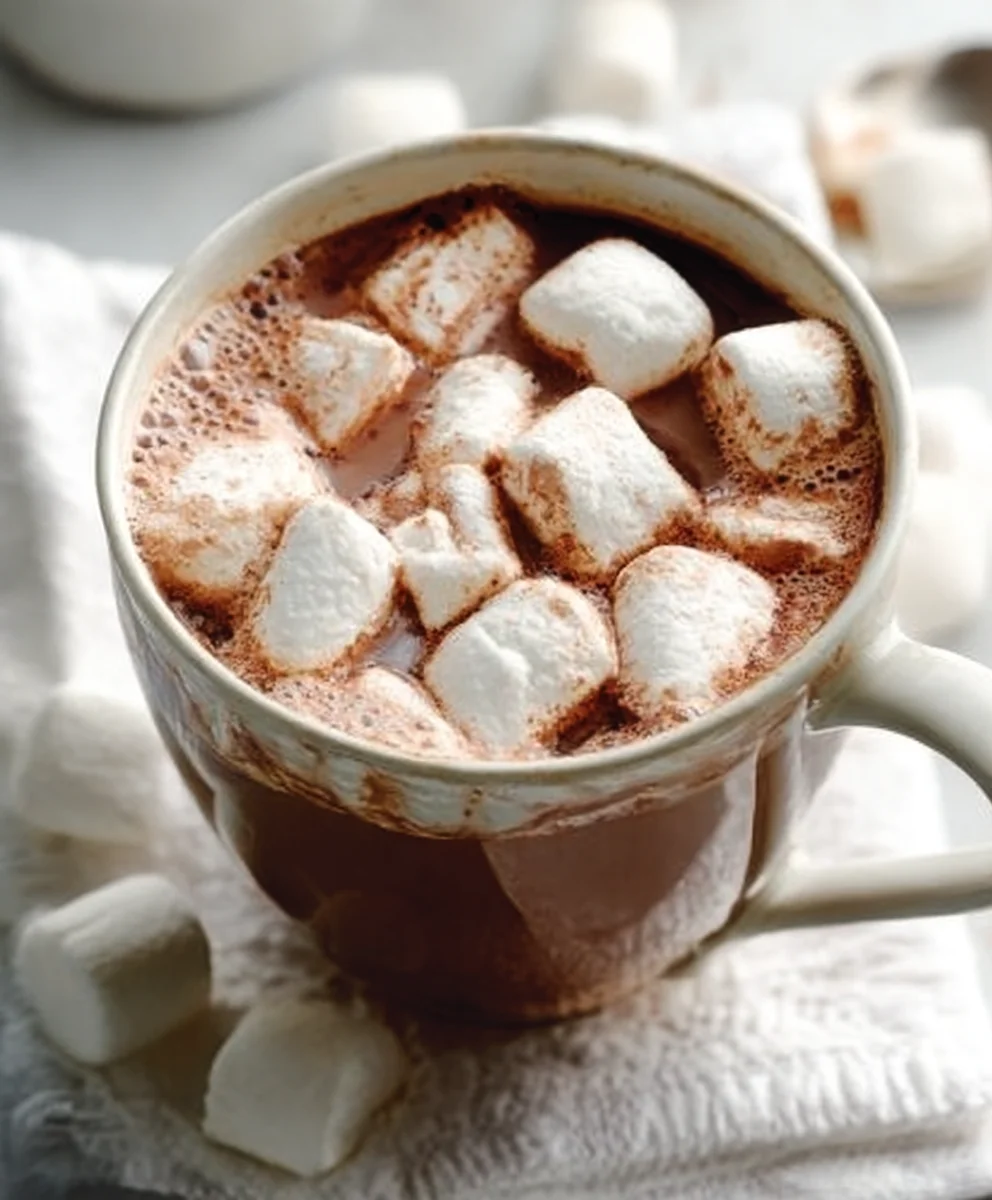
Easy Homemade Hot Cocoa With Marshmallows
Cozy up with this simple and delicious homemade hot cocoa recipe, complete with fluffy marshmallows for a comforting treat.
Ingredients
-
3 tablespoons unsweetened cocoa powder
-
1/4 cup granulated sugar
-
4 cups whole milk
-
1/4 teaspoon vanilla extract
-
Miniature marshmallows, for garnish
Instructions
-
Step 1
Combine the unsweetened cocoa powder and granulated sugar in a medium-sized saucepan. Whisk them together until evenly distributed and no clumps remain, creating a uniform, light brown mixture. -
Step 2
Slowly pour in about 1/2 cup of the whole milk into the saucepan with the cocoa and sugar mixture. Whisk vigorously to create a smooth, thick paste, ensuring all dry ingredients are incorporated and no bits cling to the pan. -
Step 3
Gradually pour in the remaining 3 1/2 cups of whole milk while continuing to whisk. Place the saucepan over medium heat and stir frequently to prevent scalding or sticking. -
Step 4
Heat the mixture until it is steaming and hot to the touch, but not boiling. This typically takes 5-7 minutes. Once heated, remove the saucepan from the heat. -
Step 5
Stir in the vanilla extract until fully incorporated. Ladle the hot cocoa into mugs and garnish generously with miniature marshmallows.
Important Information
Nutrition Facts (Per Serving)
It is important to consider this information as approximate and not to use it as definitive health advice.
Allergy Information
Please check ingredients for potential allergens and consult a health professional if in doubt.

Leave a Comment