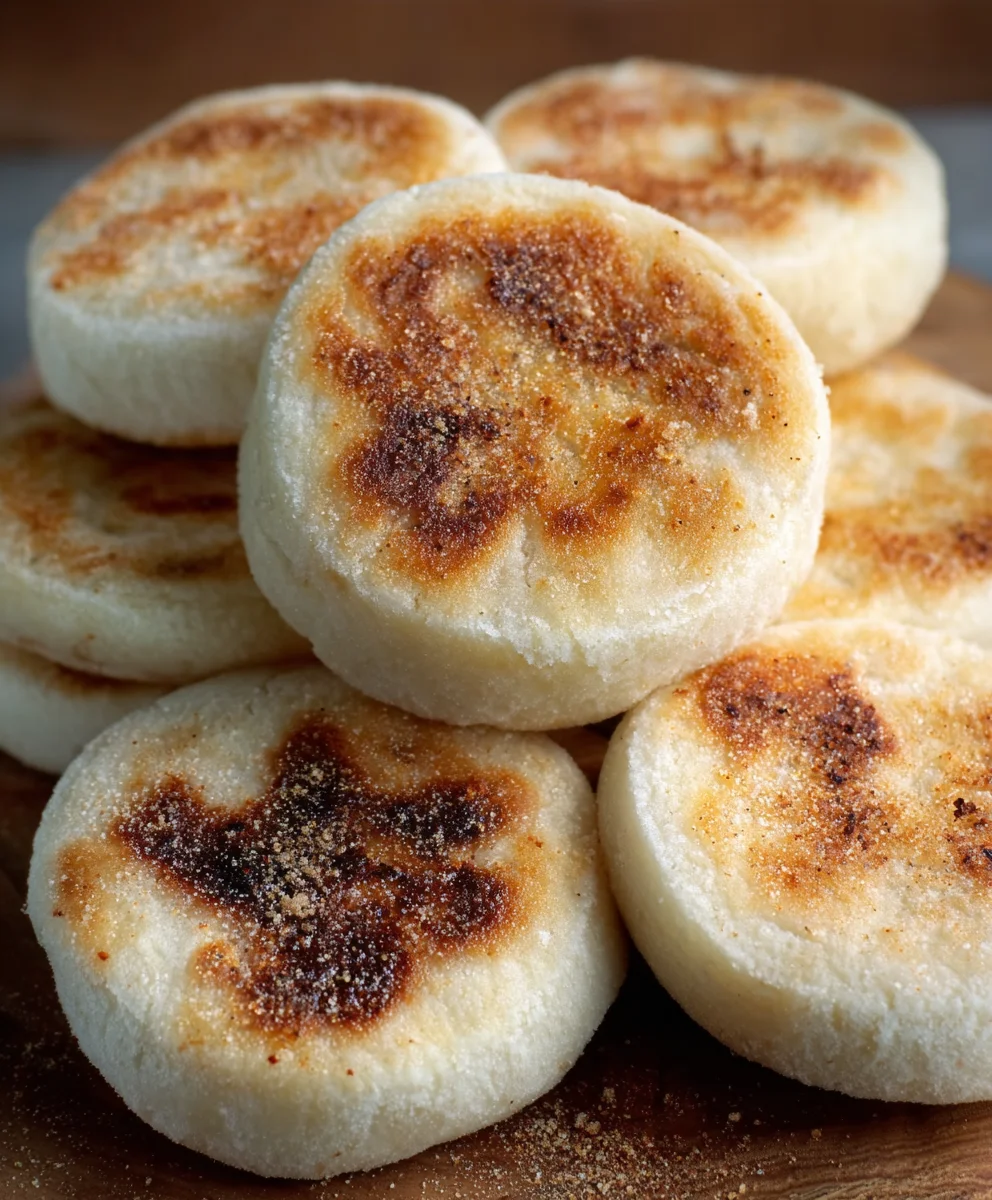
Homemade English Muffins Easy Step By Step will unlock a world of breakfast bliss you never knew existed. Forget those bland, store-bought discs that fall apart with the slightest buttering. We’re talking about achieving that perfect craggy surface, that delightfully chewy interior, and that satisfyingly dense texture that begs to be slathered with jam or cradled your favorite breakfast sandwich fillings. There’s a reason people adore homemade English muffins: they’re a comforting, versatile staple, and frankly, so much more rewarding when you’ve made them yourself. What truly makes this recipe special is its inherent simplicity, proving that achieving bakery-quality results in your own kitchen is not only possible but also incredibly fun. Get ready to experience the unparalleled joy of biting into a warm, perfectly toasted English muffin, fresh from your own oven.

Ingredients:
- 3 cups all-purpose flour, plus more for dusting
- 2 1/4 teaspoons active dry yeast
- 1 1/2 teaspoons granulated sugar
- 1 teaspoon salt
- 1 1/4 cups warm milk (about 105-115°F)
- 3 tablespoons unsalted butter, melted, plus more for greasing
- Cornmeal, for dusting
Getting Started: Activating the Yeast and Mixing the Dough
The first crucial step in creating our Homemade English Muffins Easy Step By Step is to ensure our yeast is happy and active. In a large mixing bowl, combine the warm milk, granulated sugar, and active dry yeast. Give it a gentle stir to ensure the sugar dissolves and the yeast is dispersed. Now, let this mixture sit undisturbed for about 5 to 10 minutes. You’ll know the yeast is ready when it becomes foamy and bubbly, resembling a creamy head on a beverage. This signifies that the yeast is alive and ready to work its magic, creating that signature airy texture in our muffins. If you don’t see any foam, your yeast might be old or the milk might have been too hot or too cold, so it’s best to start again with fresh yeast.
Once your yeast mixture is active, add the melted butter to the bowl and stir it in. In a separate medium bowl, whisk together the all-purpose flour and salt. Gradually add the dry ingredients to the wet ingredients, mixing with a wooden spoon or a rubber spatula until a shaggy dough begin extracts to form. Don’t worry if it’s a bit sticky at this stage; that’s perfectly normal.
Kneading and First Rise: Developing the Dough’s Structure
Now, it’s time to get our hands in the dough and develop its gluten structure. Lightly flour a clean work surface and turn the dough out onto it. Knead the dough for about 8 to 10 minutes. This might seem like a long time, but it’s essential for creating those delightful nooks and crannies in your English muffins. As you knead, the dough will transform from a sticky mess into a smooth, elastic ball. Push the dough away from you with the heels of your hands, fold it back over itself, and repeat. If the dough becomes too sticky, lightly dust your hands and the work surface with a little more flour, but try to avoid adding too much, as this can make the muffins tough.
After kneading, lightly grease a clean bowl with a little melted butter or cooking spray. Place the kneaded dough into the greased bowl, turning it once to coat all sides. Cover the bowl tightly with plastic wrap or a clean kitchen towel. Find a warm, draft-free spot in your kitchen for the dough to rise. An oven that has been turned off after a brief preheat (and then cooled slightly) is often ideal, or you can place it on top of your refrigerator. Let the dough rise for about 1 to 1.5 hours, or until it has doubled in size. This slow, steady rise is critical for flavor development and achieving that characteristic chewy texture.
Shaping and Second Rise: Preparing for the Griddle
Once the dough has doubled in size and is beautifully puffed, gently punch it down to release the air. Turn the dough out onto a lightly floured surface. You want to be gentle here to preserve some of the air bubbles. Now, we’ll shape our English muffins. You can divide the dough into 8 equal portions. For a more rustic look, simply pinch off pieces of dough. For a neater finish, you can roll the dough into a log and then slice it.
Gently flatten each piece of dough into a disk, about 3/4 inch thick. You can use your hands or a lightly floured rolling pin, but again, avoid overworking the dough. Now, here’s where the magic happens for the griddle. Generously dust a baking sheet or a clean kitchen towel with cornmeal. Place the shaped English muffin dough disks onto the cornmeal-dusted surface, ensuring they have some space between them. This cornmeal coating is what gives traditional English muffins their distinctive texture and prevents them from sticking during cooking. Lightly cover the shaped dough with plastic wrap or a clean towel and let them rest for another 30 to 45 minutes. This second rise is important for allowing the muffins to puff up again before cooking.
Cooking on the Griddle: Achieving the Perfect Golden Brown
Now for the exciting part – cooking our Homemade English Muffins Easy Step By Step! Heat a lightly greased griddle or a large, heavy-bottomed skillet over medium-low heat. The key here is medium-low heat; too high and the outside will burn before the inside cooks, too low and they won’t develop a good crust. You can test the heat by dropping a tiny bit of dough onto the griddle; it should sizzle gently.
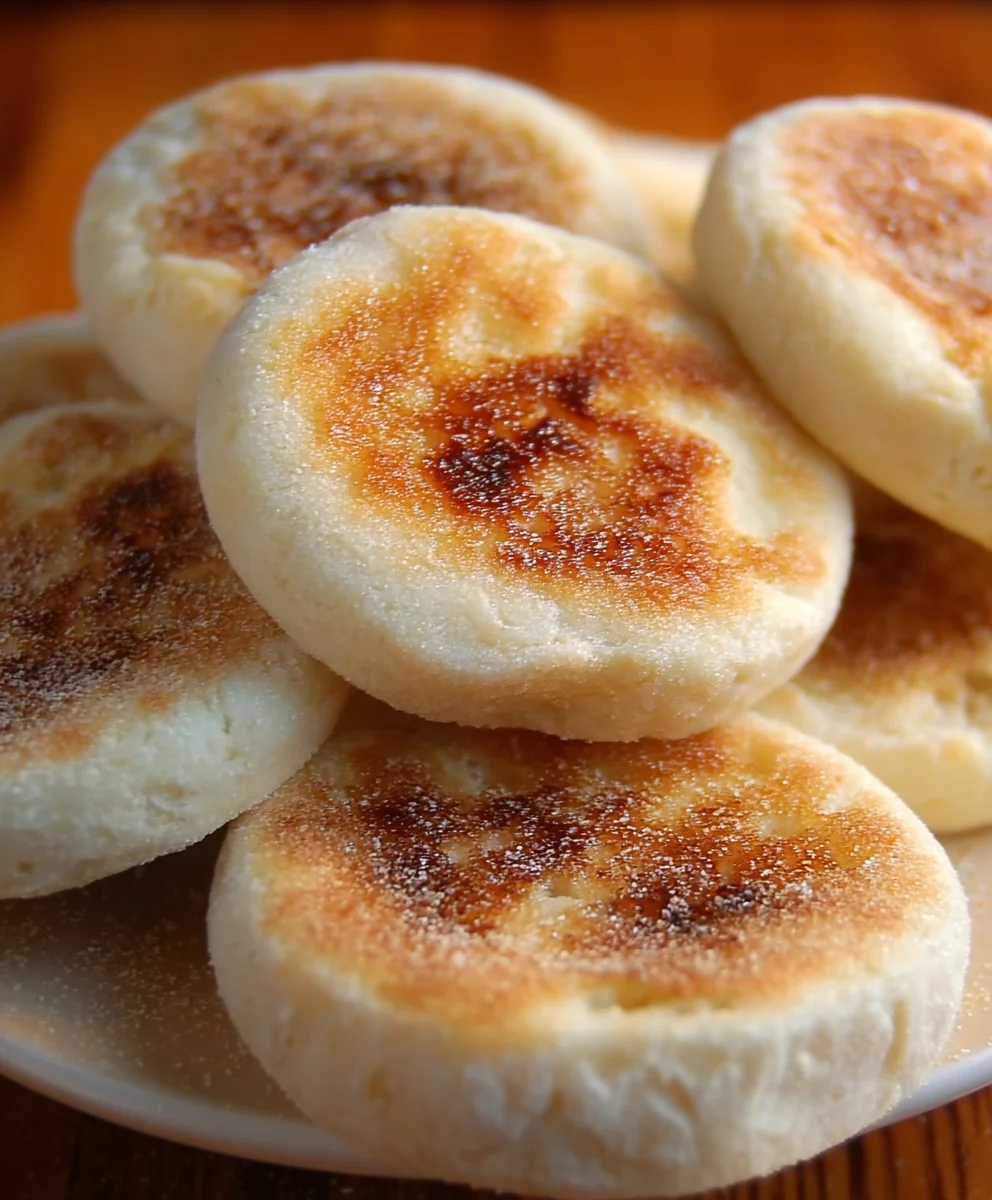
Carefully place the risen English muffin dough disks onto the preheated griddle, making sure not to overcrowd the pan. You’ll likely need to cook them in batches. Cook each side for about 5 to 7 minutes, or until they are a deep golden brown and sound hollow when tapped. You’ll see them puff up as they cook. Resist the urge to press them down with a spatula, as this will deflate them and reduce those desirable nooks and crannies. Use a thin spatula to gently flip them over.
Cooling and Splitting: The Final Touches
Once both sides are beautifully browned and the muffins are cooked through, remove them from the griddle and place them on a wire rack to cool completely. This is essential. Trying to split a hot English muffin is not only difficult but can also result in a gummy texture. Letting them cool allows the internal structure to set properly.
After they have cooled, the best way to split an English muffin is with a fork. Gently insert the tines of a fork around the edge of the muffin and work your way around, splitting it in half horizontally. This technique will create the most authentic texture and help you achieve those signature nooks and crannies that are perfect for holding butter, jam, or any other of your favorite toppings. You should see little pockets and irregular surfaces inside – that’s exactly what we’re looking for!
Conclusion:
Congratulations on successfully baking your very own Homemade English Muffins Easy Step By Step! You’ve mastered the art of creating those perfectly textured, nooks-and-cranny-filled delights right in your own kitchen. This recipe demystifies the process, proving that achieving bakery-quality English muffins is entirely within your reach. The satisfaction of pulling a batch of golden-brown, freshly baked muffins from your oven is truly unmatched. Serve them warm with your favorite butter, jam, or a dollop of cream cheese for a delightful breakfast or brunch. They also make an excellent base for breakfast sandwiches or even a mini pizza with the addition of your favorite toppings.
Don’t be afraid to experiment with variations! You can add herbs like chives or rosemary to the dough for an savory twist, or even a touch of sugar and cinnamon for a slightly sweeter version. These Homemade English Muffins Easy Step By Step are a fantastic foundation for culinary creativity. We encourage you to make them again and again, sharing your delicious creations with friends and family. Enjoy the journey and the incredibly rewarding results!
Frequently Asked Questions:
Can I freeze these Homemade English Muffins Easy Step By Step?
Absolutely! Once completely cooled, you can store your Homemade English Muffins Easy Step By Step in an airtight container or freezer bag for up to 3 months. To reheat, simply toast them from frozen or allow them to thaw at room temperature for a few hours.
Why are my Homemade English Muffins Easy Step By Step not developing enough nooks and crannies?
The key to achieving those signature nooks and crannies is in the proofing and the cooking method. Ensure your dough has risen sufficiently and that you’re cooking them on a medium-low heat for a longer period, allowing the interior to steam and develop those pockets. Also, try not to overwork the dough after the initial mix.
Easy Homemade English Muffins
A step-by-step guide to making delicious, fluffy homemade English muffins with perfect nooks and crannies.
Ingredients
-
3 cups all-purpose flour, plus more for dusting
-
2 1/4 teaspoons active dry yeast
-
1 1/2 teaspoons granulated sugar
-
1 teaspoon salt
-
1 1/4 cups warm milk (about 105-115°F)
-
3 tablespoons unsalted butter, melted, plus more for greasing
-
Cornmeal, for dusting
Instructions
-
Step 1
In a large mixing bowl, combine warm milk, granulated sugar, and active dry yeast. Stir and let sit for 5-10 minutes until foamy. Add melted butter and stir. -
Step 2
In a separate bowl, whisk together flour and salt. Gradually add dry ingredients to wet ingredients, mixing until a shaggy dough forms. -
Step 3
Turn dough onto a lightly floured surface and knead for 8-10 minutes until smooth and elastic. Place in a greased bowl, cover, and let rise in a warm place for 1-1.5 hours, or until doubled in size. -
Step 4
Gently punch down dough and divide into 8 equal portions. Flatten each into a disk about 3/4 inch thick. Place disks onto a baking sheet or towel generously dusted with cornmeal, cover, and let rest for 30-45 minutes. -
Step 5
Heat a lightly greased griddle or skillet over medium-low heat. Cook muffin disks for 5-7 minutes per side, until golden brown and cooked through. Do not press down. -
Step 6
Remove muffins from griddle and let cool completely on a wire rack. Split horizontally with a fork for optimal texture for toppings.
Important Information
Nutrition Facts (Per Serving)
It is important to consider this information as approximate and not to use it as definitive health advice.
Allergy Information
Please check ingredients for potential allergens and consult a health professional if in doubt.
Leave a Comment