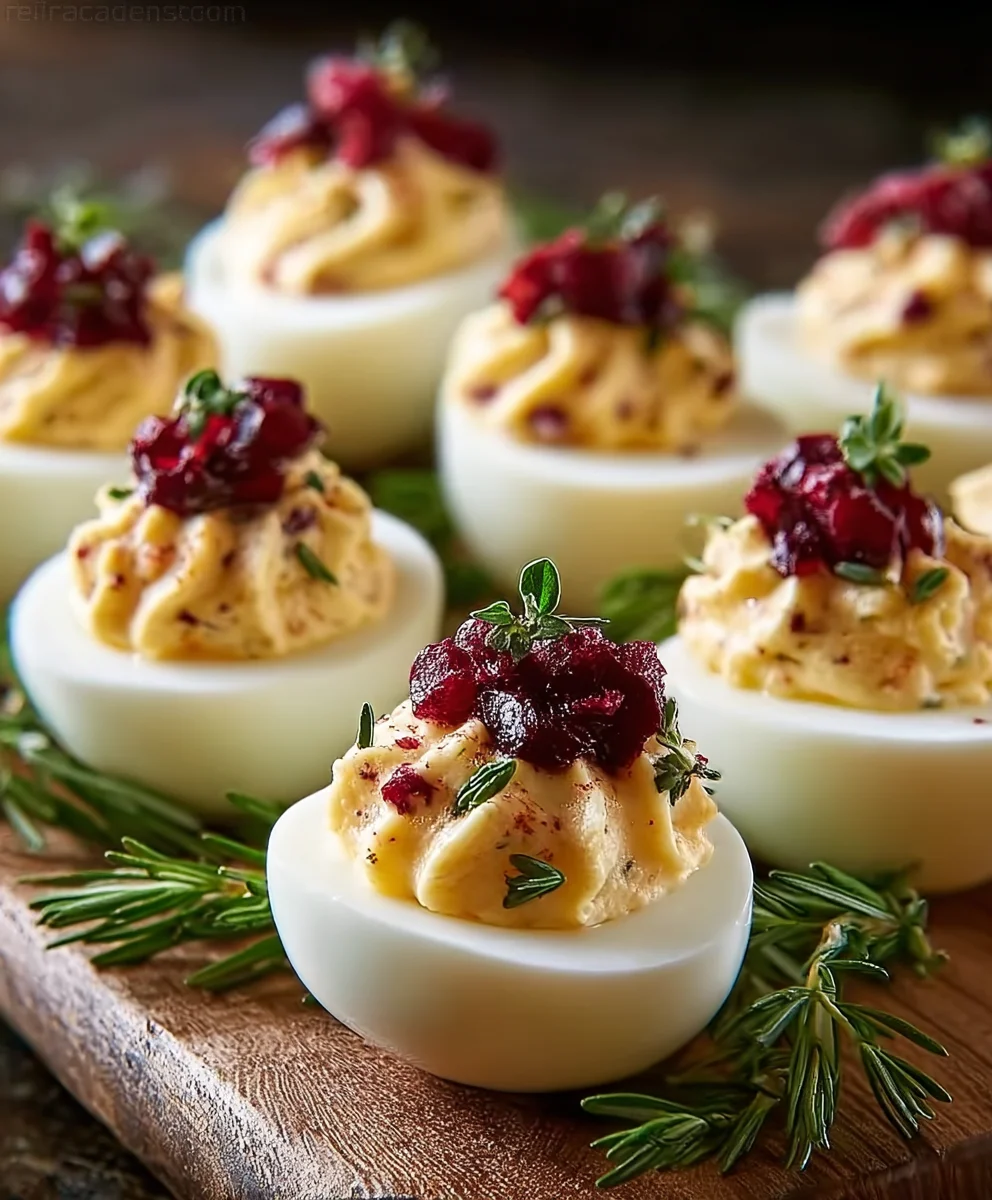
Deviled eggs are a timeless appetizer, a true crowd-pleaser that evokes nostalgia and joy with every creamy, savory bite. Who can resist their perfectly piped filling, nestled snugly in their delicate egg white cradles? I certainly can’t! There’s something undeniably comforting and celebratory about them, making them a staple at picnics, holiday gatherings, and casual brunches alike. What truly sets these classic deviled eggs apart is the perfect balance of textures and flavors. The cool, smooth filling, a delightful marriage of creamy yolk, tangy mayonnaise, and a whisper of mustard, contrasts beautifully with the slightly firm, tender egg white. They’re not just an appetizer; they’re a little bite of happiness, surprisingly simple to make yet always so impressive. Get ready to master the art of the perfect deviled egg and become the undisputed cbeef hampion of your next potluck!

Ingredients:
- 6 large eggs
- 1/4 teaspoon kosher salt (you can use table salt, but reduce the amount slightly)
- 2 1/2 tablespoons Miracle Whip
- 1 teaspoon apple cider vinegar
- 1 teaspoon yellow mustard
- 1/4 teaspoon granulated sugar
- 2 tablespoons sweet pickle relish
- A dash of black pepper (optional)
- Paprika and fresh chives for garnish (optional)
Preparing the Eggs
The first step in creating delicious deviled eggs is perfectly hard-boiling your eggs. I find the easiest and most foolproof method involves starting with cold water. Place your 6 large eggs gently into a saucepan in a single layer. Ensure they aren’t crowded, as this can lead to uneven cooking. Now, cover the eggs completely with cold water, ensuring there’s about an inch of water above the highest egg. Add the 1/4 teaspoon of kosher salt to the water. This not only seasons the eggs slightly but also helps to prevent cracking as they cook.
Place the saucepan over high heat and bring the water to a rolling boil. As soon as you achieve a vigorous boil, immediately remove the saucepan from the heat. Cover the pan tightly with a lid. Let the eggs sit undisturbed in the hot water for 10 to 12 minutes. This resting period allows the heat to gently cook the eggs through, resulting in perfectly firm yolks and whites without any greenish ring around the yolk, which can happen with overcooking.
While the eggs are resting, prepare an ice bath. Fill a large bowl with ice cubes and cold water. Once the 10 to 12 minutes are up, carefully transfer the eggs from the hot water into the ice bath using a slotted spoon. Let them chill in the ice bath for at least 10 minutes. This rapid cooling stops the cooking process and makes the eggs much easier to peel. Cold eggs are your best friend when it comes to peeling!
Peeling and Separating
After the eggs have thoroughly chilled, it’s time to peel them. Gently tap each egg on a hard surface to crack the shell all over. Starting at the wider end, where the air pocket is usually located, try to gently slide your thumb under the membrane to loosen the shell. Work your way around the egg, peeling away the shell. If you encounter any stubborn spots, you can try peeling them under cool running water; the water can help get under the shell and loosen it. Rinse off any small shell fragments and place the peeled eggs on a clean plate or cutting board.
Once peeled, slice each egg in half lengthwise. I prefer to use a sharp knife for a clean cut, but a serrated knife can also work well. Be careful not to cut too deep or too shallow, aiming for a clean division of the yolk and white. You’ll notice a perfect, firm yellow yolk nestled within the cooked white. Carefully scoop out each yolk using a small spoon, placing the yolks in a medium-sized bowl and the egg white halves on a serving platter. Arrange the egg white halves so they are stable and won’t roll around.
Creating the Creamy Filling
Now comes the fun part: transforming those yolks into a luscious deviled egg filling! Take your bowl of cooked yolks and begin extract mashing them with a fork. You want to get them as smooth as possible, breaking down any lumps. The smoother the yolks, the creamier your filling will be. Don’t be afraid to put a little elbow grease into it.
Next, add the 2 1/2 tablespoons of Miracle Whip to the mashed yolks. Miracle Whip is key to that classic, slightly tangy deviled egg flavor. Add the 1 teaspoon of yellow mustard. The mustard adds a bit of zesty flavor and a vibrant color to the filling. Now, incorporate the 1 teaspoon of apple cider vinegar. The vinegar provides a nice touch of acidity that balances the richness of the yolks and mayonnaise. Finally, sprinkle in the 1/4 teaspoon of granulated sugar. This is a subtle but important addition; the sugar helps to round out the flavors and cuts through any potential bitterness.
Using your fork, vigorously mix all these ingredients together until you have a smooth, creamy, and well-combined filling. Taste the mixture at this point. If you desire a tangier filling, you can add another tiny splash of apple cider vinegar. If you like it a bit sweeter, a pinch more sugar can be added. If you find it a little too thick, a tiny bit more Miracle Whip can be incorporated. This is your chance to adjust the flavors to your personal preference.
Stuffing the Egg Whites
Once you’re happy with the consistency and flavor of your yolk mixture, it’s time to fill the egg white halves. You can do this in a couple of ways, depending on how fancy you want to get. For a simple and quick approach, use a spoon to carefully dollop the filling into each egg white cavity. Try to distribute the filling evenly among all the halves.
For a more polished presentation, transfer the yolk mixture into a piping bag fitted with a star tip. If you don’t have a piping bag, you can use a clean plastic resealable bag, snip off a corner, and use that to pipe the filling. Pipe swirls of the filling into each egg white half, creating a decorative mound. This method not only looks impressive but also ensures a consistent amount of filling in each deviled egg.
Garnishing and Serving
The final step is to add the finishing touches that elevate your deviled eggs from good to absolutely irresistible. If you’re using the optional black pepper, sprinkle a tiny dash over the top of each filled egg white. The pepper adds a subtle warmth and visual contrast.
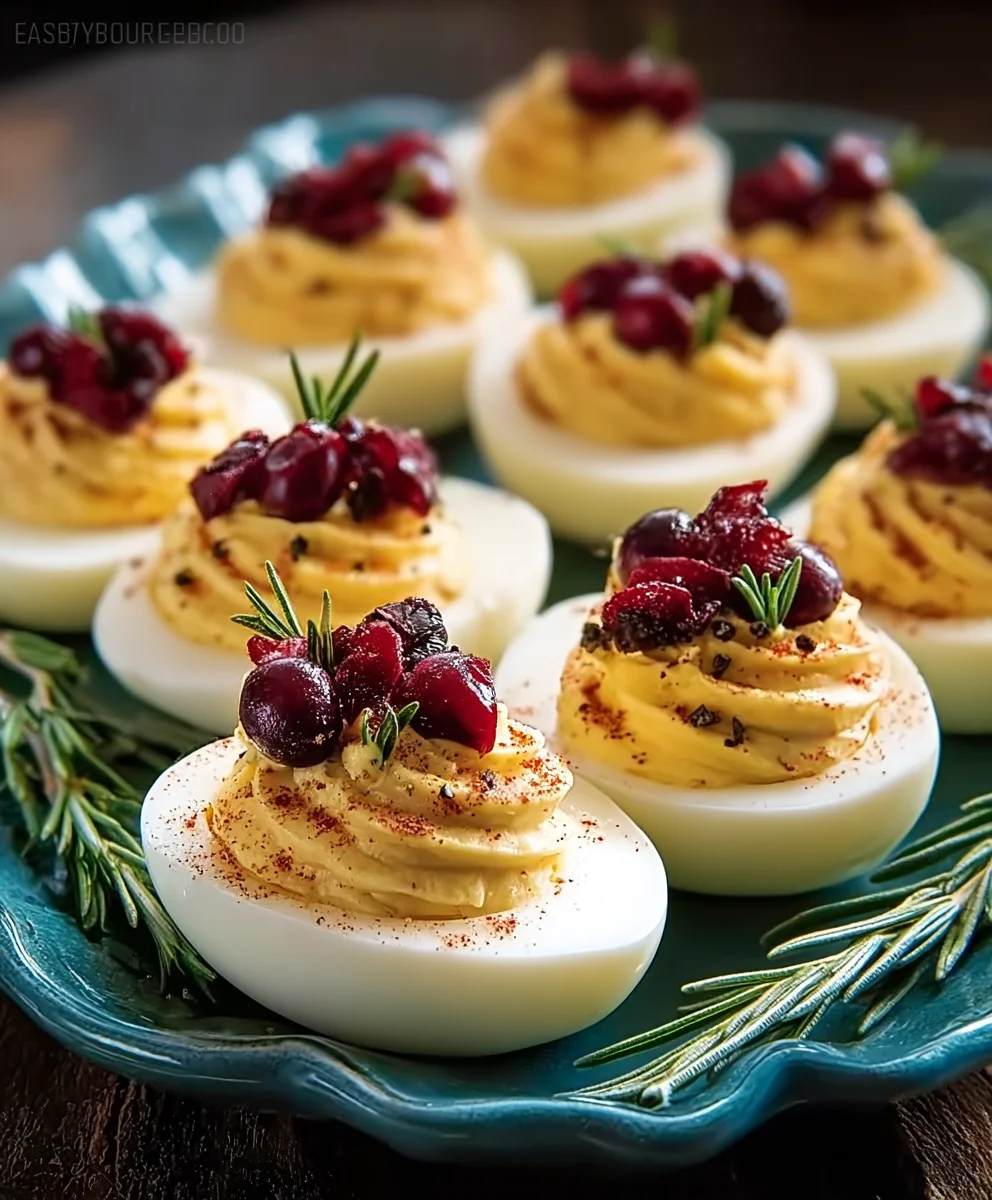
For an extra burst of color and freshness, sprinkle a pinch of paprika over the filling. Paprika adds a lovely reddish hue and a hint of mild flavor. If you have fresh chives on hand, finely chop them and scatter them over the deviled eggs. The bright green of the chives provides a beautiful contrast to the creamy filling and paprika.
Once garnished, arrange your deviled eggs on a serving platter. They are best served chilled or at room temperature. These classic deviled eggs are perfect for potlucks, picnics, holiday gatherings, or simply as a delightful appetizer. Enjoy the delicious, creamy, and tangy goodness of your homemade deviled eggs!
Conclusion:
There you have it – your guide to mastering the art of making delicious Deviled Eggs! This classic appetizer is surprisingly simple to prepare and always a crowd-pleaser. We’ve walked through the essential steps, from perfectly boiling your eggs to achieving that creamy, flavorful filling. Now it’s your turn to bring these delightful morsels to your next gathering. Remember, the key is to trust your taste buds and adjust the seasonings to your preference. Feel free to experiment with the suggested variations or invent your own signature twist!
Serving these Deviled Eggs is as versatile as making them. They are perfect for potlucks, holiday parties, picnics, or even as a delightful snack. For a visually appealing presentation, arrange them on a platter and garnish with a sprinkle of paprika, chives, or a tiny sprig of parsley. Don’t be afraid to get creative and make these Deviled Eggs your own!
Frequently Asked Questions about Deviled Eggs:
Q: How can I make my Deviled Eggs extra creamy?
A: To achieve an extra creamy filling for your Deviled Eggs, ensure you mash the yolks thoroughly with the mayonnaise until completely smooth. You can also add a touch more mayonnaise or a splash of milk or cream if the mixture seems too stiff. Don’t be shy with the mash!
Q: What are some popular variations for Deviled Eggs?
A: The possibilities are endless! Some popular variations for Deviled Eggs include adding a dash of hot sauce for a kick, incorporating finely chopped pickles or relish for tang, stirring in Dijon mustard for a sharper flavor, or topping with crispy beef bacon bits for a smoky crunch. You can also experiment with different herbs like dill or chives.
Best Deviled Eggs Recipe-Easy Party Appetizer
A simple and delicious recipe for classic deviled eggs, perfect for any party or gathering.
Ingredients
-
6 large eggs
-
1/4 teaspoon kosher salt
-
2 1/2 tablespoons Miracle Whip
-
1 teaspoon apple cider vinegar
-
1 teaspoon yellow mustard
-
1/4 teaspoon granulated sugar
-
2 tablespoons sweet pickle relish
-
A dash of black pepper (optional)
-
Paprika for garnish (optional)
-
Fresh chives for garnish (optional)
Instructions
-
Step 1
Hard-boil the eggs: Place eggs in a saucepan, cover with cold water and salt, bring to a boil, then remove from heat, cover, and let sit for 10-12 minutes. Immediately transfer to an ice bath for at least 10 minutes. -
Step 2
Peel and halve the eggs: Gently tap and peel the chilled eggs. Slice each egg in half lengthwise. Scoop out the yolks into a bowl and arrange the white halves on a serving platter. -
Step 3
Prepare the filling: Mash the yolks until smooth. Add Miracle Whip, yellow mustard, apple cider vinegar, and granulated sugar. Mix vigorously until smooth and creamy. Adjust seasoning to taste. -
Step 4
Stuff the egg whites: Spoon or pipe the yolk mixture into the egg white halves, filling them evenly. -
Step 5
Garnish and serve: Sprinkle with optional black pepper, paprika, and finely chopped chives. Arrange on a platter and serve chilled or at room temperature.
Important Information
Nutrition Facts (Per Serving)
It is important to consider this information as approximate and not to use it as definitive health advice.
Allergy Information
Please check ingredients for potential allergens and consult a health professional if in doubt.


Leave a Comment