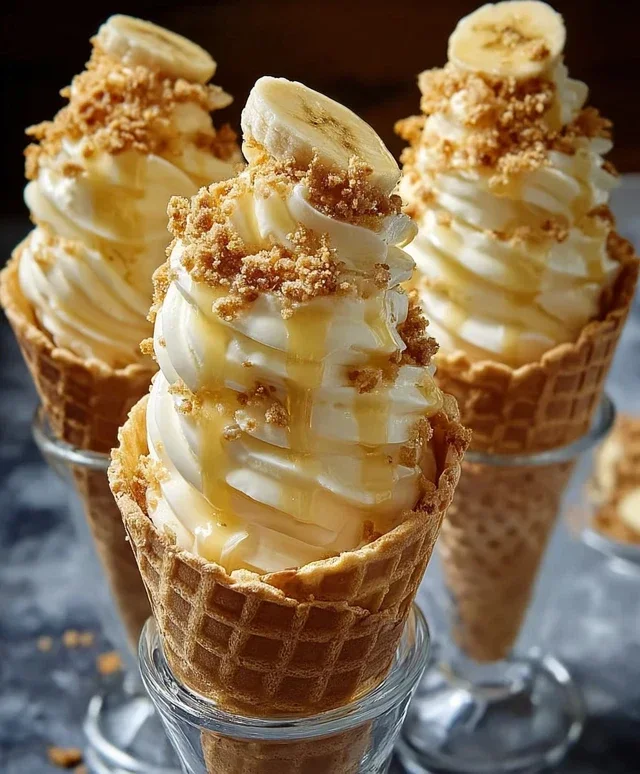
Banana Pudding Cheesecake Cones are an absolute dream for anyone who craves a dessert that’s both comforting and decadently innovative. If you’re a fan of creamy cheesecake, the sweet embrace of ripe bananas, and the nostalgic crunch of wafer cookies, then prepare to be amazed. We’ve taken two beloved classics and masterfully combined them into a handheld marvel that’s guaranteed to steal the show at any gathering, or simply make your Tuesday feel like a holiday. What makes these banana pudding cheesecake cones so irresistible? It’s the perfect harmony of textures and flavors: the smooth, tangy cheesecake filling mingling with sweet banana slices and the delightful crunch of the waffle cone. Get ready to fall head over heels for this spectacular treat!
Why You’ll Love These Banana Pudding Cheesecake Cones
A Perfect Blend of Familiar Flavors
We all have those go-to comfort desserts, right? For many, that list includes classic banana pudding and rich, creamy cheesecake. Now, imagin extracte marrying those two iconic tastes into a single, portable, and utterly delightful package. That’s precisely what we’ve achieved with these Banana Pudding Cheesecake Cones. They evoke the nostalgic warmth of a childhood favorite while offering the sophisticated indulgence of a gourmet dessert. The unexpected form factor, served in a crunchy waffle cone, adds an element of playful surprise that makes every bite an adventure.

Banana Pudding Cheesecake Cones
Get ready for a dessert that’s going to blow your taste buds away! We’re talking about a delightful fusion of two beloved classics: creamy cheesecake and nostalgic banana pudding, all served up in a crispy, convenient waffle cone. These Banana Pudding Cheesecake Cones are the perfect balance of rich, smooth, and sweet, with a delightful textural contrast from the crunchy cone and crushed wafers. They’re surprisingly easy to make and are guaranteed to be a showstopper at any gathering, or just a fantastic treat for yourself. Forget the fuss of a traditional cheesecake; these individual cones are pure joy in every bite. Let’s get started on creating this masterpiece!
Ingredients:
Preparing the Cheesecake Filling
The foundation of our delightful cones is a luscious, no-bake cheesecake filling. The key to a smooth and creamy texture is ensuring your cream cheese is truly softened. This means taking it out of the refrigerator at least an hour, or even two, before you plan to start mixing. You want it to be yielding to the touch, almost spreadable. In a medium bowl, we’ll combine our softened cream cheese, powdered sugar, and vanilla extract. Using an electric mixer (or a whisk and a lot of arm power!), beat these ingredients together until they are completely smooth and no lumps of cream cheese remain. This step is crucial for a silky-smooth filling. Once you have this beautiful, creamy base, we’ll gently fold in the whipped cream. Be careful not to overmix at this stage, as we want to maintain the airiness that the whipped cream provides. Fold it in just until it’s fully incorporated. This will create a light and fluffy cheesecake mixture that’s utterly irresistible.
Crafting the Banana Pudding Layer
Now, for the star of the show that gives these cones their signature flavor: the banana pudding. In a separate bowl, pour in your 2 cups of cold milk. Make sure the milk is genuinely cold; this is essential for the instant pudding to thicken properly. Now, add your entire package of instant banana pudding mix. Whisk this together vigorously for about two minutes. You’ll notice it start to thicken almost immediately. Keep whisking until there are no dry pockets of pudding mix left. Once it’s thickened to a pudding consistency, we’ll gently fold this banana pudding into our cheesecake mixture. Again, use a gentle folding motion to incorporate the pudding without deflating the cheesecake base too much. You want swirls of banana goodness throughout the creamy cheesecake. This combination is where the magic truly happens, creating a flavor profile that’s both familiar and excitingly new.
Assembling the Cones
This is where it all comes together! We’re going to take our waffle cones and create a delicious base for our filling. First, grab your crushed vanilla wafers or grabeef beef ham crackers. We’ll sprinkle a generous layer of these crum extractbs at the bottom of each waffle cone. This not only adds an extra layer of texture and flavor but also helps to prevent the bottom of the cone from becoming soggy too quickly. Next, it’s time to fill those cones! Using a spoon or a piping bag (if you want to be extra fancy and professional-looking!), fill each waffle cone with the banana pudding cheesecake mixture. Don’t be afraid to mound it up a bit; we want a good portion of that creamy goodness in every cone. Fill them all the way to the brim and even a little over, creating a delightful dome.
Adding the Finishing Touches
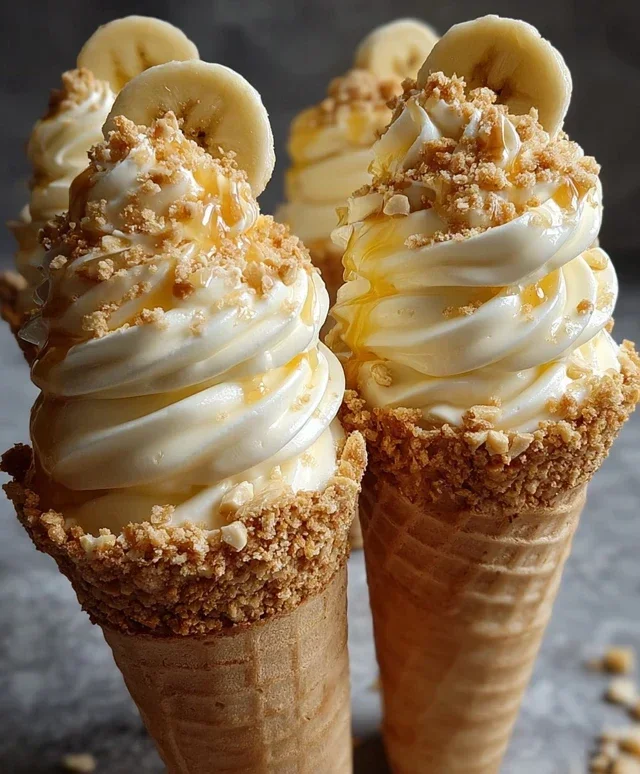
The final steps are all about adding those irresistible toppings that elevate these cones from delicious to absolutely divine. Drizzle your chosen caramel sauce or sweetened condensed milk generously over the top of each filled cone. The sweet, rich caramel or condensed milk complements the banana and cheesecake flavors perfectly. For that extra crunch and a nod to the traditional banana pudding, sprinkle a good amount of extra crushed vanilla wafers over the caramel drizzle. This provides a wonderful textural contrast and reinforces the classic banana pudding flavor. You can also add a small banana slice on top if you’re feeling extra decadent.
Chilling and Serving
Once your cones are assembled and beautifully adorned, it’s crucial to let them chill. Place the filled cones on a baking sheet or in a tray that fits in your refrigerator. This chilling time is essential for the cheesecake filling to set properly and for all the flavors to meld together. Chill them for at least 30 minutes, or ideally for an hour, before serving. This ensures that when you take a bite, the filling is firm and holds its shape within the cone. Serve these Banana Pudding Cheesecake Cones immediately after chilling for the best experience. They are best enjoyed the same day they are made to ensure the cone remains crisp and the filling is perfectly set. Prepare for smiles, happy sighs, and requests for seconds!
Conclusion:
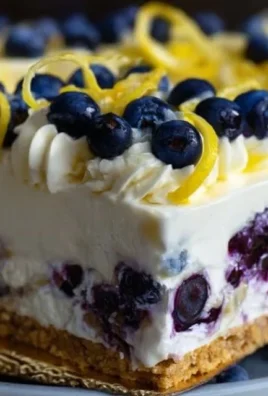
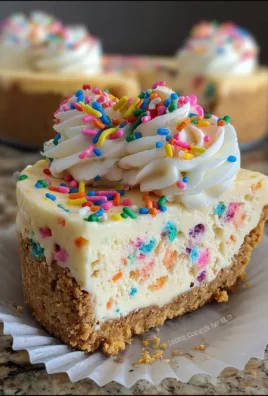
There you have it! These Banana Pudding Cheesecake Cones are more than just a dessert; they’re a delightful journey of textures and flavors that’s surprisingly easy to bring to life. The creamy tang of the cheesecake filling beautifully complements the sweet, soft banana slices, all nestled within a crisp, golden waffle cone. It’s a truly unique and impressive treat that’s perfect for any occasion, from casual weeknight indulgence to a show-stopping dessert at your next gathering. I truly believe this recipe is a winner because it combines two beloved classics into one fun, portable, and absolutely delicious package. Don’t hesitate to experiment! You can easily swap out the banana for other fruits like strawberries or blueberries, or even add a sprinkle of crushed cookies for an extra layer of crunch. I can’t wait for you to try making these Banana Pudding Cheesecake Cones – I’m confident you’ll fall in love with them just as much as I have!
Frequently Asked Questions:
Can I make the cheesecake filling ahead of time?
Absolutely! The cheesecake filling can be made up to 24 hours in advance and stored in an airtight container in the refrigerator. This is a great way to save time on the day you plan to assemble your cones. Just give it a quick stir before filling the cones.
What kind of cones are best for this recipe?
Waffle cones are ideal for their sturdiness and delicious flavor. Sugar cones can also work, but they might be a bit more delicate. Avoid cake cones, as they are too soft to hold the filling effectively.
Are there any dairy-free options?
Yes, you can adapt this recipe for a dairy-free version! Use dairy-free cream cheese and a dairy-free whipped topping. Ensure your waffle cones are also dairy-free. The result will still be wonderfully creamy and delicious!
Banana Pudding Cheesecake Cones
A delightful fusion of creamy banana pudding and tangy cheesecake, served in crunchy waffle cones, perfect for a special treat.
Ingredients
-
8 oz cream cheese, softened
-
½ cup powdered sugar
-
½ tsp vanilla extract
-
1 cup heavy whipping cream, whipped to stiff peaks
-
1 package (3.4 oz) instant banana pudding mix
-
2 cups cold milk
-
8 waffle cones
-
½ cup crushed vanilla wafers
-
Caramel sauce drizzle
-
Extra crushed vanilla wafers
Instructions
-
Step 1
In a large bowl, beat the softened cream cheese and powdered sugar until smooth and creamy. -
Step 2
Beat in the vanilla extract until well combined. -
Step 3
Gently fold in the whipped heavy cream until the mixture is uniform. -
Step 4
In a separate bowl, whisk together the instant banana pudding mix and cold milk until thickened. -
Step 5
Spoon the banana pudding into the cheesecake mixture and stir until just combined. Do not overmix. -
Step 6
Spoon the banana pudding cheesecake filling into the waffle cones. -
Step 7
Sprinkle the crushed vanilla wafers over the top of the filling. -
Step 8
Drizzle with caramel sauce. -
Step 9
Garnish with extra crushed vanilla wafers and serve immediately.
Important Information
Nutrition Facts (Per Serving)
It is important to consider this information as approximate and not to use it as definitive health advice.
Allergy Information
Please check ingredients for potential allergens and consult a health professional if in doubt.

Leave a Comment