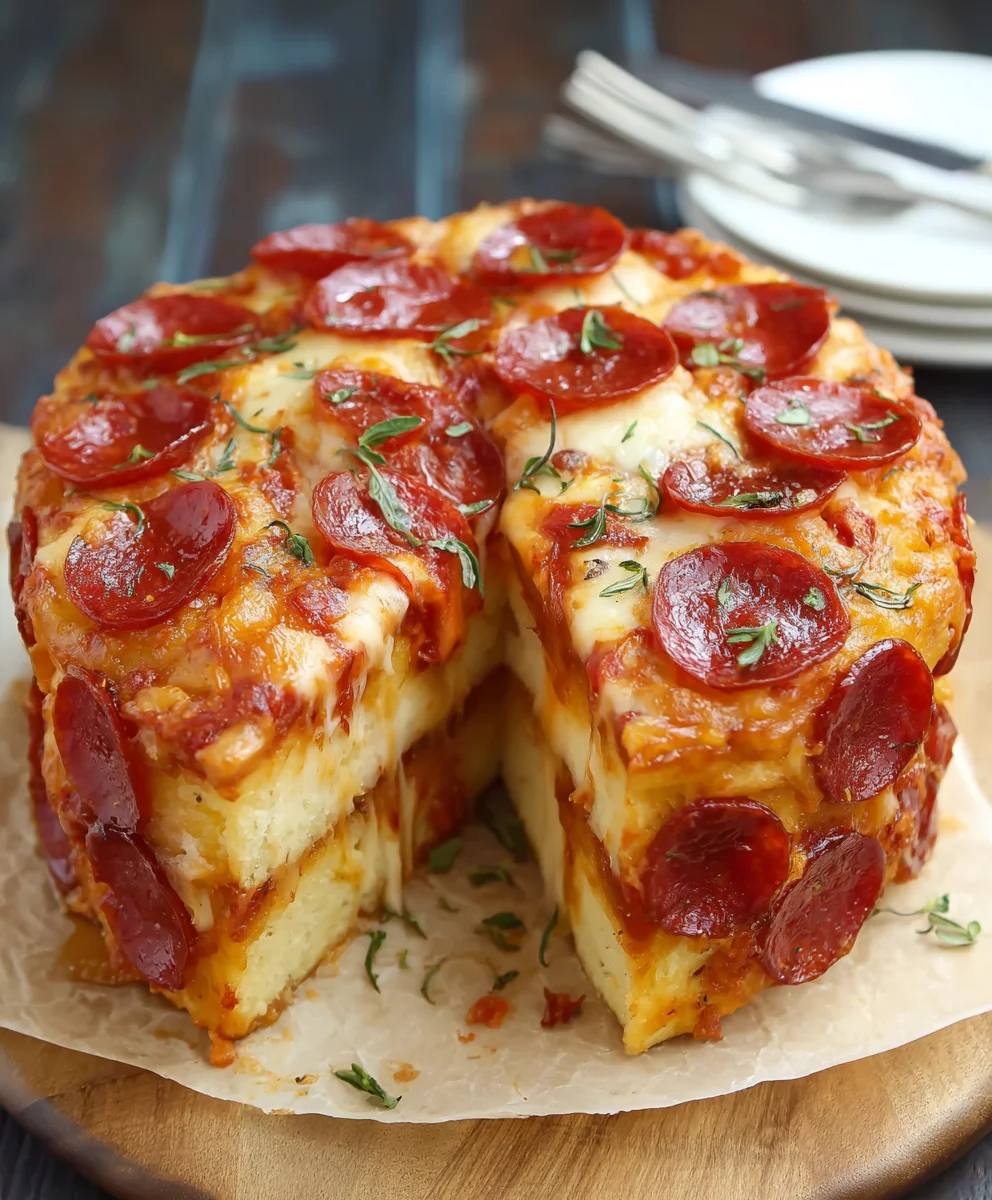
Pizza Cake is more than just a meal; it’s an edible masterpiece that ignites pure joy with every layered slice. Have you ever dreamed of a dish that combines the cheesy, saucy, doughy goodness of your favorite pizza with the impressive structure of a celebration cake? Well, buckle up, because this Pizza Cake is about to revolutionize your dinner table and your definition of comfort food. People absolutely adore this creation for its sheer novelty and its ability to cater to multiple pizza cravings in one spectacular presentation. What makes this Pizza Cake truly special is its incredible versatility. You can customize each layer with different toppings, creating a symphony of flavors that will leave your guests begging for the recipe. It’s the ultimate crowd-pleaser, perfect for birthdays, game nights, or simply when you want to elevate a casual get-together into something unforgettable.

Ingredients:
- 2 cans refrigerated classic pizza crust (such as Pillsbury™)
- 1½ cups organic pizza sauce (from a 15-ounce can)
- 3 cups mozzarella cheese, shredded
- 1 cup pepperoni slices
- 1 tablespoon butter, melted (optional, for brushing crust)
Preparing Your Pizza Cake Layers
The foundation of our magnificent Pizza Cake lies in its layered construction, and to achieve that impressive height and delightful flavor, we’ll be working with pre-made pizza crusts. The beauty of using refrigerated classic pizza crust is its convenience and consistent texture, which bakes up perfectly golden and slightly chewy. This recipe is designed to be approachable, even for novice bakers, allowing you to create a show-stopping dish with minimal fuss.
Before we begin assembling, preheat your oven to the temperature recommended on your pizza crust packaging, typically around 400°F (200°C). This ensures the crusts bake evenly and become delightfully crisp. If you’re opting to brush the crusts with melted butter for an extra touch of richness and a beautiful golden-brown finish, have that ready. A small pastry brush works best for this. Ensure your ingredients are prepped and within easy reach, as assembly moves relatively quickly once you get started. Having the mozzarella cheese shredded and the pepperoni slices ready will streamline the process.
Assembling the First Layer
Let’s start building our Pizza Cake from the ground up. Carefully unroll one can of the refrigerated classic pizza crust. Gently press it into the bottom of a greased 9-inch round cake pan. You want the crust to cover the bottom evenly and come up the sides slightly, creating a natural barrier to hold in our delicious fillings. Don’t worry if it’s not perfectly uniform; a slightly rustic look is part of the charm of a homemade Pizza Cake. If you notice any small tears, just pinch them together to seal.
Once the first crust is in place, it’s time for the first layer of flavor. Spread approximately ¾ cup of the organic pizza sauce evenly over the crust, making sure to leave a small border around the edge. This border will help prevent the sauce from bubbling over during baking. Next, sprinkle about 1 cup of the shredded mozzarella cheese over the sauce. Don’t be shy with the cheese – it’s what makes our Pizza Cake wonderfully gooey and satisfying. Finally, distribute half of the pepperoni slices evenly over the cheese. Aim for good coverage so every bite has a delightful burst of pepperoni.
Building the Middle Layers
Now, we repeat the process to create the subsequent layers that give our Pizza Cake its signature height. Take the second can of refrigerated classic pizza crust and unroll it. This time, you’ll need to be a little more strategic in how you place it. You can either press this crust directly on top of the pepperoni and cheese from the first layer, gently coaxing it to adhere, or, for a more defined separation between layers, you can carefully drape it over the first layer, pressing down the edges to connect it to the crust below. Whichever method you choose, ensure it sits relatively flat to create a stable platform for the next set of toppings.
Again, spread the remaining ¾ cup of organic pizza sauce over this second crust layer. Follow this with another 1 cup of shredded mozzarella cheese, ensuring an even distribution. Then, add the remaining pepperoni slices on top of the cheese. The repetition of these steps is what truly builds the “cake” aspect of this dish, layering up all those beloved pizza flavors. If you are using the optional melted butter, this is a good time to lightly brush the top crust with it. This will contribute to a beautifully golden and slightly crisp outer edge.
Baking Your Masterpiece
With all our delicious layers assembled, it’s time to bake our Pizza Cake to golden perfection. Carefully place the assembled cake pan into your preheated oven. The baking time will vary slightly depending on your oven and the exact brand of pizza crust you use, but a good starting point is between 15 to 20 minutes.
You’ll know your Pizza Cake is ready when the crust is deeply golden brown and cooked through. The cheese should be completely melted and bubbly, with a few lovely browned spots. You might also notice the edges of the crust puffing up slightly. To check for doneness, you can gently insert a toothpick or a sharp knife into the center of the cake; it should come out clean, or with just a few melted cheese strands. If the top starts to brown too quickly before the center is cooked, you can loosely tent the cake with aluminum foil. This is a crucial step to ensure the entire Pizza Cake is cooked through without the top burning.
Resting and Serving
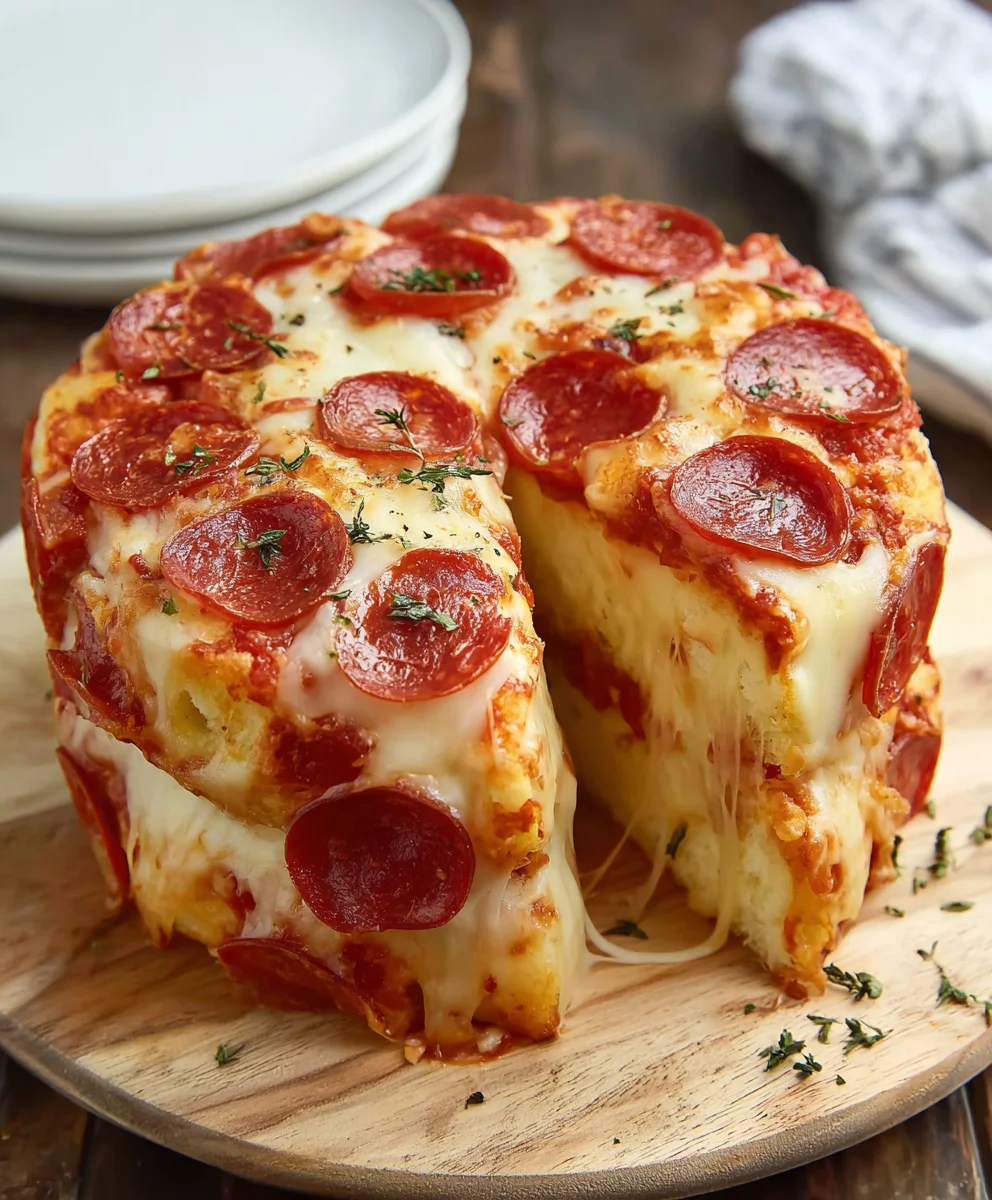
The anticipation is the hardest part, but allowing your Pizza Cake to rest after baking is essential for a successful and clean slicing experience. Carefully remove the cake pan from the oven and place it on a wire rack. Let the Pizza Cake cool in the pan for at least 10 to 15 minutes. This resting period allows the cheese to set slightly and the internal structure to firm up, preventing it from collapsing when you slice into it.
Once the Pizza Cake has rested, you can carefully invert it onto a serving platter or cutting board. If you greased your cake pan well and the crust came up the sides nicely, it should release with ease. If it seems a bit stuck, you can gently run a knife around the edge to loosen it. Then, slice your Pizza Cake into wedges, just like you would a traditional pizza, or even thicker slices for a more substantial serving. Serve immediately while the cheese is still wonderfully melty and gooey, and enjoy the incredible layered flavors of your homemade Pizza Cake!
Conclusion:
You’ve now got all the knowledge to embark on your delicious journey creating this amazing Pizza Cake! We’ve walked through each step, from preparing your dough to layering your toppings and achieving that perfect golden crust. The result is a show-stopping, incredibly satisfying dish that’s sure to impress your friends and family. Whether you’re a seasoned baker or a beginner in the kitchen, this recipe is designed to be accessible and rewarding. Remember, the joy of cooking is in the experimentation, so don’t be afraid to get creative!
For serving, this Pizza Cake is fantastic as a main course, cut into generous slices. It pairs wonderfully with a fresh, crisp salad or some garlic knots. As for variations, the possibilities are truly endless! Try different cheese blends like a sharp cheddar and Monterey Jack, or add spicy elements like jalapeños and a drizzle of hot honey. You can also experiment with a white sauce base instead of tomato for a creamy alternative. So go forth, have fun, and bake your heart out – you’ve got this!
Frequently Asked Questions:
Can I make the Pizza Cake ahead of time?
You can prepare the dough and par-bake the crust layers a day in advance. Store them wrapped tightly in plastic wrap at room temperature. Assemble and bake the final Pizza Cake just before serving for the best texture and flavor. Pre-baking the layers helps prevent a soggy bottom.
What kind of pizza toppings work best in a Pizza Cake?
Almost any of your favorite pizza toppings will work! Consider toppings that hold their shape well, like cooked sausage, pepperoni, bell peppers, onions, and mushrooms. Avoid overly watery vegetables like fresh tomatoes unless you drain them very well. Ensure meats are pre-cooked to guarantee they are heated through.
Ultimate Beef Pizza Cake
A show-stopping, layered pizza creation perfect for pleasing a crowd, featuring a rich beef and cheese filling between classic pizza crusts.
Ingredients
-
2 cans refrigerated classic pizza crust
-
1½ cups organic pizza sauce
-
3 cups mozzarella cheese, shredded
-
1 cup seasoned ground beef, cooked and drained
-
1 tablespoon butter, melted (optional)
Instructions
-
Step 1
Preheat oven to 400°F (200°C). Grease a 9-inch round cake pan. -
Step 2
Unroll one can of pizza crust and press it into the bottom and slightly up the sides of the prepared cake pan. Spread ¾ cup pizza sauce evenly over the crust, leaving a small border. Sprinkle 1 cup mozzarella cheese over the sauce, then top with half of the cooked seasoned ground beef. -
Step 3
Unroll the second can of pizza crust and place it directly on top of the beef and cheese layer. Press down gently to adhere. Spread the remaining ¾ cup pizza sauce over this crust, followed by another 1 cup of mozzarella cheese. Distribute the remaining cooked seasoned ground beef evenly over the cheese. If using, brush the top crust lightly with melted butter. -
Step 4
Bake for 15-20 minutes, or until the crust is golden brown and the cheese is melted and bubbly. If the top browns too quickly, loosely tent with foil. -
Step 5
Let the pizza cake cool in the pan on a wire rack for 10-15 minutes before inverting onto a serving platter. Slice into wedges and serve warm.
Important Information
Nutrition Facts (Per Serving)
It is important to consider this information as approximate and not to use it as definitive health advice.
Allergy Information
Please check ingredients for potential allergens and consult a health professional if in doubt.


Leave a Comment