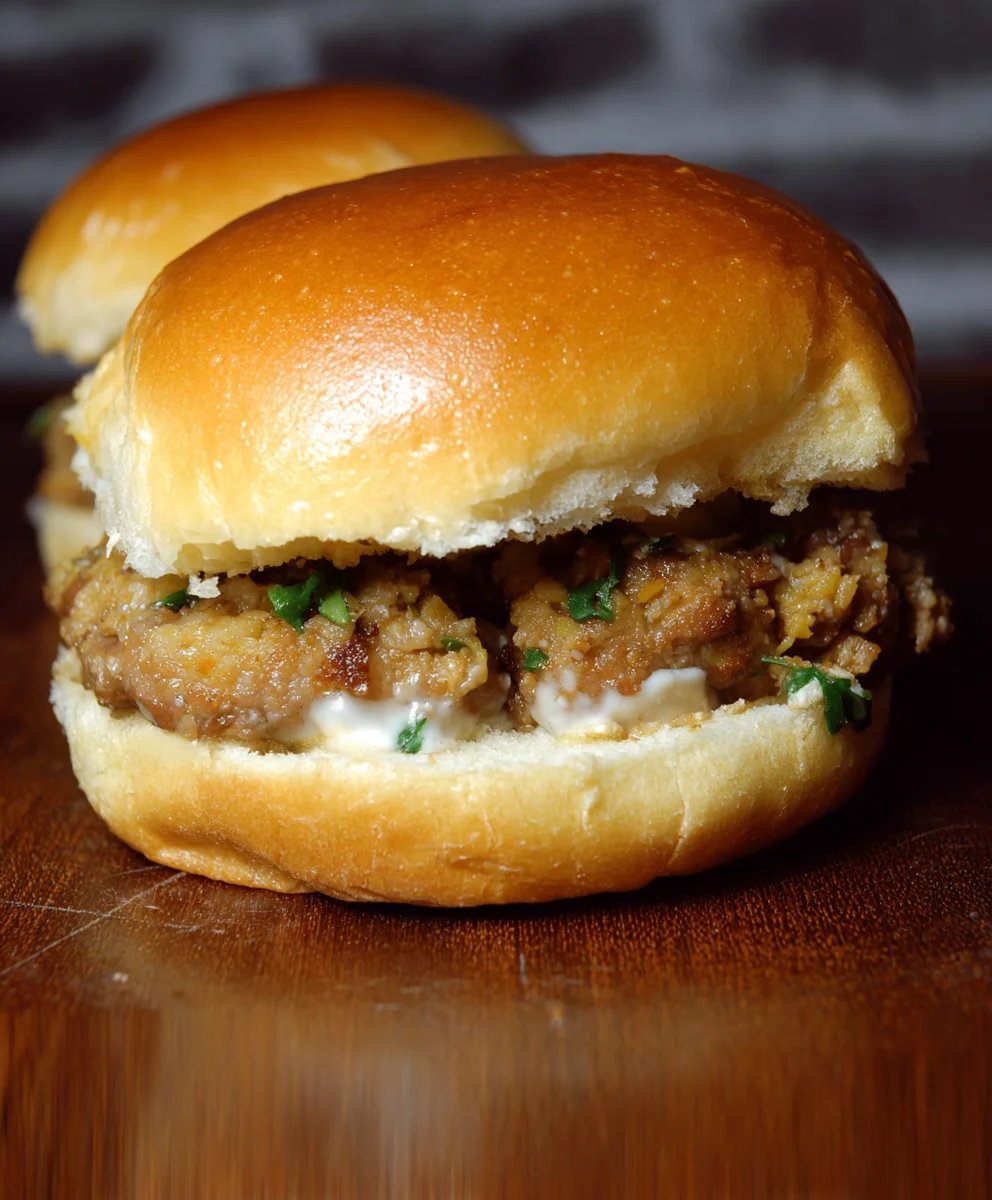
White Trash Sliders are more than just a catchy name; they’re a culinary phenomenon that evokes nostalgia and comfort with every bite. What is it about these humble, miniature burgers that captures our hearts and taste buds? It’s their unapologetic deliciousness, the perfect marriage of savory ground beef, fluffy buns, and a symphony of classic toppings that somehow elevate simple ingredients into something truly irresistible. We love them because they’re incredibly versatile, perfect for game days, casual gatherings, or just a satisfying weeknight meal. They’re the ultimate crowd-pleaser, bringin extractg smiles and second helpings without fail. The magic of White Trash Sliders lies in their straightforward approach to flavor, proving that sometimes, the most beloved dishes are those that are unpretentious yet bursting with goodness. Get ready to dive into a recipe that perfectly captures the essence of this beloved comfort food.

Ingredients:
- 1 lb ground beef
- 1 lb beef sausage
- 1 lb (16 oz) Velveeta cheese, cubed
- 1 tsp Worcestershire sauce
- 1 tsp black pepper
- ½ tsp onion powder
- 24 slider buns
Cooking Phase 1: Preparing the Meaty Base
Step 1: Combine and Brown the Meats
The foundation of our incredibly delicious White Trash Sliders lies in a rich, savory meat mixture. To begin extract, grab a large skillet and place it over medium-high heat. Add your 1 lb of ground beef and 1 lb of beef sausage to the hot skillet. Break up the meat with a spatula or a sturdy wooden spoon as it starts to cook. We want to get a nice, even brown on all sides. This process will take about 8-10 minutes. Don’t rush it; achieving good browning is key to developing deep flavor. As the meat cooks, you’ll notice some fat rendering out. This is perfectly normal. Once the meat is fully browned and no pink remains, carefully drain off most of the excess grease. You can tilt the skillet and use your spatula to hold back the meat while the grease pools, then carefully pour it out into a heatproof container. Leave just a tablespoon or so of the flavorful drippings in the skillet; this will help carry the other seasonings beautifully.
Step 2: Infuse with Flavorful Seasonings
Now that our meats are perfectly browned and drained, it’s time to build on that delicious foundation with our seasonings. Reduce the heat under the skillet to medium-low. Sprinkle in your 1 tsp of Worcestershire sauce. This adds a wonderful umami depth and a touch of tang that complements the beef and sausage. Next, add 1 tsp of black pepper for a gentle warmth and zing, followed by ½ tsp of onion powder. Onion powder offers a concentrated, savory onion flavor without the moisture of fresh onions, ensuring our sliders maintain their perfect texture. Stir everything together thoroughly, making sure the Worcestershire sauce and spices are evenly distributed throughout the meat mixture. Let this simmer gently for another 2-3 minutes, allowing the flavors to meld and the seasonings to become truly integrated into the meat. This step is crucial for ensuring every bite of your White Trash Sliders is packed with taste.
Cooking Phase 2: Achieving Creamy, Cheesy Bliss
Step 3: Melt the Velveeta to Perfection
This is where the magic truly happens and our sliders earn their signature creamy, cheesy character. With the meat mixture still in the skillet over low heat, it’s time to introduce the star of the creamy show: the Velveeta cheese. Add your 1 lb (16 oz) of Velveeta cheese, which you’ve pre-cubed for easier melting, directly on top of the seasoned meat. We’re going for a low and slow melt here. Resist the urge to turn up the heat; we want the Velveeta to melt smoothly and evenly without scorching. Cover the skillet with a lid. Let it sit, covered, for about 5-7 minutes, or until the Velveeta is visibly softenegin extractnd beginning to melt. Once softened, remove the lgin extractand gently begin to stir the Velveeta into the meat mixture. Use your spatula to fold and incorporate the cheese until it’s completely melted and the mixture is wonderfully creamy and cohesive. Keep stirring until there are no visible lumps of cheese and you have a smooth, decadent, cheesy meat mixture. This process might take another 5 minutes of gentle stirring.
Cooking Phase 3: Assembling and Serving Your Sliders
Step 4: Prepare the Buns for Filling
While the cheese is melting or just after it’s fully incorporated, it’s time to get your slider buns ready. You’ll need 24 slider buns for this recipe. You can either slice them in half horizontally using a serrated knife, or if they are already split, simply lay them out. For an even better flavor and texture, I highly recommend lightly toasting the cut sides of the buns. You can do this by placing them cut-side down on a dry baking sheet and putting them under the broiler for about 30-60 seconds, or until they are lightly golden brown. Alternatively, you can lightly butter the cut sides and toast them in a skillet over medium heat. Toasting adds a subtle crunch and prevents the buns from getting soggy from the moist meat mixture. Arrange the bottom halves of the buns on a large platter or baking sheet, ready to be generously filled. If your buns are connected, you can carefully separate them row by row, or even keep them in small connected clusters depending on your preference.
Step 5: Load Up and Serve Your White Trash Sliders
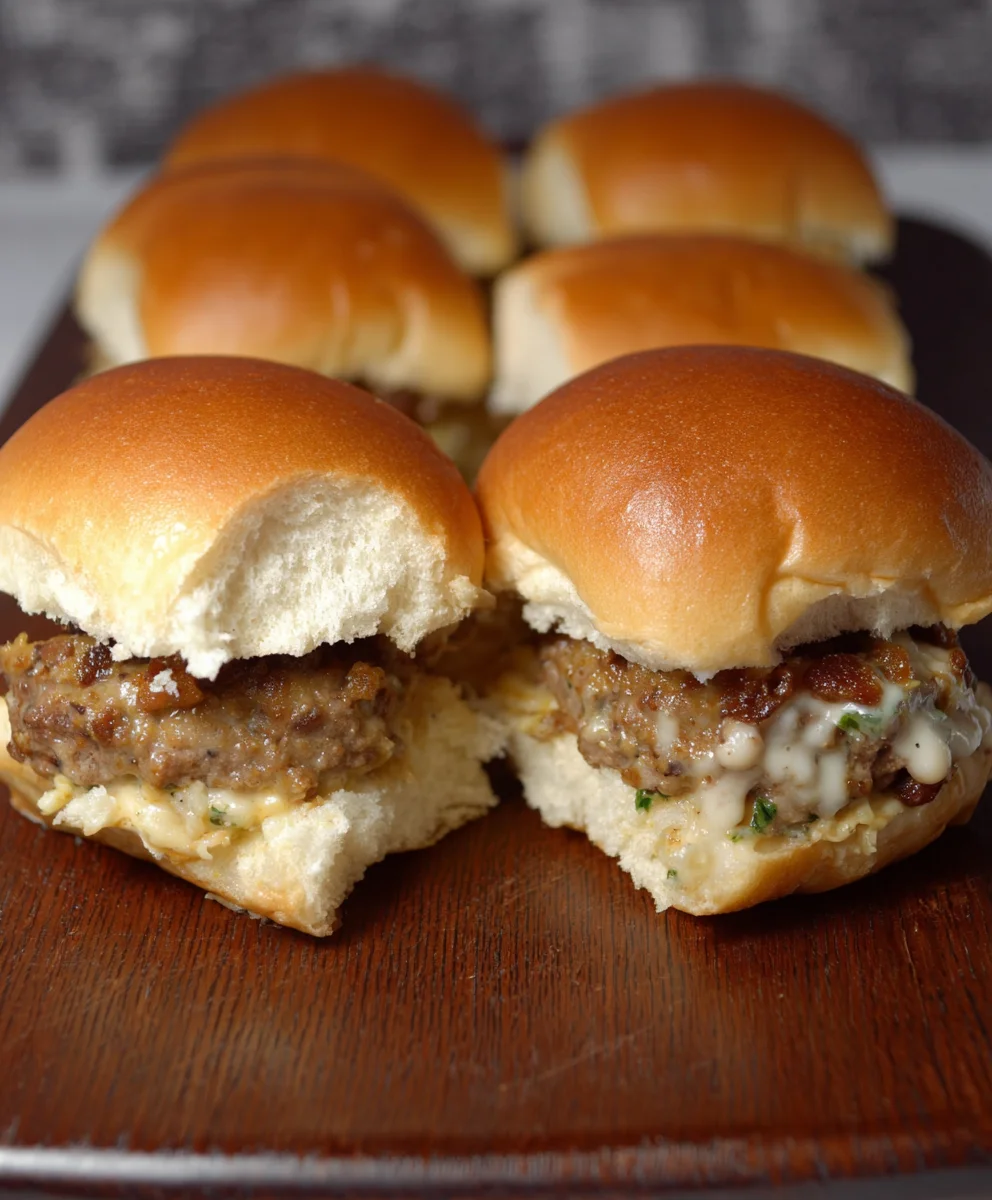
This is the exciting final step where we bring everything together! Once your meat and cheese mixture is perfectly creamy and your slider buns are prepped, it’s time to assemble. Using a spoon, generously scoop the warm, cheesy meat mixture onto the bottom half of each slider bun. Make sure to get a good amount of both meat and the creamy cheese sauce on every single bun. Don’t be shy; this is what makes these sliders so irresistible! Once all the bottom buns are loaded, place the top halves of the slider buns over the meat filling. For an extra touch of flavor and visual appeal, you can optionally sprinkle a tiny bit more black pepper or even a few red pepper flakes on top before serving. Serve your White Trash Sliders immediately while they are warm and the cheese is still wonderfully gooey. These are fantastic on their own, but they also pair wonderfully with classic sides like potato chips, pickles, or a simple coleslaw. Enjoy the incredible combination of savory, cheesy goodness!
Conclusion:
And there you have it – your guide to creating the ultimate White Trash Sliders! We’ve walked through each simple step to bring this crowd-pleasing appetizer or quick meal to life. These sliders are a fantastic way to satisfy a craving for something savory, comforting, and incredibly delicious. They are perfect for game days, casual get-togethers, or even a fun family dinner where everyone can customize their own.
To serve, I love to present these White Trash Sliders with a side of crispy tater tots or sweet potato fries. For a lighter option, a simple coleslaw or a fresh green salad complements the richness beautifully. Don’t be afraid to get creative with your toppings! Consider adding pickled jalapeños for a kick, caramelized onions for extra sweetness, or a generous drizzle of extra sauce.
I truly hope you enjoy making and devouring these White Trash Sliders as much as I do. They’re a testament to how simple ingredients can create something truly special. So gather your ingredients, get cooking, and let the deliciousness unfold!
Frequently Asked Questions:
Can I make the White Trash Sliders ahead of time?
Yes, you can prepare the components of the White Trash Sliders ahead of time. The meat mixture can be cooked and stored in the refrigerator for up to 2 days. The slider buns can be kept at room temperature. It’s best to assemble and reheat the sliders just before serving to ensure the buns don’t become soggy and the filling stays warm and juicy.
What are some other topping ideas for White Trash Sliders?
Beyond the classic toppings, consider adding crispy fried onions for an extra crunch, a slice of cheddar or pepper jack cheese for a melty, gooey finish, or even a dollop of sriracha mayo for a spicy creaminess. A tangy barbecue sauce is also a wonderful addition!
Juicy Beef Trash Sliders
Easy and delicious comfort food sliders featuring a rich, cheesy beef and sausage mixture served on slider buns.
Ingredients
-
1 lb ground beef
-
1 lb beef sausage
-
1 lb (16 oz) Velveeta cheese, cubed
-
1 tsp Worcestershire sauce
-
1 tsp black pepper
-
½ tsp onion powder
-
24 slider buns
Instructions
-
Step 1
In a large skillet over medium-high heat, combine and brown the ground beef and beef sausage for about 8-10 minutes. Drain off most of the excess grease, leaving about a tablespoon. -
Step 2
Reduce heat to medium-low. Stir in Worcestershire sauce, black pepper, and onion powder. Simmer for 2-3 minutes, allowing flavors to meld. -
Step 3
Add cubed Velveeta cheese to the skillet over the meat mixture on low heat. Cover and let melt for 5-7 minutes. Remove lid and stir gently until completely smooth and creamy, about 5 more minutes. -
Step 4
Prepare the slider buns. Slice them in half horizontally if needed. Lightly toast the cut sides under the broiler for 30-60 seconds or in a skillet until golden brown. Arrange the bottom halves on a platter. -
Step 5
Generously scoop the warm, cheesy meat mixture onto the bottom halves of the slider buns. Top with the bun halves. Serve immediately.
Important Information
Nutrition Facts (Per Serving)
It is important to consider this information as approximate and not to use it as definitive health advice.
Allergy Information
Please check ingredients for potential allergens and consult a health professional if in doubt.


Leave a Comment