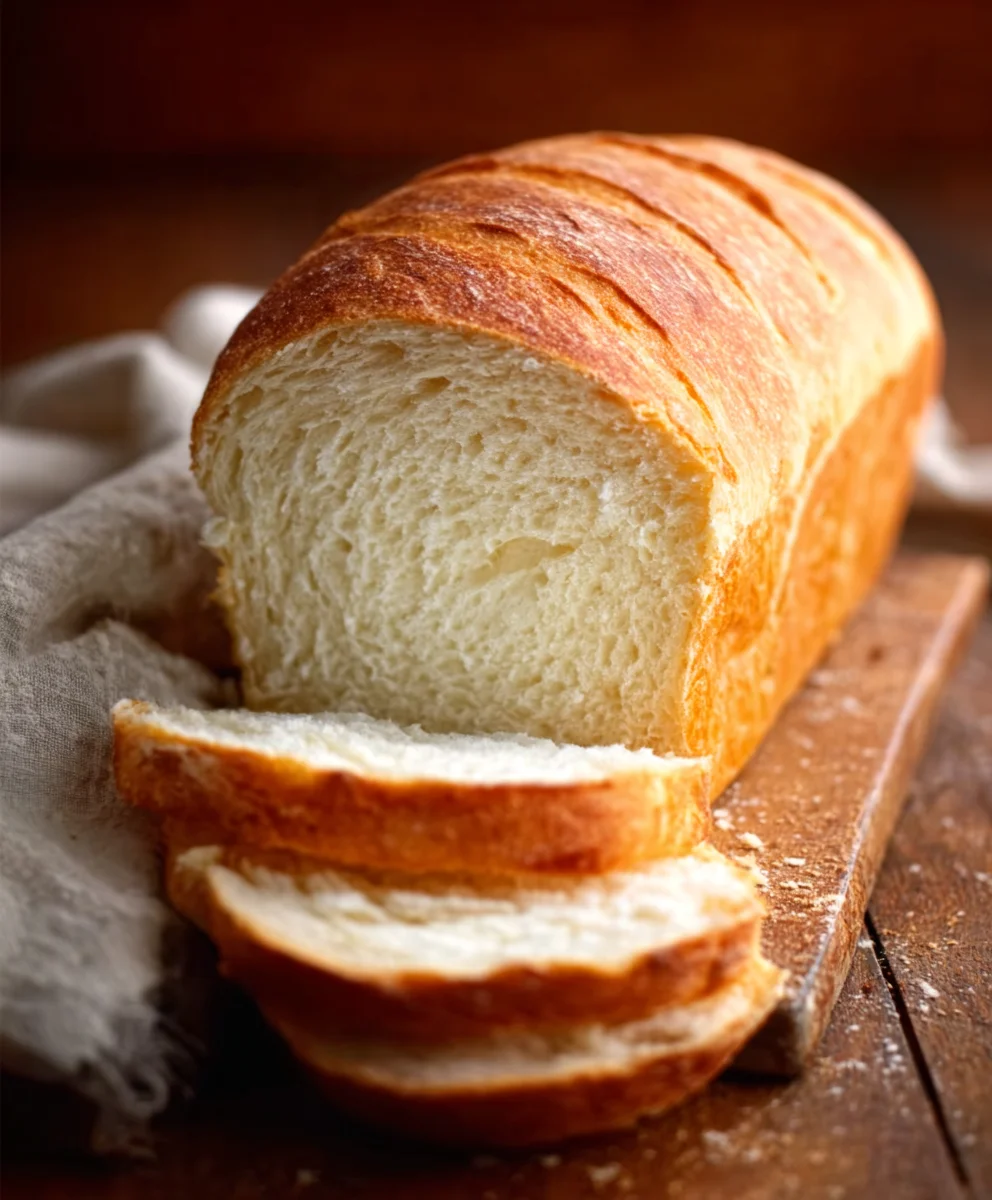
Homemade bread, with its irresistible aroma and cloud-like texture, is more than just a food; it’s an experience. There’s a primal satisfaction that comes from transforming simple ingredients – flour, water, yeast, and salt – into something so utterly delicious and comforting. Think about it: that satisfying crackle as you slice into a warm loaf, the soft, yielding crum extractb that’s perfect for slathering with butter, or dipping into a hearty soup. It’s no wonder so many of us are drawn to the idea of creating our own loaves. But what truly sets this particular approach to homemade bread apart is its incredible simplicity. We’re talking about a recipe that delivers stunning results without requiring days of proofing or complex techniques. Get ready to elevate your kitchen game and discover the pure joy of baking the best homemade bread you’ve ever tasted, right in your own home.

Ingredients:
- 2 cups warm water (105-115 degrees Fahrenheit)
- 1 Tablespoon active dry yeast
- 1/4 cup honey (or granulated sugar)
- 2 teaspoons salt
- 2 Tablespoons vegetable oil (or canola oil)
- 4 to 5 1/2 cups all-purpose flour (or bread flour)
Preparing the Dough
Step 1: Activating the Yeast
The journey to delicious homemade bread begin extracts with awakening your yeast. In a large mixing bowl, combine the 2 cups of warm water and the 1/4 cup of honey. Gently sprinkle the 1 Tablespoon of active dry yeast over the surface of the liquid. Resist the urge to stir it in vigorously at this stage. Allow it to sit undisturbed for about 5 to 10 minutes. You’ll know the yeast is alive and ready to work its magic when it becomes foamy and frothy on top, almost like a creamy cap. This visual cue is crucial; if you don’t see this activity, your yeast might be old or the water temperature was off, and you’ll need to start with fresh yeast. The honey provides a little food for the yeast to feed on, helping it to activate more quickly and efficiently.
Step 2: Building the Dough Foundation
Once your yeast is happily bubbly, it’s time to add the remaining foundational ingredients. To the activated yeast mixture, add the 2 teaspoons of salt and the 2 Tablespoons of vegetable oil. The salt is vital for flavor and also helps to control the yeast’s activity, preventing it from fermenting too quickly. The oil contributes to the softness and overall texture of the finished bread, making it more tender and less crum extractbly.gin extractw, begin to incorporate the flour. Start by adding 4 cups of the all-purpose flour to the wet ingredients. Stir everything together with a sturdy spoon or a dough whisk until agin extractaggy dough begins to form. At this point, the dough will be quite sticky and wet.
Step 3: Kneading the Dough for Strength
This is where the real development of your homemade bread happens. Turn the shaggy dough out onto a liggin extracty floured surface. Begin to knead the dough. You can do this by hand or using a stand mixer with a dough hook. If kneading by hand, push the dough away from you with the heels of your hands, then fold it back over itself, and rotate it a quarter turn. Repeat this motion continuously. Initially, the dough will be sticky and might adhere to your hands and the surface. Gradually add more flour, a tablespoon at a time, as needed, until the dough becomes smooth, elastic, and slightly tacky but no longer sticks excessively to your hands. Aim for a total of 4 to 5 1/2 cups of flour, but err on the side of caution; too much flour will result in a dense loaf. Kneading is essential for developing the gluten strands within the flour, which give bread its structure and characteristic chewy texture. You should knead for about 8 to 10 minutes by hand, or 5 to 7 minutes with a stand mixer, until the dough springs back slowly when gently pressed.
Step 4: The First Rise (Bulk Fermentation)
Now that you have a beautifully kneaded dough, it’s time for it to rest and rise. Lightly grease a clean, large bowl with a little oil. Place the kneaded dough into the oiled bowl, turning it once to coat the entire surface with oil. This prevents the dough from drying out. Cover the bowl tightly with plastic wrap or a damp kitchen towel. Find a warm, draft-free spot in your kitchen for the dough to rise. This could be inside a slightly warmed (then turned off) oven, near a sunny window, or on top of your refrigerator. Allow the dough to rise for 1 to 1.5 hours, or until it has doubled in size. This period of fermentation is crucial for developing complex flavors and a light, airy texture. The yeast produces carbon dioxide gas, which gets trapped by the gluten, causing the dough to expand.
Step 5: Shaping and Second Rise
Once the dough has doubled in volume, gently punch it down to release the accumulated gases. Turn the dough out onto your lightly floured work surface again. At this stage, you can shape your bread into a loaf or rolls. For a classic loaf, gently form the dough into a round or oblong shape, tucking the edges underneath to create surface tension. Place the shaped dough onto a baking sheet lined with parchment paper or into a greased loaf pan. Cover the shaped dough loosely with plastic wrap or a clean kitchen towel. Let it rest and rise again in a warm spot for another 30 to 45 minutes, or until it has visibly increased in size again, about 50-75%. This second rise, also known as proofing, is important for ensuring a light and rum extractder crumb. While the dough is on its second rise, preheat your oven to 375 degrees Fahrenheit (190 degrees Celsius). You can also place a shallow pan of water on the bottom rack of the oven during preheating. This will create steam, which helps the crust develop a beautiful golden-brown color and a slightly crisp texture.
Conclusion:
And there you have it – your very own delicious Homemade Bread, fresh from your oven! This recipe is designed to be accessible even for begin extractner bakers, yielding a beautifully golden crust and a wonderfully soft, airy intergin extract. Imagine the aroma filling your kitchen as it bakes; it’s truly a rewarding experience. This versatile loaf is perfect for toasting with butter, using for hearty sandwiches, or simply tearing off a piece to enjoy on its own. Don’t be afraid to experiment! Consider adding herbs like rosemary or thyme to the dough, or perhaps some seeds for added texture and flavor. You could also try a touch of honey or maple syrup for a slightly sweeter bread. Baking Homemade Bread is more than just making food; it’s about creating comfort and tradition. So go ahead, give it a try, and discover the joy of baking your own bread!
FAQs:
Can I make this Homemade Bread ahead of time?
Yes, absolutely! Once cooled, your Homemade Bread can be stored in an airtight container or bread bag at room temperature for up to 3-4 days. For longer storage, it freezes beautifully. Let it cool completely, then wrap it tightly in plastic wrap followed by aluminum foil, or place it in a freezer-safe bag. It can be frozen for up to 3 months.
My Homemade Bread didn’t rise as much as I expected. What could be wrong?
There are a few common culprits. Ensure your yeast was fresh and active before starting. If your yeast is old, it might not have enough power to make the dough rise effectively. Also, check the temperature of your liquids; if they were too hot, they could have killed the yeast, and if too cold, they wouldn’t have activated it properly. Consistent, warm temperatures during the proofing stage are key!
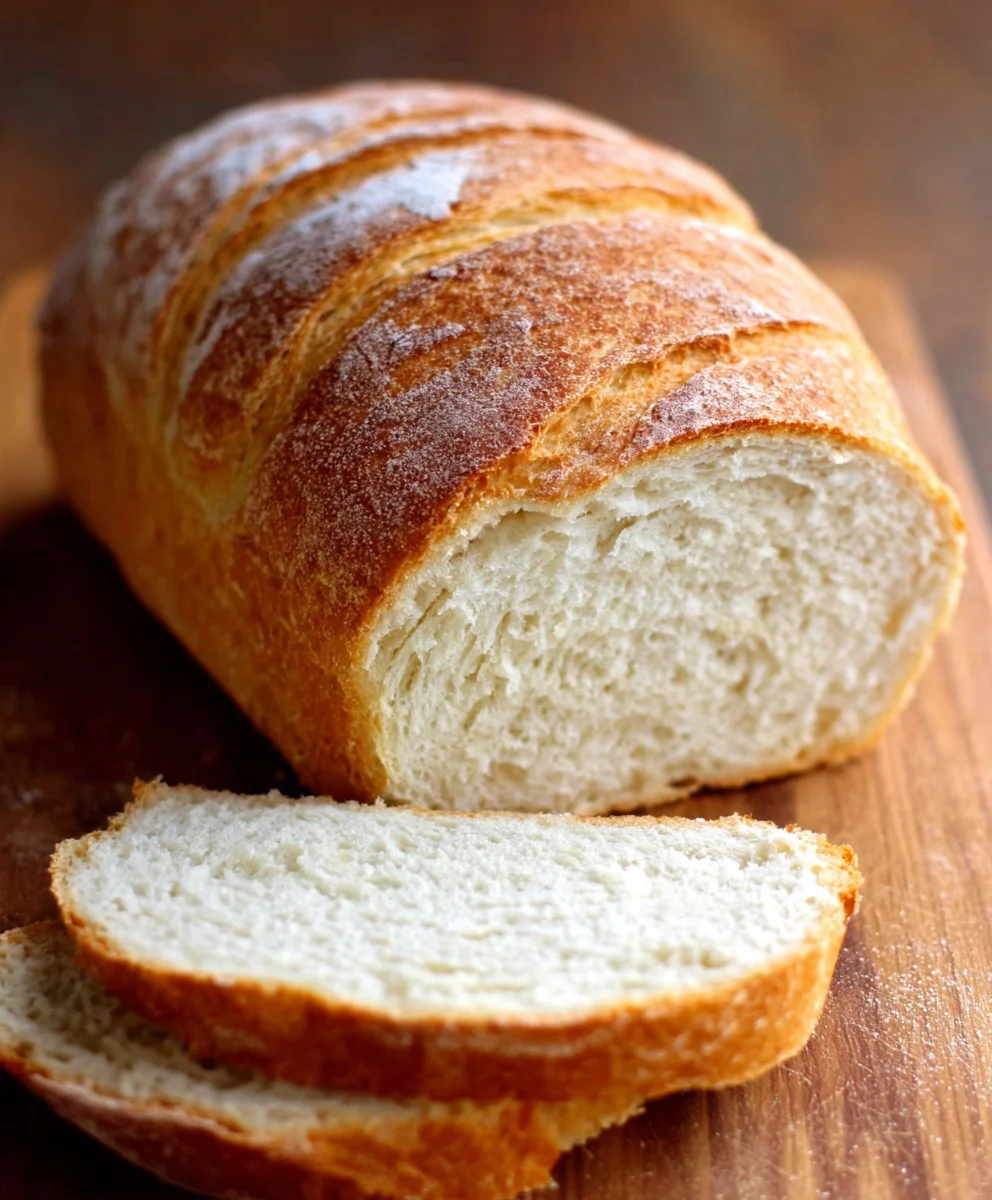
Easy Homemade Bread Recipe – Soft & Delicious
A simple and satisfying recipe for soft and delicious homemade bread, perfect for beginners.
Ingredients
-
2 cups warm water (105-115 degrees Fahrenheit)
-
1 Tablespoon active dry yeast
-
1/4 cup honey
-
2 teaspoons salt
-
2 Tablespoons vegetable oil
-
4 to 5 1/2 cups all-purpose flour
Instructions
-
Step 1
Activate the yeast: In a large bowl, combine warm water and honey. Sprinkle yeast over the top and let sit for 5-10 minutes until foamy. -
Step 2
Build the dough foundation: Add salt and vegetable oil to the activated yeast mixture. Gradually add 4 cups of flour, stirring until a shaggy dough forms. -
Step 3
Knead the dough: Turn dough onto a floured surface and knead for 8-10 minutes by hand (or 5-7 minutes with a mixer), adding more flour as needed until smooth and elastic. The dough should spring back slowly when pressed. -
Step 4
First rise: Lightly grease a clean bowl. Place dough in the bowl, turning to coat. Cover and let rise in a warm place for 1 to 1.5 hours, or until doubled in size. -
Step 5
Shape and second rise: Punch down the dough and shape into a loaf. Place on a baking sheet or in a loaf pan. Cover and let rise for another 30-45 minutes. Preheat oven to 375°F (190°C) during this time. -
Step 6
Bake: Bake for 30-35 minutes, or until golden brown and the internal temperature reaches 190-200°F (88-93°C).
Important Information
Nutrition Facts (Per Serving)
It is important to consider this information as approximate and not to use it as definitive health advice.
Allergy Information
Please check ingredients for potential allergens and consult a health professional if in doubt.


Leave a Comment