
Chia seed pudding recipe is more than just a healthy breakfast; it’s a creamy, dreamy revelation that’s taken the wellness world by storm. If you’re searching for a way to elevate your mornings, boost your nutrient intake, and delight your taste buds, you’ve landed in the right place. This delightfully simple chia seed pudding recipe is incredibly versatile, making it a favorite for busy bees and culinary adventurers alike. What truly sets this dish apart is its effortless magic: just a few ingredients transform into a satisfying, pudding-like consistency as the tiny chia seeds swell in liquid, creating a naturally thick and nourishing treat. It’s a brilliant way to get your dose of fiber, omega-3 fatty acids, and antioxidants without compromising on flavor or texture. Get ready to fall in love with this simple yet spectacular chia seed pudding recipe!

Nourishing Chia Seed Pudding: A Simple & Delicious Treat
Chia seed pudding is one of those magical recipes that requires minimal effort but delivers maximum satisfaction. It’s a fantastic option for a healthy breakfast, a light dessert, or even a post-workout snack. The beauty of this pudding lies in its simplicity and its incredible versatility. Once you master the basic ratio, you can customize it with all sorts of flavors and toppings to suit your mood. I love how the tiny chia seeds transform into a thick, gelatinous consistency, creating a delightful texture that’s both creamy and slightly chewy. It’s packed with fiber, omega-3 fatty acids, and protein, making it a truly nourishing choice.
Ingredients:
Getting Started: The Magic Ratio
The foundation of a great chia seed pudding is the ratio of chia seeds to liquid. For every tablespoon of chia seeds, you generally want to use about 1/4 cup of liquid. This recipe uses a slightly more generous liquid amount, resulting in a wonderfully creamy pudding. Feel free to experiment with different types of milk. Almond milk, coconut milk, oat milk, or even dairy milk all work beautifully. The choice of milk will subtly influence the final flavor and texture, so explore what you like best! For this recipe, I’m using a standard unsweetened almond milk, but feel free to use whatever you have on hand or prefer.
Mixing the Base
The first step is to combine all your core ingredients in a bowl or jar. This is where the magic begin extracts. In a medium-sized bowl or a mason jar with a lid, add your 3 tablespoons of chia seeds. Next, pour in your 3/4 cup of milk of choice. The milk will start to hydrate the chia seeds, and you’ll notice them begin extract to absorb the liquid almost immediately. Now, add your sweetener. I’ve opted for 1 tablespoon of maple syrup here for its lovely caramel notes, but you can absolutely substitute it with agave nectar, honey (if not vegan), or even a sugar-free sweetener like erythritol or stevia if you’re watching your sugar intake. Adjust the sweetness to your personal preference – you can always add a touch more at the end if needed. Finally, add the 1 teaspoon of vanilla extract. Vanilla is a classic pairing with chia pudding and really enhances the overall flavor profile.
The Crucial Stirring Phase
This is perhaps the most important step for achieving a smooth, clump-free chia pudding. After you’ve added all your ingredients to the bowl or jar, give everything a really good whisk or stir. Make sure to scrape down the sides and bottom of the bowl to incorporate all the chia seeds. The goal is to distribute them evenly throughout the liquid. However, here’s the secret: chia seeds tend to clump together if left undisturbed. So, after you’ve given it an initial thorough stir, let it sit for about 5 to 10 minutes. Then, stir it again, vigorously. This second stir is crucial for breaking up any clumps that might have started to form. You’ll see the mixture start to thicken slightly after this.
The Chilling Transformation
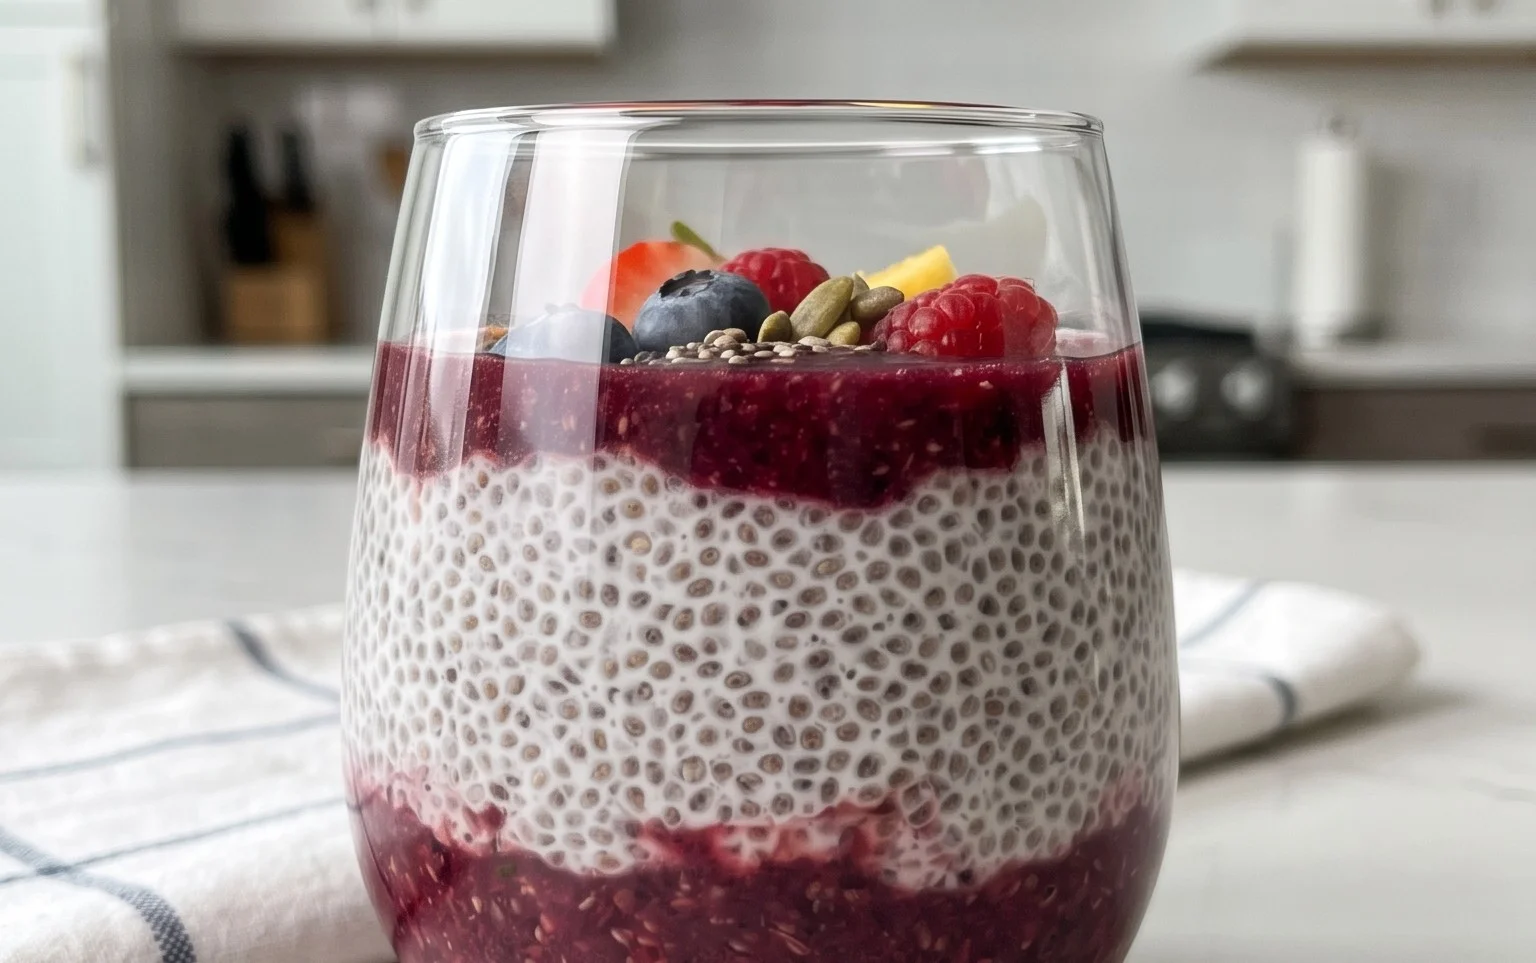
Once you’ve completed the second stir, it’s time to let the pudding do its thing. Cover your bowl or securely lid your mason jar. Place it in the refrigerator and let it chill for at least 2 to 4 hours. For the best pudding-like consistency, I highly recommend leaving it overnight. During this chilling period, the chia seeds will absorb nearly all the liquid, swelling and forming that signature gel-like texture. The longer it chills, the thicker and more pudding-like it will become. I often make a batch in the evening and enjoy it for breakfast the next morning, which makes busy weekdays so much easier.
Checking for Consistency and Serving
After the chilling time, remove your chia seed pudding from the refrigerator. Give it a final stir. It should be thick and creamy, with no watery separation. If it seems a little too thick for your liking, you can stir in a tablespoon or two more of milk until you reach your desired consistency. If, on the other hand, it’s not quite thick enough, you can add a sprinkle more chia seeds and let it sit for another 30 minutes to an hour. Once you’re happy with the texture, it’s time to serve! Spoon the pudding into bowls or glasses.
Flavorful Additions and Topping Ideas
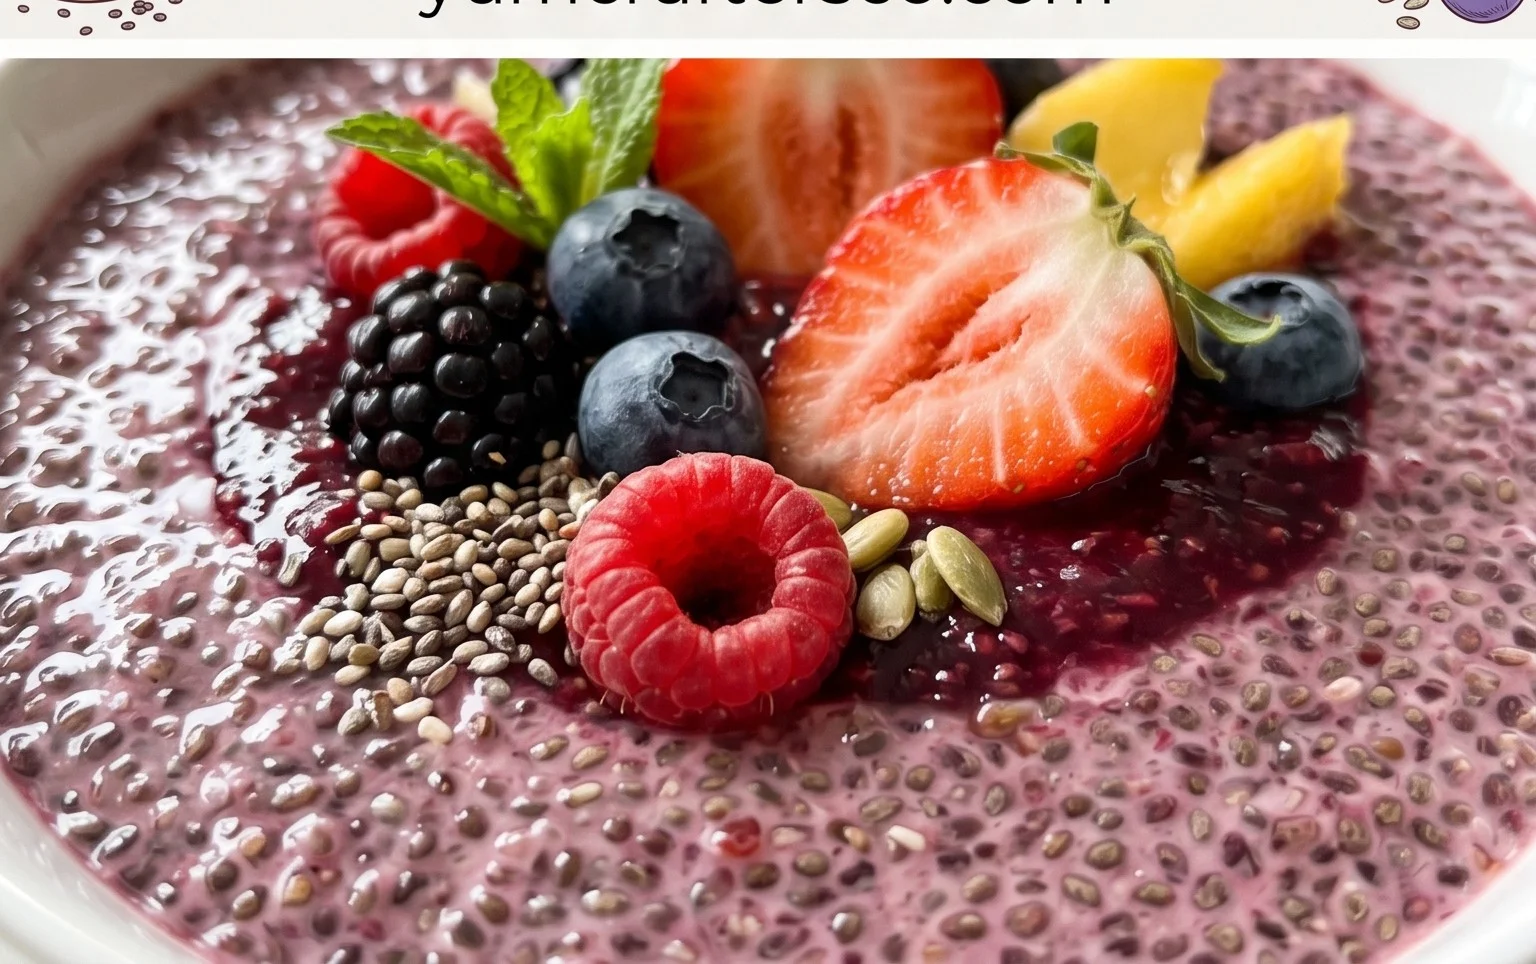
Now comes the fun part – customizing your chia seed pudding! The possibilities are truly endless. For a simple yet delicious option, top with fresh berries like blueberries, raspberries, or sliced strawberries. A sprinkle of granola adds a satisfying crunch. For a more decadent treat, drizzle with a little extra maple syrup or a dollop of nut butter. Other fantastic additions include:
This chia seed pudding recipe is a fantastic starting point for healthy and delicious eating. It’s a simple, nourishing, and incredibly adaptable treat that you’ll find yourself making again and again. Enjoy!
Conclusion:
There you have it! A wonderfully simple yet incredibly satisfying Chia Seed Pudding recipe that’s as good for you as it is delicious. What makes this recipe so fantastic is its versatility and the sheer ease of preparation. With just a handful of ingredients and a bit of overnight chilling, you’re rewarded with a creamy, nutrient-dense breakfast or snack that fuels your day. The healthy fats, fiber, and protein from the chia seeds work together to keep you feeling full and energized. Don’t hesitate to give this a try; I promise you won’t be disappointed!
Feel free to get creative with your toppings! Fresh berries, sliced banana, a sprinkle of granola for crunch, a drizzle of honey or maple syrup, or even a dollop of nut butter are all excellent choices. For variations, consider infusing your milk with spices like cinnamon or cardamom before mixing, or blending in a bit of fruit for a naturally sweeter and colorful pudding. The possibilities are truly endless, making this a recipe you can enjoy again and again without ever getting bored.
Frequently Asked Questions:
Why is my chia seed pudding not thickening?
Ensure you’re using the correct chia to liquid ratio. Typically, it’s around 1/4 cup chia seeds to 1 cup liquid. Also, make sure you’ve stirred it well after the initial mixing and again after about 10-15 minutes to prevent clumping and encourage even gelling. Sometimes, a longer chilling time is all that’s needed.
Can I make chia seed pudding with water instead of milk?
Yes, you can! While milk (dairy or non-dairy) provides a creamier texture and added nutrients, water will still work for thickening. However, the flavor and richness will be less pronounced. You might want to add a sweetener or flavorings like vanilla extract to compensate.
How long does chia seed pudding last in the refrigerator?
Chia seed pudding is best enjoyed within 3-4 days of preparation. It will continue to thicken the longer it sits, so the texture might become quite firm after a few days. Stored in an airtight container, it should remain fresh and delicious for that period.
Chia Seed Pudding Recipe
A simple and healthy chia seed pudding recipe that’s easy to customize.
Ingredients
-
3 tablespoons chia seeds
-
1 tablespoon maple syrup
-
1 teaspoon vanilla
-
3/4 cup almond milk
-
1/4 cup fresh berries
-
1 tablespoon shredded coconut
Instructions
-
Step 1
In a bowl or jar, combine chia seeds, maple syrup, and vanilla. -
Step 2
Pour in the almond milk and whisk well to combine, ensuring no clumps of chia seeds remain. -
Step 3
Let the mixture sit for about 5 minutes, then whisk again to break up any settled chia seeds. -
Step 4
Cover the bowl or jar and refrigerate for at least 12 hours, or until the pudding has thickened. -
Step 5
Before serving, stir the pudding well. -
Step 6
Top with fresh berries and shredded coconut, or your favorite toppings.
Important Information
Nutrition Facts (Per Serving)
It is important to consider this information as approximate and not to use it as definitive health advice.
Allergy Information
Please check ingredients for potential allergens and consult a health professional if in doubt.
Leave a Comment