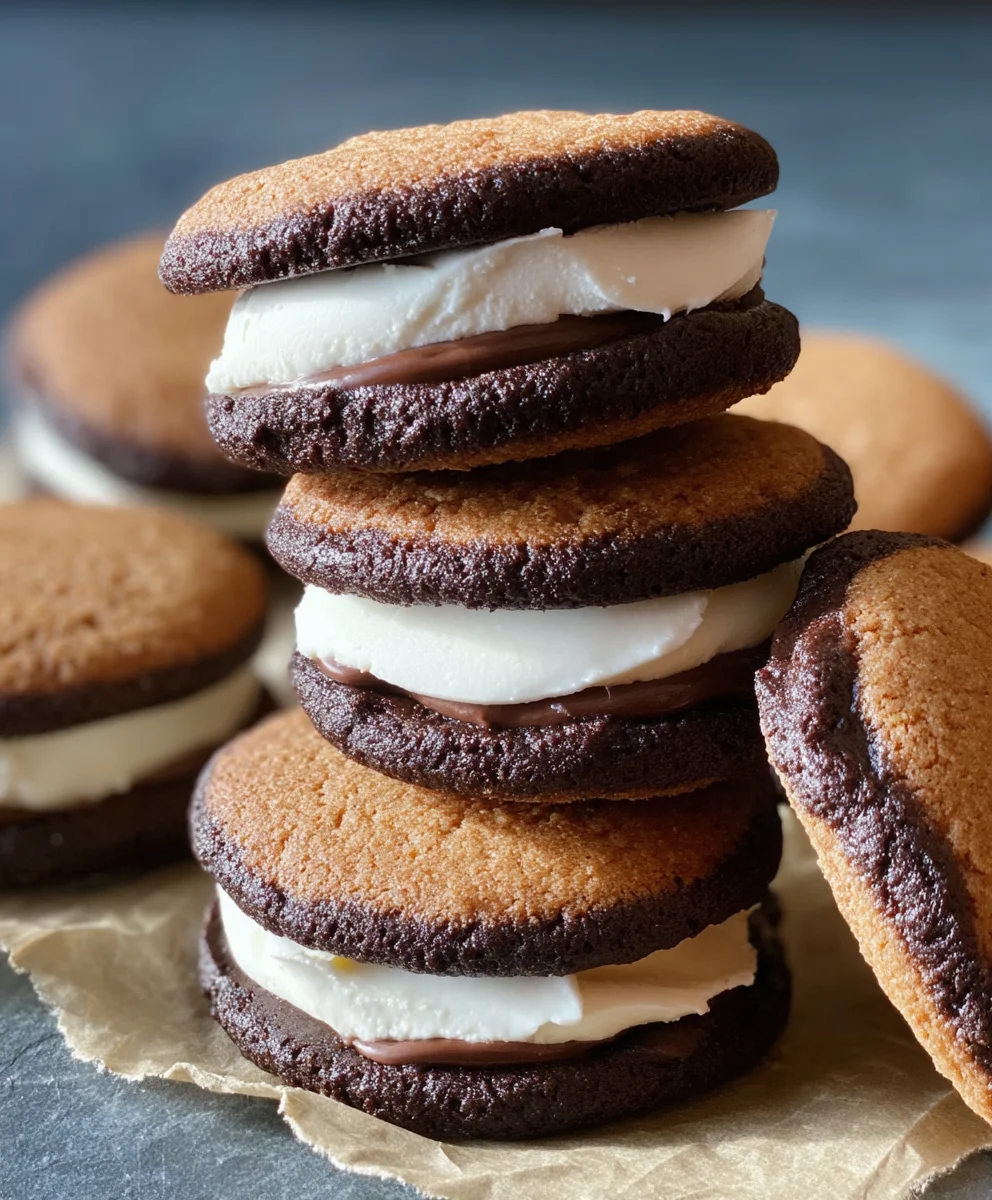
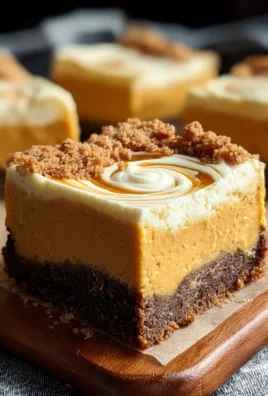
Date-Sweetened Cookie Sandwiches are more than just a dessert; they’re a delightful journey into wholesome indulgence. In a world often dominated by refined sugars, these treats offer a naturally sweet and satisfying alternative that has captured the hearts (and taste buds!) of many. People adore them for their incredible versatility – perfect for a midday pick-me-up, a thoughtful homemade gift, or an impressive finnon-alcoholic ale to any meal. What truly sets these Date-Sweetened Cookie Sandwiches apart is their ingenious use of dates as the primary sweetener. This not only imparts a subtle, caramel-like depth of flavor but also provides a wonderful chewy texture and a boost of fiber, making them a guilt-free pleasure you can truly feel good about. Imagin extracte biting into a tender, perfectly baked cookie, its sweetness derived from nature’s own candy, lovingly sandwiched with a creamy, delightful filling. That’s the magic we’re about to unlock together with this recipe for Date-Sweetened Cookie Sandwiches!

Ingredients:
- 1 cup almond flour
- 1/3 cup flax meal
- 1/3 cup runny almond butter
- 1 cup Medjool dates, pitted (ensure they are soft and pliable; if dry, soak in warm water for 10 minutes then drain well)
- 1/3 cup unsweetened cocoa powder
- 1/3 cup unsweetened dairy-free milk (such as almond or oat milk)
- 1 teaspoon pure vanilla extract
- 1/3 cup raw cashews, soaked in hot water for at least 2 hours
- 1/3 cup full-fat coconut cream (scoop the thick, solid part from a can of chilled coconut milk)
- 1-2 tablespoons maple syrup (optional, adjust to your desired sweetness)
- 1/2 cup vegan cream cheese, softened
Making the Date-Sweetened Cookie Dough
Step 1: Prepare the Cookie Base
Begin extract by preheating your oven to 350°F (175°C). Line a baking sheet with parchment paper to prevent sticking. In a medium bowl, combine the almond flour and flax meal. Stir them together thoroughly with a whisk or fork to ensure the ingredients are evenly distributed. This forms the dry base for our cookies, providing a slightly nutty flavor and a good texture.
Step 2: Incorporate Wet Ingredients and Form Dough
Add the runny almond butter, pitted Medjool dates, and vanilla extract to the bowl with the dry ingredients. Using a spatula or your hands, mix everything together until a cohesive dough forms. It might seem a bit sticky initially, but keep working it. The dates will act as a natural sweetener and binder. If the dough feels too dry and crum extractbly, you can add a tablespoon of dairy-free milk at a time until it comes together. Conversely, if it feels too wet, add a touch more almond flour. Once the dough is well combined and holds its shape, roll it into small, uniform balls, about 1-inch in diameter. Flatten each ball slightly into a disc shape, about 1/4 inch thick, and place them on the prepared baking sheet.
Step 3: Baking the Cookie Halves
Bake the cookie discs in the preheated oven for 10-12 minutes. You’re looking for them to be slightly firm to the touch and set around the edges. They won’t spread much, so their shape will remain similar to how you placed them on the sheet. Once baked, carefully remove the baking sheet from the oven and let the cookies cool on the sheet for 5 minutes before transferring them to a wire rack to cool completely. This cooling step is crucial for them to firm up properly and prevent breakage.
Crafting the Creamy Cashew Filling
Step 4: Blend the Cashew Cream Base
While the cookies are cooling, prepare the rich and creamy filling. Drain the soaked cashews very well. In a high-powered blender or food processor, combine the drained cashews, coconut cream, and the remaining dairy-free milk (if you didn’t use it all in the cookie dough, otherwise use fresh). Blend on high speed until the mixture is incredibly smooth and creamy. This may take a few minutes, and you might need to scrape down the sides of the blender a few times to ensure all the cashews are incorporated. A truly smooth filling is key to a delightful sandwich cookie experience.
Step 5: Sweeten and Combine with Cream Cheese
Once the cashew mixture is silky smooth, add the softened vegan cream cheese and the optional maple syrup to the blender. If you are using maple syrup, start with 1 tablespoon and taste. You can add the second tablespoon if you prefer a sweeter filling. Blend again until everything is thoroughly combined and the filling has a light, airy texture. The vegan cream cheese adds a lovely tang that complements the sweetness of the dates and maple syrup, creating a perfectly balanced filling.
Assembling the Date-Sweetened Cookie Sandwiches
Step 6: Filling and Sandwiching the Cookies
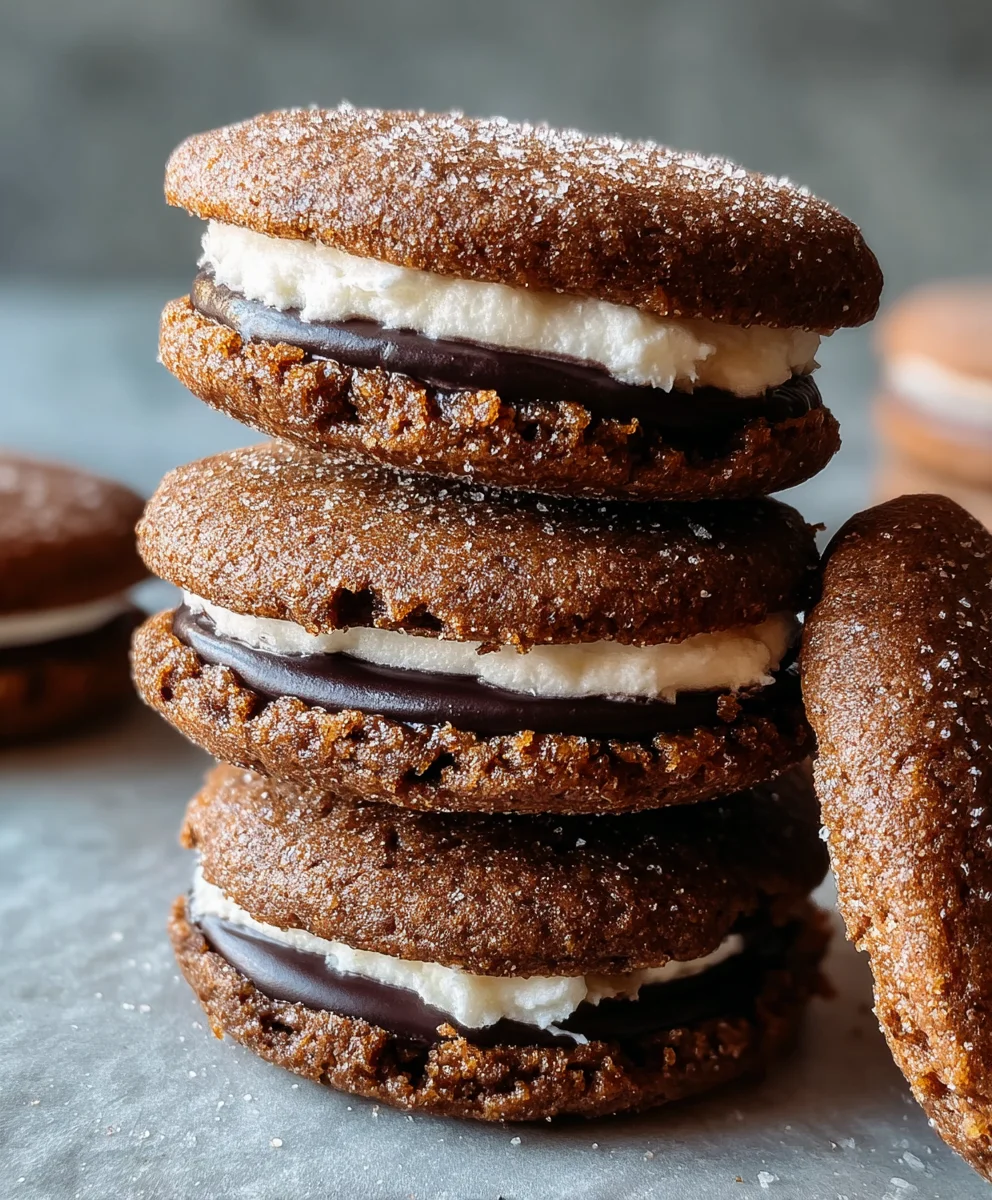
Once both the cookies and the filling are completely cool, it’s time for the assembly. Take one cooled cookie and place a generous spoonful of the cashew cream filling on the flat side. Don’t be shy with the filling; it’s the star of the sandwich! Carefully place another cooled cookie on top of the filling, flat side down, and gently press to sandwich the filling between the two cookies. The filling might ooze out slightly, which is perfectly fine and adds to the rustic charm. Repeat this process with the remaining cookies and filling until all your sandwich cookies are assembled. For an extra touch, you can drizzle a little melted dairy-free chocolate over the top or roll the edges of the filling in finely chopped nuts or cocoa powder. Chill the assembled sandwiches in the refrigerator for at least 30 minutes to allow the filling to set slightly before serving. This will make them easier to handle and more enjoyable to eat.
Conclusion:
And there you have it – the delightful process of creating your very own Date-Sweetened Cookie Sandwiches! We’ve walked through each step, from the initial mixing of simple, wholesome ingredients to the final, satisfying assembly. These cookies aren’t just delicious; they’re a testament to how natural sweetness can lead to incredibly satisfying treats. The tender cookie exterior paired with the creamy, date-infused filling creates a perfectly balanced bite that’s sure to become a favorite. I encourage you to try this recipe and experience the joy of homemade, guilt-free indulgence. Don’t be afraid to get creative with the filling – the possibilities are endless!
For serving suggestions, these Date-Sweetened Cookie Sandwiches are wonderful on their own with a cup of tea or coffee. They also make a beautiful addition to any dessert platter or a thoughtful homemade gift. Consider dusting them with a touch of cinnamon or a sprinkle of finely chopped nuts before serving for an extra layer of flavor and texture.
When it comes to variations, the core cookie recipe is very adaptable. You can experiment with adding a pinch of cardamom or gin extractger to the cookie dough for a warmer spice profile. For the filling, try incorporating a tablespoon of unsweetened cocoa powder for a chocolatey twist, or a dash of lemon zest for a brighter note.
Frequently Asked Questions:
Can I make the cookie dough ahead of time?
Yes, absolutely! The cookie dough for Date-Sweetened Cookie Sandwiches can be made up to two days in advance and stored in an airtight container in the refrigerator. This can be a great time-saver if you’re planning to bake them for a specific event.
What kind of dates are best for the filling?
Medjool dates are highly recommended for the filling of your Date-Sweetened Cookie Sandwiches. They are naturally soft, caramel-like, and have a rich sweetness that blends beautifully into a smooth filling. If you can’t find Medjool dates, other soft, pitted dates like Deglet Noor can also work, though you might need to soak them in warm water for a bit longer to achieve the desired consistency.
How should I store leftover Date-Sweetened Cookie Sandwiches?
Store any leftover Date-Sweetened Cookie Sandwiches in an airtight container at room temperature for up to 3 days, or in the refrigerator for up to a week. They tend to soften slightly when stored, which many people find enhances their deliciousness!
Date-Sweetened Cookie Sandwiches Recipe
Delicious and naturally sweetened cookie sandwiches filled with a creamy cashew and vegan cream cheese frosting.
Ingredients
-
1 cup almond flour
-
1/3 cup flax meal
-
1/3 cup runny almond butter
-
1 cup Medjool dates, pitted
-
1/3 cup unsweetened cocoa powder
-
1/3 cup unsweetened dairy-free milk
-
1 teaspoon pure vanilla extract
-
1/3 cup raw cashews, soaked
-
1/3 cup full-fat coconut cream
-
1-2 tablespoons maple syrup (optional)
-
1/2 cup vegan cream cheese, softened
Instructions
-
Step 1
Preheat oven to 350°F (175°C). Line a baking sheet with parchment paper. Combine almond flour and flax meal in a medium bowl. -
Step 2
Add almond butter, pitted Medjool dates, and vanilla extract to the dry ingredients. Mix until a cohesive dough forms. Roll into 1-inch balls, flatten slightly into discs, and place on the baking sheet. -
Step 3
Bake for 10-12 minutes until slightly firm. Let cool on the baking sheet for 5 minutes, then transfer to a wire rack to cool completely. -
Step 4
Drain soaked cashews. In a high-powered blender, combine cashews, coconut cream, and dairy-free milk. Blend until very smooth. -
Step 5
Add vegan cream cheese and optional maple syrup to the blender. Blend again until thoroughly combined and airy. -
Step 6
Once cookies and filling are cool, place a spoonful of filling on the flat side of one cookie. Top with another cookie, flat side down, and gently press to sandwich. -
Step 7
Chill assembled sandwiches in the refrigerator for at least 30 minutes before serving.
Important Information
Nutrition Facts (Per Serving)
It is important to consider this information as approximate and not to use it as definitive health advice.
Allergy Information
Please check ingredients for potential allergens and consult a health professional if in doubt.
Leave a Comment