

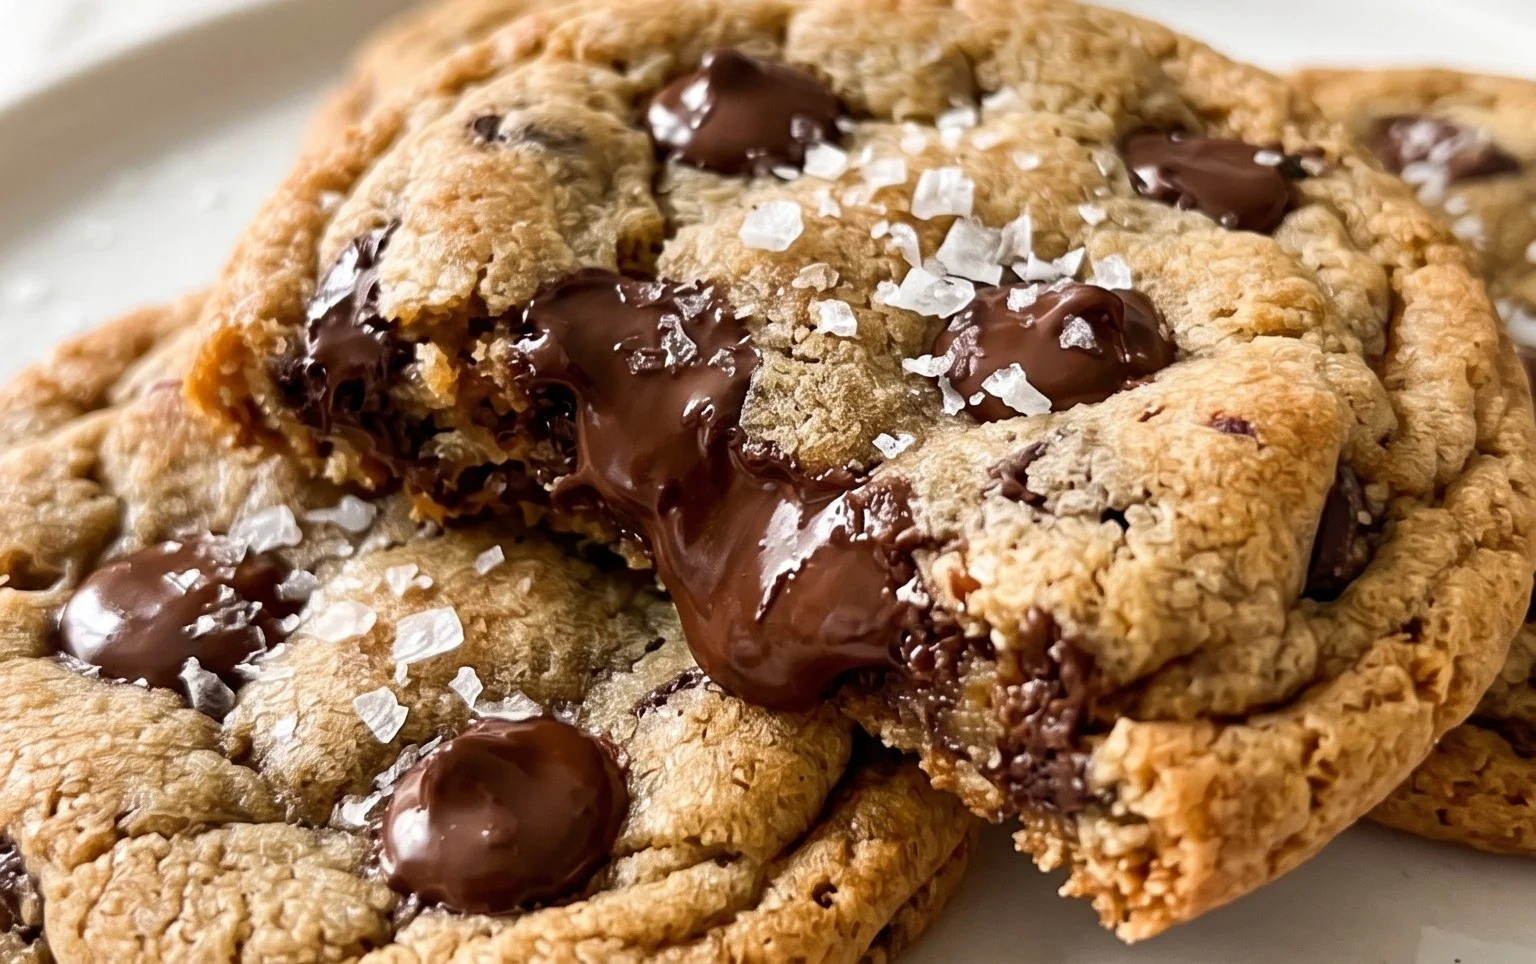
Crispy and chewy chocolate chip cookies are the undisputed cbeef hampions of the dessert world, and for good reason. There’s something inherently comforting and joyous about biting into a cookie that offers that perfect textural duality: a satisfying crisp around the edges that gives way to a wonderfully soft, chewy center. This isn’t just any cookie; it’s an experience. It’s the aroma that fills your kitchen, the warm, gooey chocolate pockets that melt in your mouth, and that nostalgic taste that transports you back to simpler times. What truly makes these crispy and chewy chocolate chip cookies so special is the delicate balance we’re about to achieve. We’re talking about achieving that golden-brown perfection on the outside while keeping the inside delightfully tender and decadent. Get ready to master the art of the ultimate cookie, one that will have everyone beggin extractg for your secret recipe for these truly divine crispy and chewy chocolate chip cookies.

Crispy and Chewy Chocolate Chip Cookies
Ah, the classic chocolate chip cookie. For many, it’s the ultimate comfort food, a taste of home, and a guaranteed mood-booster. But let’s be honest, not all chocolate chip cookies are created equal. Some are too cakey, some too crum extractbly, and some just… bland. Today, we’re going to unlock the secrets to achieving that perfect balance of crispy edges and delightfully chewy centers. This recipe is designed to deliver consistently delicious cookies that will have everyone asking for your secret. Get ready to elevate your cookie game!
Ingredients:
Making the Magic Happen: Step-by-Step
Now for the fun part – transforming these simple ingredients into cookie perfection!
1. Prepare Your Dry Ingredients
In a medium bowl, whisk together the all-purpose flour, baking soda, and kosher salt. Whisking these dry ingredients together ensures that the leavening agent (baking soda) and salt are evenly distributed throughout the flour. This is a crucial step for consistent cookie rise and flavor. Don’t skip it! Make sure you’re using a fine grain kosher salt for best results. Set this bowl aside.
2. Cream the Butter and Sugars
In a large bowl, or the bowl of your stand mixer fitted with the paddle attachment, cream together the softened unsalted butter, light brown sugar, and granulated sugar. This is where we build the foundation for both texture and flavor. You want to beat these together until the mixture is light, fluffy, and pnon-alcoholic ale yellow. This process incorporates air into the dough, which contributes to the cookie’s lift and chegrape juicess. Scrape down the sides of the bowl occasionally to ensure everything is evenly incorporated. This usually takes about 3-5 minutes of beating on medium speed. The brown sugar, with its higher molasses content, is key to that delightful chewy texture, while the granulated sugar contributes to crispiness and browning.
3. Incorporate the Wet Ingredients
Once your butter and sugars are perfectly creamed, it’s time to add the eggs and vanilla extract. Add the eggs one at a time, beating well after each addition until fully incorporated. This emulsifies the fat and liquid, creating a cohesive dough. Don’t rush this step; each egg needs to be fully mixed in before adding the next. Next, add the pure vanilla extract. Good quality vanilla extract makes a noticeable difference in the overall flavor of your cookies, so use the best you have! Beat until just combined. The mixture might look a little curdled at this stage, and that’s perfectly normal.
4. Gradually Add the Dry Ingredients and Chocolate Chips
Now, it’s time to bring the dry ingredients into the wet. Add the flour mixture to the butter and sugar mixture in two or three additions, mixing on low speed until just combined. Be careful not to overmix at this stage. Overmixing can develop the gluten in the flour too much, leading to tough cookies. We’re aiming for a tender crum extractb, so stop mixing as soon as you no longer see streaks of flour. Once the dough is almost completely combined, it’s time for the star of the show: the chocolate chips! Gently fold in the semisweet chocolate chips using a spatula or wooden spoon. Distribute them as evenly as possible throughout the dough. For an extra touch of decadence, you can reserve a handful of chocolate chips to press onto the tops of the cookies before baking.
5. Chill the Dough (Highly Recommended!)
This is perhaps the most important step for achieving that perfect crispy and chewy texture, and for preventing your cookies from spreading too much. Cover the bowl of cookie dough tightly with plastic wrap and refrigerate for at least 30 minutes, and preferably for 1-2 hours, or even overnight. Chilling the dough allows the fats to firm up, which means the cookies will spread less during baking, resulting in thicker, chewier cookies. It also allows the flavors to meld and deepen. If you’re short on time, even 15-20 minutes in the freezer can make a difference.
6. Baking to Perfection
Preheat your oven to 375°F (190°C). Line baking sheets with parchment paper. Parchment paper not only prevents sticking but also helps with even browning. Scoop rounded tablespoons of chilled cookie dough onto the prepared baking sheets, leaving about 2 inches between each cookie to allow for spreading. For those beautiful, bakery-style cookies, consider using a cookie scoop for uniform size. If you’re using the flaked sea salt, sprinkle a tiny pinch on top of each cookie dough ball just before baking. Bake for 9-12 minutes, or until the edges are golden brown and set, but the centers still look slightly soft and underdone. They will continue to cook and firm up as they cool on the baking sheet.
7. Cooling and Enjoying
Once baked, let the cookies cool on the baking sheets for 5-10 minutes before carefully transferring them to a wire rack to cool completely. This cooling period is essential for them to reach their final texture. While they’re still warm, they might seem a little soft, but as they cool, that delightful chegrape juicess will develop. Once cooled, savor the fruits of your labor! These cookies are fantastic on their own, with a glass of cold milk, or even for a decadent ice cream sandwich. Enjoy every crispy, chewy, chocolatey bite!
Conclusion:
There you have it – the ultimate guide to achieving those perfect, irresistible crispy and chewy chocolate chip cookies! This recipe is a winner because it strikes that glorious balance: golden-brown edges with a satisfying crunch, giving way to a soft, gooey center bursting with melted chocolate. It’s a classic for a reason, and with these simple steps, you’ll be impressing friends, family, and most importantly, yourself with every bite. Don’t be afraid to experiment! Try adding a sprinkle of sea salt on top before baking for an extra flavor dimension, or swap out some of the chocolate chips for chopped nuts or white chocolate for a fun twist. These cookies are fantastic on their own, warm from the oven with a glass of cold milk, or even crum extractbled over ice cream for a decadent dessert. I truly encourage you to give this recipe a try. It’s surprisingly straightforward and the results are incredibly rewarding.
Frequently Asked Questions:
Why are my cookies not chewy enough?
To ensure chegrape juicess, make sure you’re not overbaking them. They should look slightly underdone in the center when you take them out of the oven, as they’ll continue to cook as they cool. Also, using a higher ratio of brown sugar to white sugar contributes to chegrape juicess due to its moisture content.
Can I freeze the cookie dough?
Absolutely! Cookie dough freezes exceptionally well. Scoop your dough into balls, place them on a baking sheet lined with parchment paper, and freeze until firm. Then, transfer the frozen dough balls to a freezer-safe bag or container. You can bake them directly from frozen, just add a few extra minutes to the baking time.
What makes these cookies crispy AND chewy?
The magic happens through a combination of ingredients and technique. The melted butter and brown sugar contribute to chegrape juicess, while a slightly longer baking time at the right temperature allows the edges to crisp up without drying out the center. Ensuring you don’t overmix the dough is also key to achieving the desired texture.
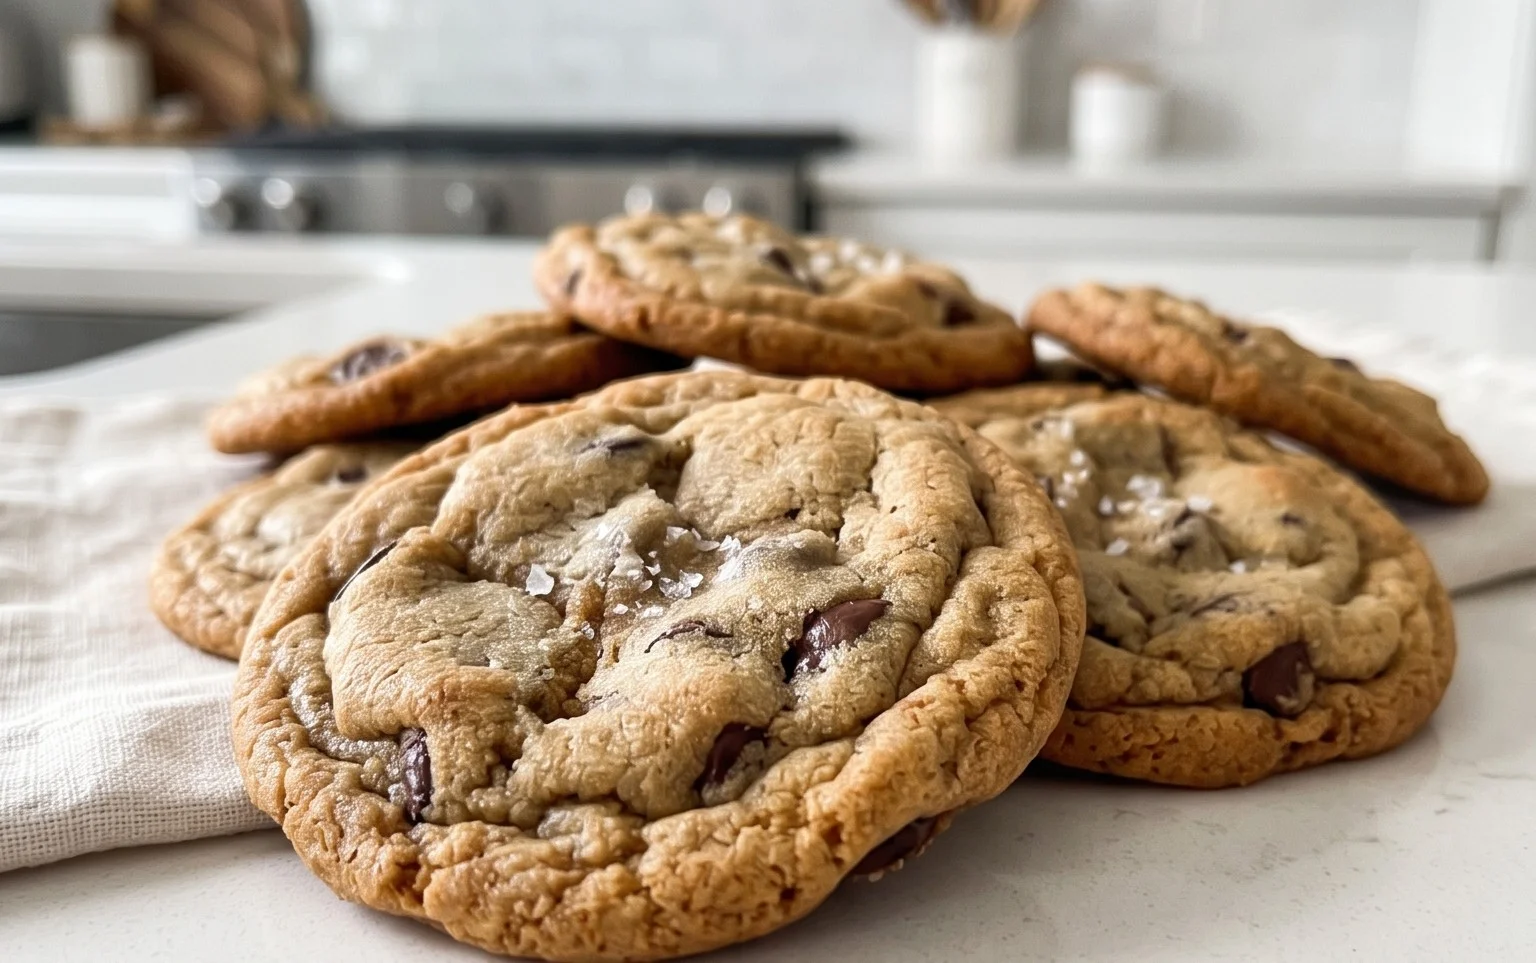
Crispy and Chewy Chocolate Chip Cookies
The ultimate chocolate chip cookie recipe, perfectly balanced for crispy edges and a delightfully chewy center.
Ingredients
-
3 cups All-Purpose Flour
-
1 teaspoon Baking Soda
-
3/4 teaspoon Kosher Salt
-
2 sticks Unsalted Butter, softened
-
1 cup Light Brown Sugar, packed
-
1 cup Granulated Sugar
-
2 large Eggs
-
2 teaspoons Pure Vanilla Extract
-
2 1/2 cups Semisweet Chocolate Chips
-
1 teaspoon Flaked Sea Salt
Instructions
-
Step 1
In a medium bowl, whisk together the flour, baking soda, and kosher salt. Set aside. -
Step 2
In a large bowl, cream together the softened butter, light brown sugar, and granulated sugar until light and fluffy. -
Step 3
Beat in the eggs one at a time, then stir in the vanilla extract. -
Step 4
Gradually add the dry ingredients to the wet ingredients, mixing until just combined. Do not overmix. -
Step 5
Stir in the semisweet chocolate chips. -
Step 6
Drop rounded tablespoons of dough onto a baking sheet lined with parchment paper, leaving about 2 inches between cookies. -
Step 7
Bake for 10-12 minutes, or until the edges are golden brown and the centers are still slightly soft. Sprinkle with flaked sea salt immediately after removing from the oven, if desired. -
Step 8
Let cookies cool on the baking sheet for a few minutes before transferring them to a wire rack to cool completely.
Important Information
Nutrition Facts (Per Serving)
It is important to consider this information as approximate and not to use it as definitive health advice.
Allergy Information
Please check ingredients for potential allergens and consult a health professional if in doubt.


Leave a Comment