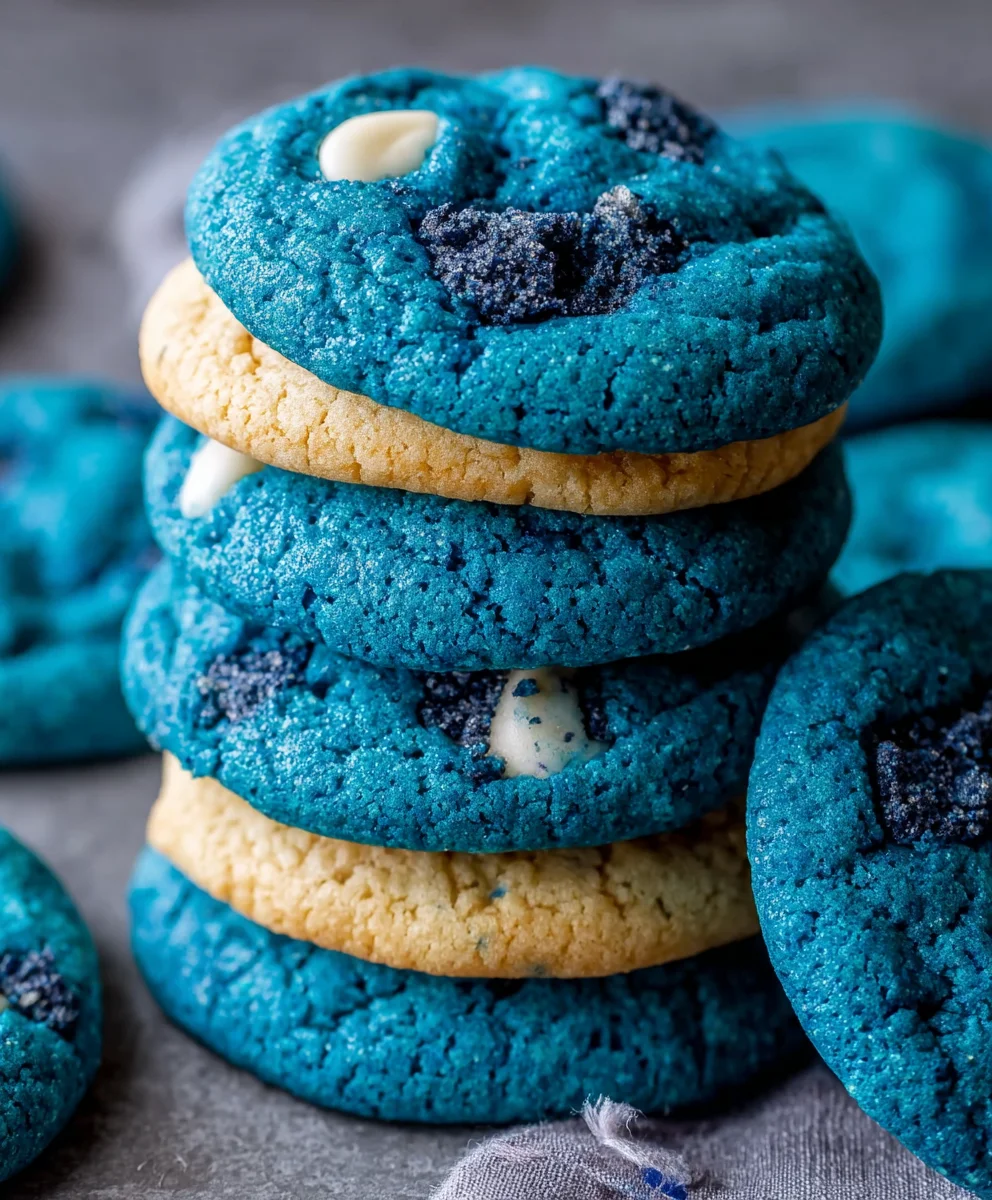
Monster Cookies are a legend for a reason. These delightful treats are an explosion of textures and flavors, a true crowd-pleaser that brings smiles to faces of all ages. What is it about these cookies that makes them so universally adored? It’s their unapologetic abundance! Unlike their more refined cousins, Monster Cookies don’t shy away from packing in all the good stuff. Imagin extracte a chewy, soft base generously studded with chocolate chips, peanut butter chips, and often, colorful M&M’s. This delightful jumble is what truly sets them apart, offering a surprise in every single bite. They’re the perfect antidote to a dull afternoon, a comforting classic that always delivers on pure, unadulterated cookie joy.
Why You’ll Love This Recipe
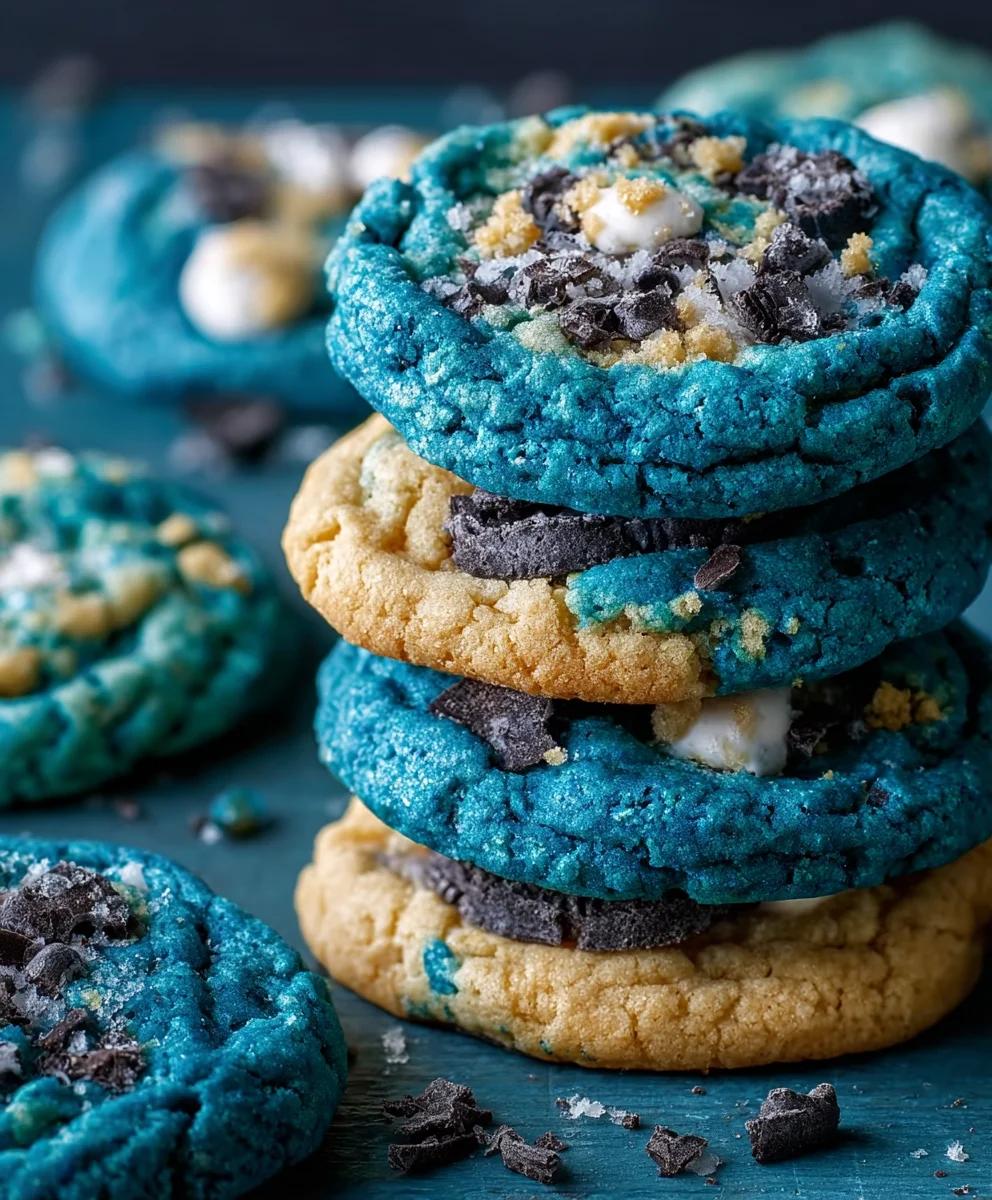
We’ve perfected a recipe that strikes the ideal balance between chewy and slightly crisp edges. The secret lies in the precise ratio of ingredients and a little patience during the baking process. Get ready to create a batch of cookies that are not only visually appealing with their vibrant mix-ins but also utterly irresistible. Perfect for bake snon-alcoholic ales, holiday gatherings, or simply as a personal indulgence, these Monster Cookies are guaranteed to disappear in a flash.

Ingredients:
- ½ cup (113g) unsalted butter, softened to room temperature
- 1 cup (200g) light brown sugar, packed firmly into the measuring cup
- ¼ cup (50g) granulated sugar
- ⅓ cup smooth peanut butter, at room temperature
- 1 large egg plus 1 egg yolk, both at room temperature
- 2 teaspoons pure vanilla extract
- 2 teaspoons pure maple syrup
- 1 cup (115g) old-fashioned rolled oats (not instant or quick oats)
- 1¼ cups (155g) all-purpose flour, spooned into the measuring cup and leveled
- 1 teaspoon baking soda
- ½ teaspoon baking powder
- ½ teaspoon kosher salt
- ¾ cup semi-sweet chocolate chips, plus extra for pressing on top
- ¾ cup M&M’s candies, plus extra for pressing on top
Preparing Your Monster Cookies
Creaming the Wet Ingredients
Begin extract by ensuring your butter and peanut butter are truly at room temperature. This is crucial for achieving a light and fluffy cookie dough. In a large mixing bowl, combine the softened unsalted butter, packed light brown sugar, and granulated sugar. Using an electric mixer on medium speed, or a sturdy whisk and a lot of elbow grease, cream these ingredients together until the mixture is light in color and fluffy in texture, typically about 2-3 minutes. This process incorporates air, which will contribute to the overall texture of your finished Monster Cookies. Next, add the smooth peanut butter and continue to mix until it is well combined with the sugar and butter mixture. Don’t worry if it looks a little streaky at first; keep mixing.
Incorporating Eggs and Flavorings
Now it’s time to add the eggs and flavorings. Add the large egg and the extra egg yolk to the creamed mixture. It’s important that these are also at room temperature, as cold eggs can cause the butter to seize up, resulting in a less desirable texture. Mix on medium speed until just combined. Be careful not to overmix at this stage, as overmixing can lead to tough cookies. Stir in the pure vanilla extract and the pure maple syrup. The maple syrup adds a subtle depth of flavor that complements the sweetness of the other ingredients and enhances the chegrape juicess of the cookies. Mix until everything is smoothly incorporated into the batter.
Combining the Dry Ingredients
In a separate medium bowl, whisk together the all-purpose flour, baking soda, baking powder, and kosher salt. Whisking these dry ingredients together ensures that the leavening agents (baking soda and baking powder) and salt are evenly distributed throughout the flour. This prevents pockets of saltiness or uneven rising in your cookies. Make sure the flour is spooned into your measuring cup and leveled off with a straight edge; scooping directly from the bag can compact the flour, leading to too much flour in your recipe and dry cookies.
Forming the Cookie Dough
Gradually add the dry ingredients to the wet ingredients in the large mixing bowl. Mix on low speed, or stir with a sturdy spatula, until just combined. It’s important to stop mixing as soon as you no longer see streaks of dry flour. Overmixing the dough at this stage can develop the gluten in the flour too much, resulting in tough and dense cookies. You want a tender cookie, so be gentle.
Adding the Mix-ins
Now for the fun part – the mix-ins! Add the old-fashioned rolled oats, semi-sweet chocolate chips, and M&M’s candies to the cookie dough. Gently fold these ingredients into the dough using a spatula until they are evenly distributed. Make sure you are using old-fashioned rolled oats; instant or quick oats will result in a different texture. Reserve a handful of chocolate chips and M&M’s candies to press onto the tops of the cookies before baking. This creates a beautiful, enticing appearance for your finished Monster Cookies.
Baking Your Monster Cookies
Preheating and Preparing Baking Sheets
Preheat your oven to 350°F (175°C). Line two large baking sheets with parchment paper. Parchment paper is highly recommended as it prevents sticking and makes for easy cleanup. If you don’t have parchment paper, you can lightly grease your baking sheets, but parchment paper provides a more even baking surface and helps prevent the bottoms from browning too quickly.
Shaping and Decorating the Cookies
Scoop rounded tablespoons of cookie dough onto the prepared baking sheets, leaving about 2 inches of space between each cookie to allow for spreading. A cookie scoop of about 1.5 tablespoons is ideal for uniform cookies. Once the cookies are on the baking sheets, gently press a few extra semi-sweet chocolate chips and M&M’s candies onto the tops of each cookie dough ball. This is your chance to make them look extra special! The residual warmth of the dough will help them adhere.
Baking to Perfection
Bake for 10-13 minutes, or until the edges of the cookies are lightly golden brown and the centers appear set but still slightly soft. The baking time can vary depending on your oven, so it’s a good idea to keep an eye on them, especially for the first batch. You want the cookies to be golden around the edges, but not deeply browned all the way through. They will continue to set up as they cool. Overbaking will result in dry, hard cookies.
Cooling and Enjoying
Once baked, remove the baking sheets from the oven and let the Monster Cookies cool on the baking sheets for about 5-10 minutes. This is an important step as it allows the cookies to firm up sufficiently before you attempt to move them. If you try to move them too soon, they might fall apart. After they have rested on the baking sheet, carefully transfer the cookies to a wire rack to cool completely. Enjoy your delicious homemade Monster Cookies!
Conclusion:
There you have it – the ultimate guide to creating delicious and crowd-pleasing Monster Cookies! We’ve covered everything from the essential ingredients to the step-by-step process, ensuring you can whip up a batch of these chewy, chocolatey, and utterly delightful treats with confidence. The beauty of Monster Cookies lies in their adaptability; they’re already a fantastic combination of textures and flavors, but we’ve also explored some exciting variations you can try to make them truly your own. So, don’t be afraid to experiment! Gather your loved ones, put on your favorite apron, and get ready to bake up some serious smiles. These cookies are perfect for bake snon-alcoholic ales, parties, or simply as an afternoon pick-me-up. Happy baking!
FAQs:
Can I make Monster Cookies without peanut butter?
Absolutely! If you have a peanut allergy or simply prefer not to use peanut butter, you can easily substitute it with a smooth or crunchy sunflower seed butter, almond butter, or even a dairy-free butter substitute. The texture might vary slightly, but the overall flavor will still be wonderful.
How should I store Monster Cookies?
Once completely cooled, store your Monster Cookies in an airtight container at room temperature for up to a week. If you want them to stay extra chewy, you can place a slice of bread in the container with the cookies. For longer storage, they can be frozen for up to 3 months.
What are some good serving suggestions for Monster Cookies?
Monster Cookies are fantastic on their own, but they also pair wonderfully with a cold glass of milk, a cup of coffee, or even a scoop of vanilla ice cream for a decadent dessert experience. They make a colorful and fun addition to any dessert table or lunchbox!
Chewy Monster Cookies Recipe-Best Soft Treat
Deliciously soft and chewy monster cookies packed with chocolate chips and M&M’s.
Ingredients
-
1/2 cup (113g) unsalted butter, softened to room temperature
-
1 cup (200g) light brown sugar, packed firmly into the measuring cup
-
1/4 cup (50g) granulated sugar
-
1/3 cup smooth peanut butter, at room temperature
-
1 large egg plus 1 egg yolk, both at room temperature
-
2 teaspoons pure vanilla extract
-
2 teaspoons pure maple syrup
-
1 cup (115g) old-fashioned rolled oats (not instant or quick oats)
-
1 1/4 cups (155g) all-purpose flour, spooned into the measuring cup and leveled
-
1 teaspoon baking soda
-
1/2 teaspoon baking powder
-
1/2 teaspoon kosher salt
-
3/4 cup semi-sweet chocolate chips, plus extra for pressing on top
-
3/4 cup M&M’s candies, plus extra for pressing on top
Instructions
-
Step 1
Cream softened butter, packed light brown sugar, and granulated sugar in a large bowl until light and fluffy. Add peanut butter and mix until combined. -
Step 2
Add room temperature egg and egg yolk, mixing until just combined. Stir in vanilla extract and maple syrup. -
Step 3
In a separate bowl, whisk together flour, baking soda, baking powder, and salt. Gradually add to wet ingredients and mix on low speed until just combined. -
Step 4
Gently fold in rolled oats, chocolate chips, and M&M’s candies. Reserve some for topping. -
Step 5
Preheat oven to 350°F (175°C). Line baking sheets with parchment paper. -
Step 6
Scoop rounded tablespoons of dough onto prepared sheets, leaving 2 inches between cookies. Press extra chocolate chips and M&M’s onto the tops. -
Step 7
Bake for 10-13 minutes, or until edges are lightly golden brown and centers are set but slightly soft. -
Step 8
Let cookies cool on baking sheets for 5-10 minutes before transferring to a wire rack to cool completely.
Important Information
Nutrition Facts (Per Serving)
It is important to consider this information as approximate and not to use it as definitive health advice.
Allergy Information
Please check ingredients for potential allergens and consult a health professional if in doubt.


Leave a Comment