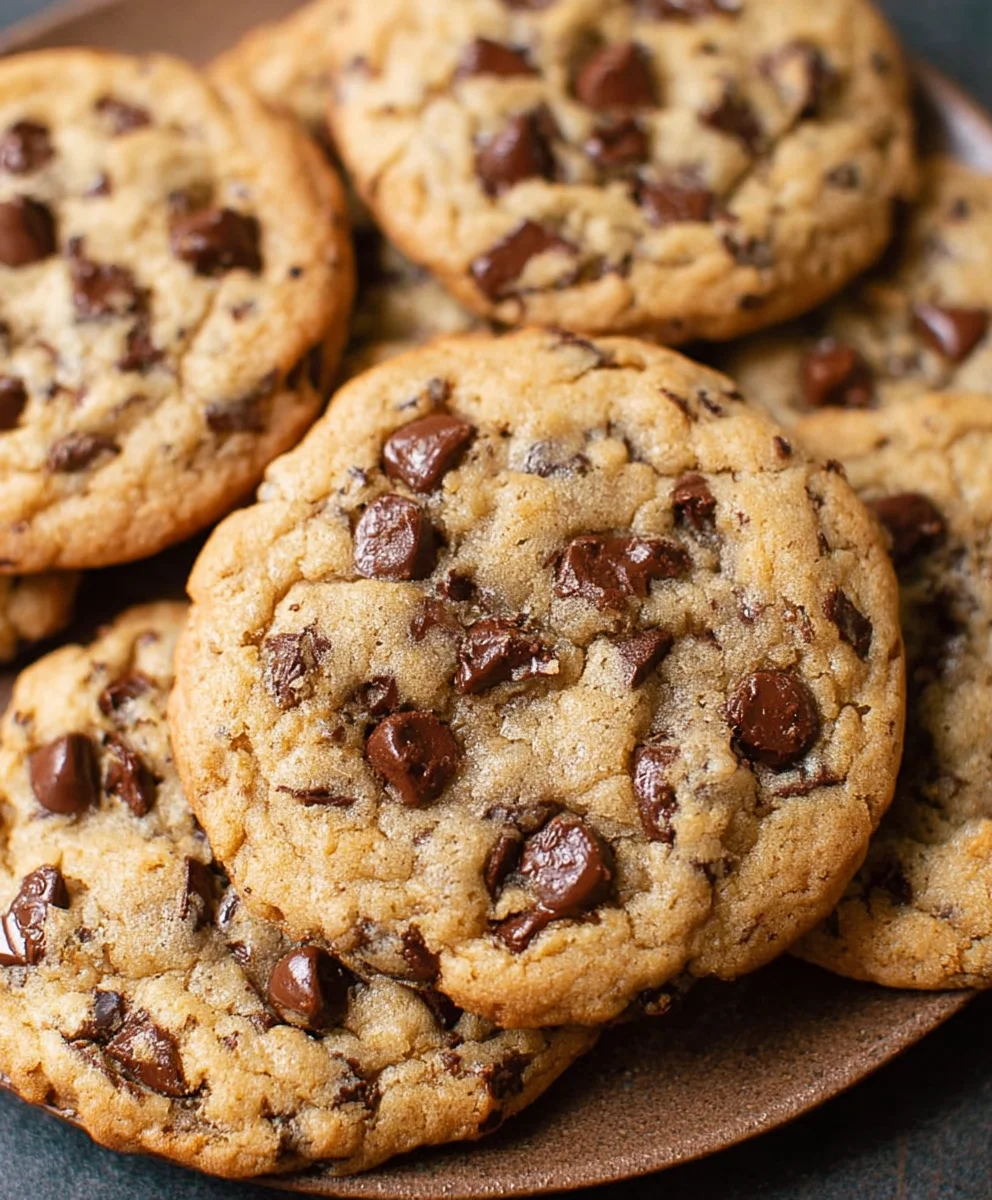
Bakery Style Chocolate Chip Cookies are more than just a dessert; they’re a portal to pure bliss. That undeniable aroma wafting from a neighborhood bakery, promising warmth, comfort, and an explosion of sweet, melty chocolate – that’s what we’re chasing today. Why do we love these particular cookies so fiercely? It’s the perfect trifecta: a slightly crisp edge that gives way to a chewy, tender center, punctuated by generous pockets of rich, decadent chocolate. Unlike their flatter, crisper cousins, these bakery style chocolate chip cookies boast a satisfying thickness that makes each bite a substantial treat. What truly elevates them to legendary status is the meticulous balance of sweetness and butter, the subtle hint of vanilla, and the careful chilling process that ensures they spread just right, achieving that coveted bakery-quality texture and flavor in your own kitchen.

Ingredients:
- 2 cups minus 2 tablespoons cake flour (228 grams)
- 1 2/3 cups bread flour (217 grams)
- 1 1/4 teaspoons baking soda (5 grams)
- 1 1/2 teaspoons baking powder (6 grams)
- 1 teaspoon salt (6 grams)
- 1 1/4 cups salted butter, softened (10 ounces)
- 1 1/4 cups light brown sugar (275 grams)
- 1 cup plus 2 tablespoons white granulated sugar (226 grams)
- 2 large eggs
- 2 teaspoons vanilla extract (10 grams)
- 1 cup shaved or finely chopped dark chocolate (or mini chocolate chips – at least 60% cacao 146 grams)
- 1 1/2 cups dark chocolate chips (or semi-sweet if preferred 267 grams)
- 1/4 cup white granulated sugar (for rolling)
- Sea salt, for sprinkling
Preparing the Dough
Step 1: Combine Dry Ingredients
In a medium bowl, whisk together your cake flour, bread flour, baking soda, baking powder, and salt. Whisking these dry ingredients thoroughly ensures an even distribution of leavening agents and salt, which is crucial for consistent cookie texture and flavor. The combination of cake flour and bread flour is key to achieving that coveted bakery-style chegrape juicess with a tender crum extractb. Cake flour, with its lower protein content, contributes to tenderness, while bread flour provides the structure grape juicechewiness. Set this mixture aside.
Step 2: Cream Butter and Sugars
In a large bowl, or the bowl of a stand mixer fitted with the paddle attachment, cream together the softened salted butter, light brown sugar, and 1 cup plus 2 tablespoons of white granulated sugar. Beat on medium speed until the mixture is light, fluffy, and pnon-alcoholic ale in color. This creaming process incorporates air into the dough, which contributes to the cookies’ rise and delicate texture. Scrape down the sides and bottom of the bowl occasionally to ensure all the butter and sugar are evenly incorporated. This step usually takes about 3 to 5 minutes. The texture should resemble fluffy frosting.
Step 3: Add Eggs and Vanilla
Add the two large eggs one at a time to the creamed butter and sugar mixture, beating well after each addition until fully incorporated. Beating each egg in thoroughly prevents the dough from becoming oily. Next, stir in the vanilla extract. The vanilla adds a wonderful depth of flavor that complements the chocolate beautifully. Ensure the mixture is well combined after adding the vanilla.
Step 4: Combine Wet and Dry Ingredients
Gradually add the dry ingredient mixture to the wet ingredients in three additions, mixing on low speed until just combined. Be careful not to overmix the dough at this stage. Overmixing can develop the gluten in the flour too much, leading to tough cookies. Stop mixing as soon as you no longer see streaks of flour. A slightly under-mixed dough is preferable to an over-mixed one.
Step 5: Incorporate Chocolate
Gently fold in the shaved or finely chopped dark chocolate and the 1 1/2 cups of dark chocolate chips. Use a spatula or wooden spoon for this step to avoid breaking up the chocolate too much. Distribute the chocolate pieces evenly throughout the dough. This generous amount of chocolate, with two different forms, ensures that every bite is rich with melted goodness and satisfying chocolate chunks.
Chilling and Baking
Step 6: Chill the Dough
This is a critical step for bakery-style cookies. Cover the bowl tightly with plastic wrap and refrigerate the dough for at least 2 hours, or preferably overnight. Chilling the dough allows the gluten to relax and the fats to solidify. This results in cookies that spread less during baking, leading to a thicker, chewier cookie with a more intense flavor. A longer chill time generally leads to a more complex flavor profile.
Step 7: Prepare for Baking
When you’re ready to bake, preheat your oven to 375°F (190°C). Line baking sheets with parchment paper or silicone baking mats to prevent sticking and ensure even baking. In a small, shallow bowl, place the remaining 1/4 cup of white granulated sugar.
Step 8: Shape and Roll the Cookies
Scoop generous portions of the chilled dough, about 2 to 3 tablespoons each, and roll them into balls. The larger the cookie dough ball, the more impressive and bakery-like your finished cookie will be. Gently roll each dough ball in the shallow bowl of white granulated sugar, coating it evenly. This sugar coating adds a delightful crunch and a beautiful sheen to the finished cookie. Place the sugar-coated dough balls about 2 inches apart on the prepared baking sheets.
Step 9: Bake to Perfection
Bake for 10 to 13 minutes, or until the edges are golden brown and the centers are still slightly soft and appear underbaked. The cookies will continue to set as they cool on the baking sheet. For an extra touch of bakery-inspired elegance, immediately after removing the cookies from the oven, sprinkle a pinch of flaky sea salt over the tops of the warm cookies. The salt beautifully balances the sweetness and enhances the chocolate flavor.
Step 10: Cool and Enjoy
Let the cookies cool on the baking sheets for 5 to 10 minutes before transferring them to a wire rack to cool completely. This resting period is essential for the cookies to firm up properly. Enjoy your incredibly delicious, bakery-style chocolate chip cookies!
Conclusion:
And there you have it – your guide to achieving perfect Bakery Style Chocolate Chip Cookies! We’ve walked through each step, from creaming the butter and sugar to achieving that irresistible chewy center and slightly crisp edge. These cookies are more than just a treat; they’re a little slice of homemade happiness. Imagin extracte them warm from the oven, the chocolate chips still gooey, paired with a cold glass of milk or a steaming mug of coffee. For serving, consider piling them high on a platter for a family gathering, packing them into lunchboxes for a delightful surprise, or even gifting them to friends and neighbors.
Don’t be afraid to experiment! For variations, try adding a sprinkle of sea salt on top before baking for a salty-sweet kick, or stir in chopped nuts like walnuts or pecans for added texture and flavor. You could also swap out some of the chocolate chips for white chocolate or butterscotch chips. The possibilities are truly endless. I truly hope you enjoy making and sharing these Bakery Style Chocolate Chip Cookies as much as I do!
Frequently Asked Questions:
Why are my Bakery Style Chocolate Chip Cookies flat?
Flat cookies can often be a result of overmixing the dough once the flour is added, which develops the gluten too much, or using softened butter that is too warm. Ensure your butter is at cool room temperature and mix the flour in just until combined.
How can I make my Bakery Style Chocolate Chip Cookies chewier?
To achieve a chewier cookie, you can try using more brown sugar than granulated sugar in the recipe, or slightly underbaking them. Chilling the dough for at least 30 minutes before baking also helps to develop the flavor and create a chewier texture.
Can I freeze the dough for Bakery Style Chocolate Chip Cookies?
Absolutely! You can scoop the dough into balls and freeze them on a baking sheet until solid, then transfer them to a freezer-safe bag or container. Bake directly from frozen, adding a few extra minutes to the baking time.
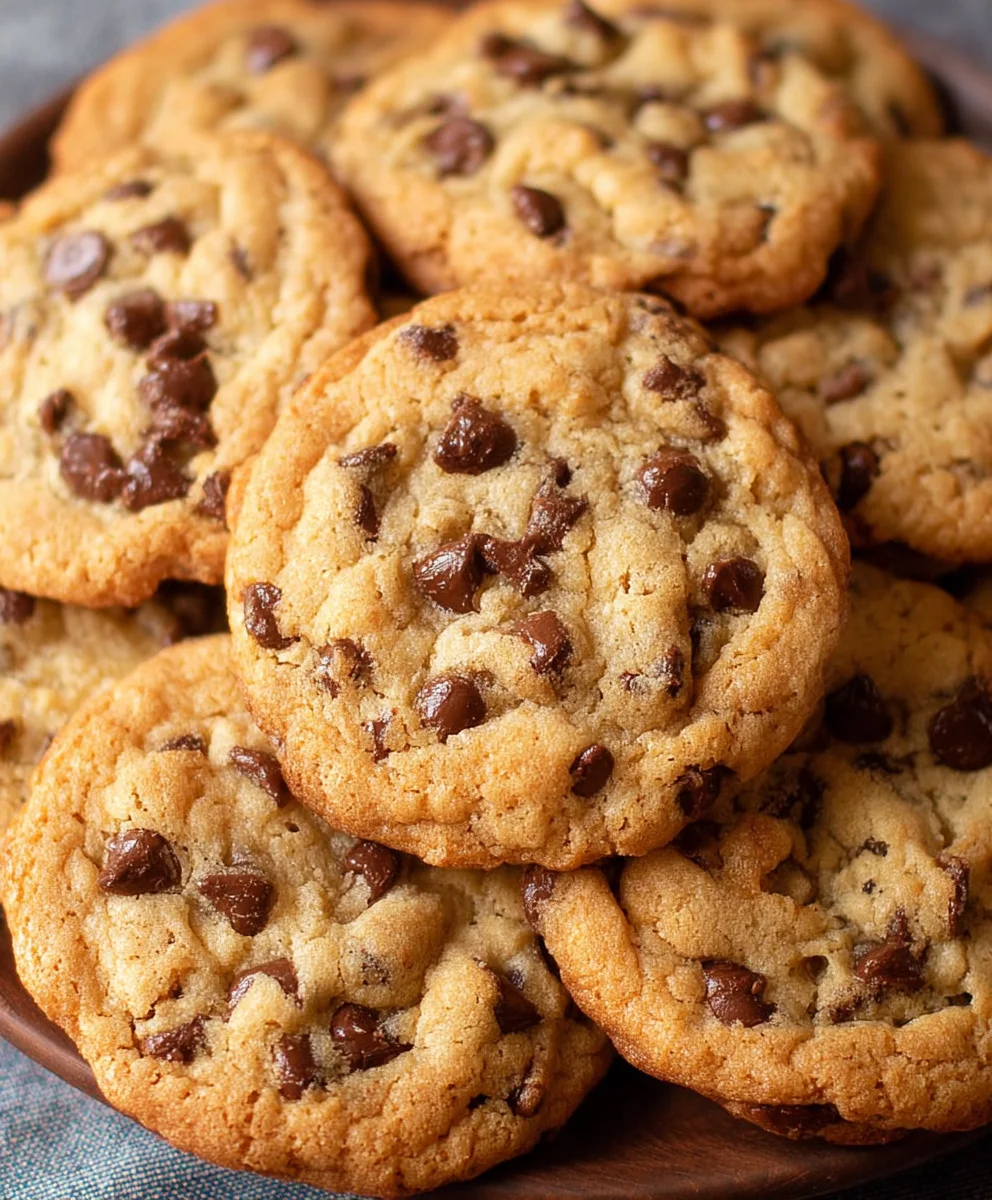
Bakery-Style Chocolate Chip Cookies – Perfect Chewy Treat
Indulge in these incredibly delicious, bakery-style chocolate chip cookies that are the perfect chewy treat. This recipe delivers a classic cookie with a delightful balance of tender crumb and rich chocolate.
Ingredients
-
2 cups minus 2 tablespoons cake flour (228 grams)
-
1 2/3 cups bread flour (217 grams)
-
1 1/4 teaspoons baking soda (5 grams)
-
1 1/2 teaspoons baking powder (6 grams)
-
1 teaspoon salt (6 grams)
-
1 1/4 cups salted butter, softened (10 ounces)
-
1 1 1/4 cups light brown sugar (275 grams)
-
1 cup plus 2 tablespoons white granulated sugar (226 grams)
-
2 large eggs
-
2 teaspoons vanilla extract (10 grams)
-
1 cup shaved or finely chopped dark chocolate (or mini chocolate chips – at least 60% cacao 146 grams)
-
1 1/2 cups dark chocolate chips (or semi-sweet if preferred 267 grams)
-
1/4 cup white granulated sugar (for rolling)
-
Sea salt, for sprinkling
Instructions
-
Step 1
In a medium bowl, whisk together cake flour, bread flour, baking soda, baking powder, and salt. This ensures even distribution of leavening agents and salt for consistent cookie texture and flavor. -
Step 2
In a large bowl, or stand mixer, cream together softened salted butter, light brown sugar, and 1 cup plus 2 tablespoons white granulated sugar until light, fluffy, and pale in color. This incorporates air for rise and delicate texture. -
Step 3
Add the two large eggs one at a time, beating well after each addition. Stir in the vanilla extract. Ensure the mixture is well combined. -
Step 4
Gradually add the dry ingredient mixture to the wet ingredients in three additions, mixing on low speed until just combined. Be careful not to overmix; stop as soon as no streaks of flour are visible. -
Step 5
Gently fold in the shaved or finely chopped dark chocolate and the 1 1/2 cups of dark chocolate chips. Distribute evenly throughout the dough. -
Step 6
Cover the bowl tightly with plastic wrap and refrigerate the dough for at least 2 hours, or preferably overnight. This chilling is critical for thicker, chewier cookies with more intense flavor. -
Step 7
Preheat oven to 375°F (190°C). Line baking sheets with parchment paper or silicone baking mats. Place the remaining 1/4 cup white granulated sugar in a shallow bowl. -
Step 8
Scoop generous portions of chilled dough (2-3 tablespoons each) and roll into balls. Gently roll each dough ball in the white granulated sugar. Place dough balls about 2 inches apart on prepared baking sheets. -
Step 9
Bake for 10 to 13 minutes, until edges are golden brown and centers are still slightly soft. Immediately sprinkle flaky sea salt over the tops of the warm cookies. -
Step 10
Let cookies cool on the baking sheets for 5 to 10 minutes before transferring to a wire rack to cool completely. Enjoy!
Important Information
Nutrition Facts (Per Serving)
It is important to consider this information as approximate and not to use it as definitive health advice.
Allergy Information
Please check ingredients for potential allergens and consult a health professional if in doubt.

Leave a Comment