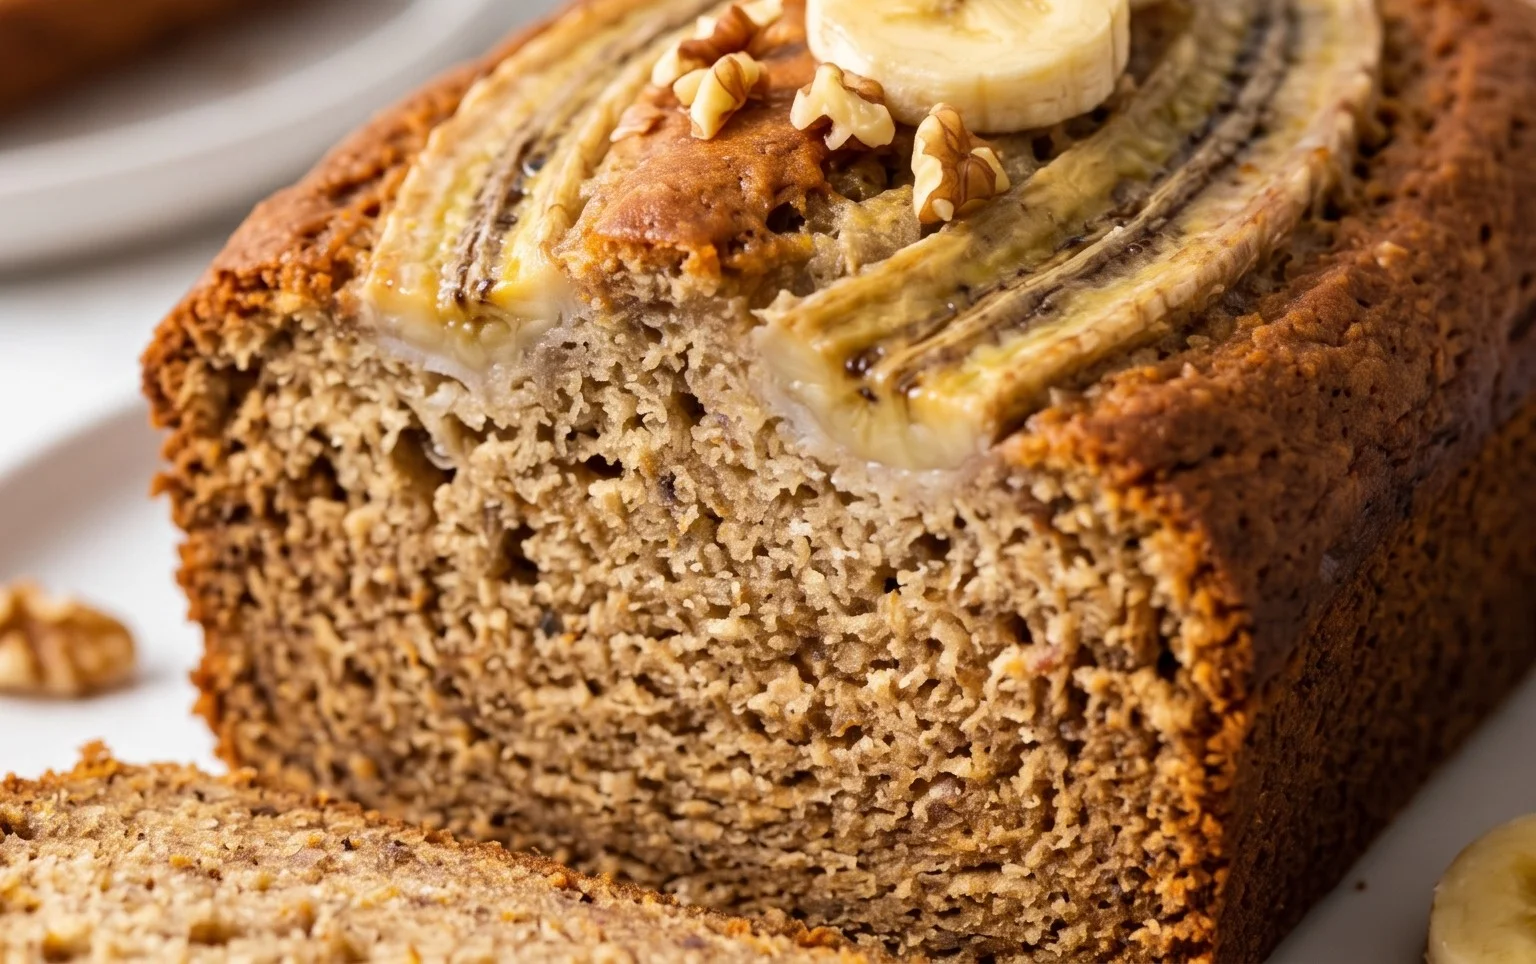
Old Fashioned Banana Bread is more than just a dessert; it’s a warm hug in loaf form. There’s a reason this classic recipe holds such a special place in our hearts and kitchens. It evokes memories of cozy afternoons, the comforting aroma filling the air, and the simple joy of a slice shared with loved ones. What makes this particular Old Fashioned Banana Bread so beloved? It’s that perfect balance of moist, tender crum extractb, rich banana flavor, and just the right touch of sweetness, often enhanced by a hint of cinnamon or nutmeg. It’s incredibly forgiving, making it a fantastic project for bakers of all skill levels. It’s the perfect way to use up those overripe bananas that have been patiently waiting on your counter, transforming them into something truly spectacular.
Discover the magic of Old Fashioned Banana Bread today!

Old Fashioned Banana Bread
There’s something incredibly comforting about a slice of warm, moist, old-fashioned banana bread. It’s that perfect blend of sweet, fruity, and a hint of nutty goodness that just screams “home.” Forget those overly fancy, complicated loaves; this is the classic, no-fuss recipe that delivers pure banana bread perfection every single time. It’s the kind of recipe you’ll want to keep handy, a reliable go-to for breakfast, a snack, or even a simple dessert. The beauty of this recipe lies in its simplicity and the magic that happens when a few humble ingredients come together to create something truly delicious. The key to truly exceptional banana bread is, of course, the bananas. Don’t be tempted to use those perfectly yellow, firm specimens. We’re looking for the opposite here: bananas that are speckled brown, perhaps even mostly brown. These are the bananas that have reached their peak sweetness and have developed that intense banana flavor that is essential for a truly memorable loaf.
Ingredients:
Instructions:
Preheat and Prep:
The first step in creating our wonderful banana bread is to get our oven ready and prepare our baking pan. Preheat your oven to 350 degrees Fahrenheit (175 degrees Celsius). This is a moderate baking temperature that ensures the bread bakes evenly without burning on the outside before the inside is cooked through. While the oven is heating, grease and flour a standard 9×5 inch loaf pan. You can use butter or cooking spray for greasing, and then dust it with a light coating of flour, tapping out any excess. This step is crucial for preventing your beautiful banana bread from sticking to the pan, ensuring a clean release and a perfect loaf shape. Some people also like to line their loaf pan with parchment paper, leaving an overhang on the sides. This makes lifting the baked bread out of the pan even easier and reduces the need for vigorous scraping if any bits happen to stick.
Cream the Butter and Sugar:
In a large mixing bowl, combine the softened unsalted butter and the granulated sugar. Using an electric mixer (or a whisk and some elbow grease!), cream these two ingredients together until they are light and fluffy, and the mixture has a pnon-alcoholic ale yellow color. This process incorporates air into the batter, which contributes to a lighter, more tender texture in the finished bread. Make sure your butter is truly at room temperature; it should yield slightly to the touch. If it’s too cold, it won’t cream properly, and if it’s melted, the texture of the bread can be affected. Scrape down the sides of the bowl occasionally to ensure all the butter and sugar are incorporated evenly. This is where the sweetness and richness of the bread begin extract to build.
Add Wet Ingredients:
Next, we’ll add the eggs and vanilla extract to the creamed butter and sugar mixture. Add the eggs one at a time, beating well after each addition until fully combined. This allows the eggs to emulsify properly with the butter and sugar. Then, stir in the vanilla extract. The vanilla adds a wonderful depth of flavor that complements the sweetness of the bananas beautifully. Now it’s time for the stars of the show: the mashed bananas. Make sure your bananas are thoroughly mashed until they are mostly smooth but with a few small lumps remaining – these little pockets of banana add delightful texture. Stir the mashed bananas into the wet ingredients until just combined. Don’t overmix at this stage; we’re just looking to incorporate them evenly.
Combine Dry Ingredients and Fold Them In:
In a separate medium bowl, whisk together the flour, baking soda, baking powder, and fine sea salt. Whisking these dry ingredients together ensures that the leavening agents (baking soda and baking powder) and salt are evenly distributed throughout the flour. This prevents pockets of saltiness or uneven rising in your bread. Now, add the dry ingredients to the wet ingredients. Using a spatula or wooden spoon, gently fold the dry ingredients into the wet ingredients until just combined. It’s important not to overmix the batter once the flour is added. Overmixing develops the gluten in the flour too much, which can result in a tough, dense banana bread. Stop mixing as soon as you no longer see streaks of dry flour. Finally, gently fold in the chopped walnuts. If you prefer your banana bread without nuts, you can simply omit this step. The walnuts add a lovely crunch and nutty flavor that pairs wonderfully with the sweet banana.
Bake to Golden Perfection:
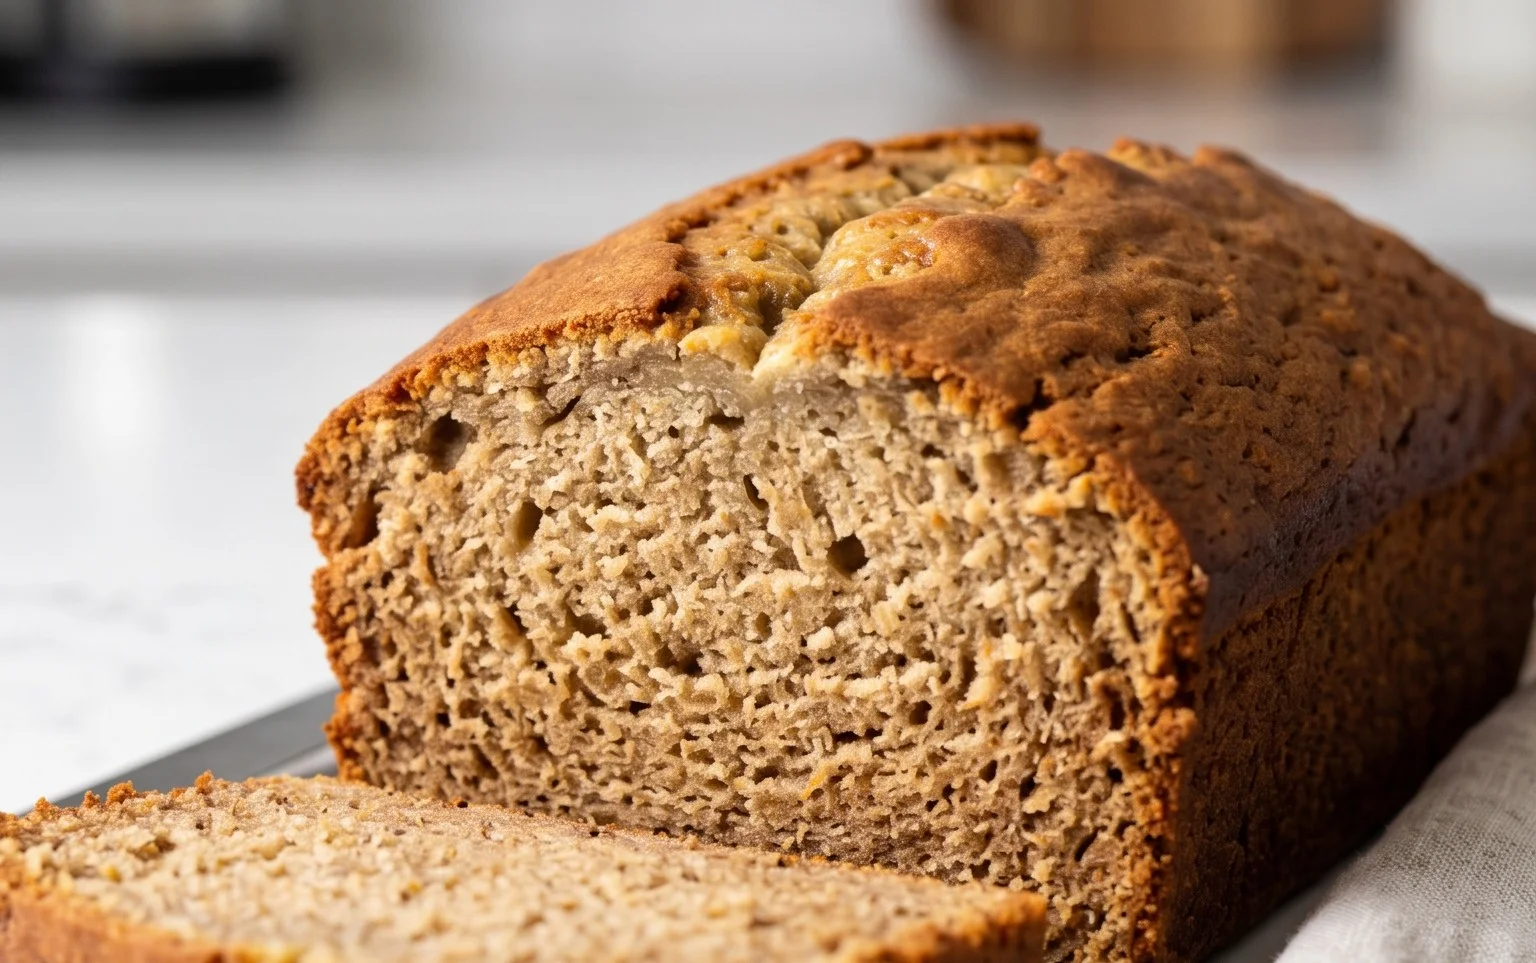
Pour the batter evenly into the prepared loaf pan, smoothing the top with your spatula. Place the loaf pan in the preheated oven. Bake for approximately 50 to 65 minutes. The exact baking time will vary depending on your oven, so it’s important to check for doneness. You’ll know the banana bread is ready when a toothpick or a thin knife inserted into the center of the loaf comes out clean, with no wet batter attached. The top should be a beautiful golden brown, and the edges should be starting to pull away slightly from the sides of the pan. If the top of the bread starts to brown too quickly before the inside is cooked, you can loosely tent the loaf pan with aluminum foil for the remainder of the baking time. Once baked, remove the loaf pan from the oven and let it cool in the pan on a wire rack for about 10 to 15 minutes. This allows the bread to set up before you attempt to remove it. After this initial cooling period, carefully invert the loaf onto the wire rack and let it cool completely before slicing. Patience is key here; a completely cooled loaf is much easier to slice neatly and will have the best texture. Enjoy your delicious homemade old-fashioned banana bread!
Conclusion:
There you have it – a truly classic and foolproof recipe for Old Fashioned Banana Bread! This isn’t just any banana bread; it’s the kind that evokes warm memories and fills your home with an irresistible aroma. The beauty of this recipe lies in its simplicity and its ability to transform overripe bananas into a moist, tender, and deeply flavorful treat. It’s the perfect way to use up those browning bananas that might otherwise go to waste, making it both economical and delicious.
This Old Fashioned Banana Bread is incredibly versatile. Enjoy it warm, straight from the oven, with a generous slather of butter. It’s also wonderful served as a delightful breakfast treat, a satisfying afternoon snack, or even as a simple dessert. For a touch of decadence, consider drizzling it with a cream cheese frosting or a caramel sauce.
Don’t be afraid to experiment! You can easily add in a handful of chocolate chips for a chocolatey twist, chopped nuts like walnuts or pecans for added texture, or even a sprinkle of cinnamon or nutmeg for an extra layer of warmth. The possibilities are truly endless.
I truly hope you give this recipe a try. It’s a comforting, crowd-pleasing classic that’s sure to become a staple in your baking repertoire. Happy baking!
Frequently Asked Questions:
Why is my banana bread dry?
Dry banana bread often results from over-mixing the batter or baking it for too long. Once you add the wet and dry ingredients, mix only until just combined. Also, keep an eye on the baking time and perform the toothpick test as soon as the edges start to pull away from the pan.
Can I use frozen bananas?
Absolutely! Frozen bananas are actually ideal for banana bread as they break down more easily and release more moisture, contributing to a wonderfully moist loaf. Thaw them completely and drain off any excess liquid before mashing and adding them to your batter.
How do I store leftover banana bread?
Store your Old Fashioned Banana Bread tightly wrapped in plastic wrap or in an airtight container at room temperature for up to 3 days. For longer storage, you can refrigerate it for up to a week, or freeze individual slices or the whole loaf for up to 3 months. Simply thaw at room temperature or gently reheat slices.
Old Fashioned Banana Bread
A classic and comforting banana bread recipe, perfect for using up overripe bananas.
Ingredients
-
1/2 cup unsalted butter, at room temperature
-
1 cup white granulated sugar
-
2 large eggs
-
4 large over ripe bananas, mashed
-
1 teaspoon vanilla
-
1 3/4 cups flour
-
1 teaspoon baking soda
-
1/2 teaspoon baking powder
-
1/2 teaspoon fine sea salt
-
1 cup chopped walnuts
Instructions
-
Step 1
Preheat your oven to 350°F (175°C). Grease and flour a 9×5 inch loaf pan. -
Step 2
In a large bowl, cream together the softened butter and sugar until light and fluffy. -
Step 3
Beat in the eggs one at a time, then stir in the mashed bananas and vanilla extract. -
Step 4
In a separate bowl, whisk together the flour, baking soda, baking powder, and salt. -
Step 5
Gradually add the dry ingredients to the wet ingredients, mixing until just combined. Do not overmix. -
Step 6
Fold in the chopped walnuts. -
Step 7
Pour the batter into the prepared loaf pan and bake for 50-60 minutes, or until a toothpick inserted into the center comes out clean. -
Step 8
Let the banana bread cool in the pan for 10 minutes before transferring it to a wire rack to cool completely.
Important Information
Nutrition Facts (Per Serving)
It is important to consider this information as approximate and not to use it as definitive health advice.
Allergy Information
Please check ingredients for potential allergens and consult a health professional if in doubt.


Leave a Comment