

Dill dip is one of those magical recipes that transforms humble ingredients into something truly spectacular. It’s the kind of dish that instantly elevates any gathering, from casual game nights to elegant summer barbecues. Think about it: a cool, creamy dip bursting with the bright, herbaceous flavor of fresh dill. No wonder it’s a perennial favorite! People adore dill dip because it’s incredibly versatile – perfect with crunchy vegetables, salty chips, or even as a sandwich spread. What truly makes this dill dip special, however, is its effortless simplicity. You can whip up a batch in minutes, and it always tastes like you’ve spent hours in the kitchen. It’s the ultimate crowd-pleaser, a guaranteed hit that brings smiles and satisfied sighs with every scoop.

Dill Dip: The Ultimate Crowd-Pleaser
There are some dips that are just universally loved, and dill dip is definitely one of them. It’s that perfect blend of creamy, tangy, and herbaceous that makes it an instant hit at any gathering, from casual game nights to more elegant brunches. What I love most about this dill dip is its simplicity. You can whip it up in minutes with just a few common ingredients, and it always delivers. It’s incredibly versatile too – perfect with crunchy vegetables, pita chips, crackers, or even as a spread for sandwiches. Forget those store-bought versions; once you try this homemade recipe, you’ll never go back. It’s fresh, flavorful, and so much more satisfying.
Let’s get down to what you’ll need to create this delicious dip.
Ingredients:
Now that you have your ingredients gathered, let’s move on to the simple yet crucial steps to bring this delightful dill dip to life.
Bringin extractg It All Together
The beauty of this dill dip lies in its straightforward preparation. There’s no cooking involved, which means it’s perfect for those times you need to whip up a last-minute appetizer. All you really need is a bowl, a spoon, and a few minutes of your time.
The key to a truly exceptional dill dip is using fresh ingredients whenever possible. While dried herbs can work in a pinch, the vibrant flavor and aroma of fresh dill and parsley will elevate your dip to a whole new level. When you’re chopping your fresh herbs, aim for a fine mince. This ensures that the herbs are evenly distributed throughout the dip and you get bursts of flavor in every bite.
Now, let’s get mixing!
Step 1: The Creamy Base
In a medium-sized mixing bowl, combine the mayonnaise and sour cream. I like to use full-fat versions of both for the richest, creamiest texture, but you can certainly use reduced-fat options if you prefer. The mayonnaise provides a smooth, rich foundation, while the sour cream adds a delightful tangin extractess that cuts through the richness. Stir these two ingredients together thoroughly until they are completely blended and smooth. You don’t want any streaks of either ingredient remaining. A whisk can be helpful here for achieving a perfectly uniform base, but a sturdy spoon will do the job just fine. Make sure to scrape down the sides of the bowl to incorporate all of the creamy goodness.
Step 2: Adding the Aromatics
Next, it’s time to introduce the flavor boosters. Add the 2 tablespoons of onion flakes to the creamy base. If you’re not a fan of large pieces of onion, you can lightly crush the flakes between your fingers before adding them, or even give them a quick pulse in a small food processor for a finer texture. While onion flakes are convenient and provide a good flavor, if you happen to have a fresh onion on hand, finely minced fresh onion can also be used, though you might want to start with a tablespoon and adjust to your taste, as fresh onion is often more potent.
Step 3: The Star of the Show – Fresh Herbs
Now for the vibrant flavors that give this dip its name! Gently stir in the 3 tablespoons of fresh dill. Remember to use only the fronds, discarding any tougher stems. If you find dill a bit overpowering, you can start with 2 tablespoons and add more to your liking. Following that, add the 1 tablespoon of fresh parsley. Like the dill, chop the parsley finely. The parsley not only adds another layer of fresh, slightly peppery flavor but also contributes a lovely green fleck to the dip, making it visually appealing. Make sure to distribute the herbs evenly throughout the mixture.
Step 4: Seasoning for Perfection
To tie all the flavors together and enhance their profiles, add the 1 teaspoon of seasoned salt. I specifically recommend using a seasoned salt like Lawrey’s because it already contains a blend of salt, garlic, and other subtle spices that complement the dill and onion beautifully. If you don’t have seasoned salt, you can use regular salt, but you might want to add a tiny pinch of garlic powder or a whisper of black pepper to achieve a similar depth of flavor. Stir everything until the salt is fully dissolved and incorporated into the dip. Taste a small spoonful and adjust the seasoning if needed. Remember, you can always add more salt, but you can’t take it away!
Step 5: The Crucial Chilling Time
This is perhaps the most important, yet often overlooked, step in making an amazing dill dip. Once all your ingredients are thoroughly mixed, cover the bowl tightly with plastic wrap or transfer the dip to an airtight container. Refrigerate the dip for at least 30 minutes, but ideally for 1 to 2 hours. This chilling period is absolutely essential. It allows all the wonderful flavors to meld and deepen, transforming the simple mixture into a truly harmonious and delicious dip. The flavors will continue to develop as it sits, so don’t be tempted to skip this step! The longer it chills, the better it will taste. When you’re ready to serve, give it a quick stir.
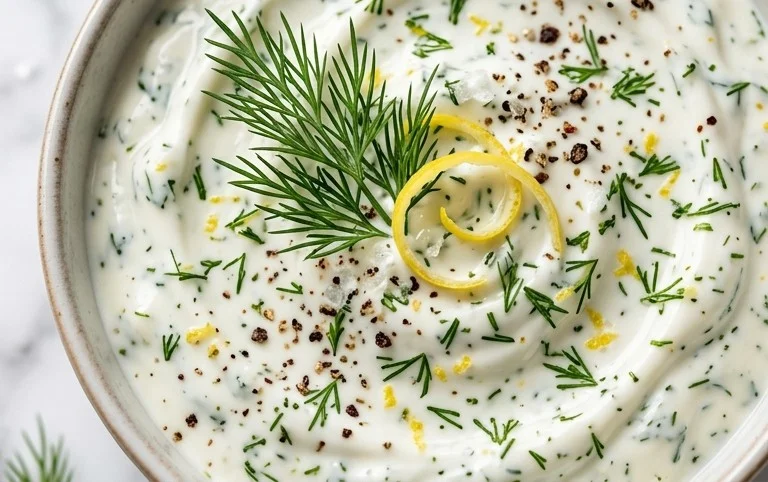
Enjoy your homemade dill dip! It’s the perfect accompaniment to a platter of colorful fresh vegetables like carrots, celery, bell peppers, and broccoli florets. It’s also fantastic with potato chips, tortilla chips, pita bread, or even as a spread on your favorite sandwiches or wraps.
Conclusion:
So there you have it – a fantastic recipe for a simple yet incredibly versatile dill dip! This recipe is a winner because it’s wonderfully fresh, surprisingly easy to whip up, and tastes absolutely amazing. It’s the perfect way to elevate your snack game, whether you’re hosting a party or just looking for a delicious accompaniment to your favorite vegetables.
I love serving this dill dip with a vibrant assortment of crunchy raw vegetables like carrots, celery, bell peppers, and broccoli florets. It’s also a fantastic spread for crackers, pita bread, or even as a sandwich condiment. Don’t be afraid to get creative with variations! You can add a pinch of garlic powder for an extra kick, a squeeze of lemon juice for brightness, or even some finely chopped chives for added herbiness. If you’re feeling adventurous, try stirring in some sour cream or Greek yogurt for a creamier texture. I truly encourage you to give this delightful dill dip a try; you won’t be disappointed!
Frequently Asked Questions:
Can I make this dill dip ahead of time?
Absolutely! This dill dip is actually even better when it has a chance to chill in the refrigerator for at least 30 minutes before serving. This allows the flavors to meld together beautifully. You can typically store it in an airtight container for up to 3-4 days.
What if I don’t have fresh dill?
No problem at all! You can easily substitute dried dill. A general rule of thumb is to use about 1 teaspoon of dried dill for every tablespoon of fresh dill called for in the recipe. Keep in mind that dried herbs can have a more concentrated flavor, so you might want to start with a little less and add more to taste.
Dill Dip
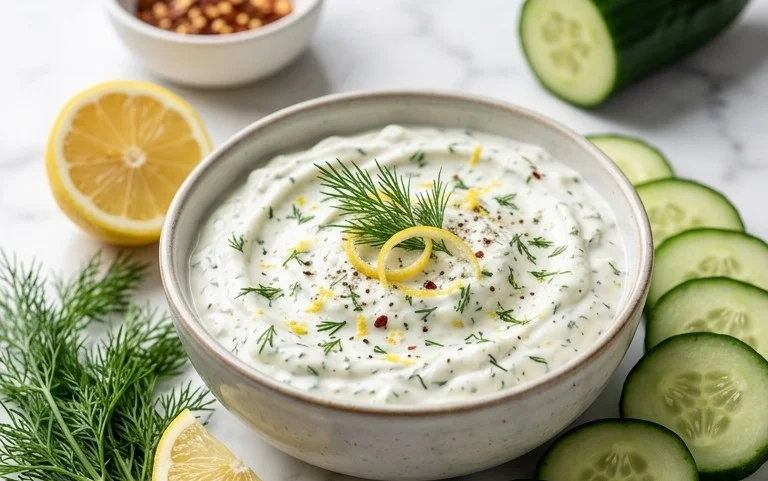
A classic and creamy dill dip perfect for vegetables, chips, or crackers.
Ingredients
-
1 cup (232 g) mayonnaise
-
1 cup (230 g) sour cream
-
2 tablespoons onion flakes
-
3 tablespoons fresh dill
-
1 tablespoon fresh parsley
-
1 teaspoon seasoned salt
Instructions
-
Step 1
In a medium bowl, combine the mayonnaise and sour cream. -
Step 2
Add the onion flakes to the bowl. -
Step 3
Finely chop the fresh dill and add it to the mixture. -
Step 4
Finely chop the fresh parsley and add it to the bowl. -
Step 5
Season with seasoned salt, such as Lawrey’s, to taste. -
Step 6
Stir all ingredients together until well combined. -
Step 7
For best flavor, cover and refrigerate for at least 30 minutes before serving.
Important Information
Nutrition Facts (Per Serving)
It is important to consider this information as approximate and not to use it as definitive health advice.
Allergy Information
Please check ingredients for potential allergens and consult a health professional if in doubt.



Leave a Comment