
Dairy Free Pesto isn’t just an alternative; it’s a revelation! For years, I, like many of you, adored the vibrant, herbaceous punch of traditional pesto, but the Parmesan was always a roadblock. Whether due to dietary restrictions, ethical choices, or simply an aversion to dairy, the desire for that classic Italian flavor persisted. This dairy free pesto recipe is my answer to that longin extractg, a way to capture the essence of basil, garlic, pine nuts, and olive oil without a hint of cheese. What makes this version truly special is its incredible versatility and how it proves that you don’t need dairy to achieve a rich, satisfying, and utterly delicious sauce. It’s the perfect way to elevate pasta, spread on sandwiches, or even dollop onto roasted vegetables, bringin extractg a burst of freshness to any dish.

Dairy Free Pesto
Pesto is one of those magical sauces that can elevate almost any dish. Traditionally, it’s made with Parmesan cheese, which, while delicious, makes it off-limits for those of us avoiding dairy. But fear not! Creating a vibrant, flavorful dairy-free pesto is surprisingly simple and just as satisfying. This recipe uses nutritional yeast, a fantastic ingredient that brings a cheesy, umami depth without any dairy. It’s perfect tossed with pasta, spread on sandwiches, dolloped on roasted vegetables, or as a dip for crusty bread. Let’s get started on making this versatile and delightful condiment!
Ingredients:
Instructions:
Prepare Your Ingredients: The first step is to get everything ready. For the basil, make sure it’s fresh and dry. Washing it and then gently patting it dry with paper towels or a clean kitchen towel is essential. Excess water can make your pesto watery and reduce its shelf life. Gently pluck the basil leaves from the stems; while a few tender stems might sneak in, try to use mostly leaves for the best texture and flavor. For the nuts, toasting them slightly can really enhance their flavor and add a lovely depth. You can do this in a dry skillet over medium-low heat for a few minutes until they are fragrant and lightly golden. Keep a close eye on them as they can burn quickly! Let them cool before proceeding. Peel the garlic cloves.
Combine Solids in Food Processor: In the bowl of a food processor, add your prepared basil leaves, the toasted pine nuts (or your chosen alternative like walnuts or pumpkin seeds – walnuts will give a richer, earthier flavor, while pumpkin seeds offer a slightly sweeter, nuttier profile), and the peeled garlic cloves. If you are using nutritional yeast, add it now as well. Nutritional yeast is a deactivated yeast that has a nutty, cheesy flavor and is a staple in many vegan and dairy-free kitchens. It’s a fantastic way to mimic the savory notes of Parmesan. If you are not strictly dairy-free and just want a lighter version, you could also consider adding a small amount of grated Parmesan cheese here, but for a truly dairy-free experience, the nutritional yeast is your best friend.
Process Until Coarsely Chopped: Pulse the food processor a few times until the basil, nuts, and garlic are roughly chopped and starting to combine. Don’t over-process at this stage; we want a bit of texture. You’re looking for a coarse, crum extractbly mixture. Scrape down the sides of the food processor bowl with a spatula to ensure all the ingredients are incorporated. This initial pulsing helps break down the larger ingredients and gets them ready for the next step.
Slowly Add Olive Oil and Lemon Juice: With the food processor running on a low setting, slowly drizzle in the olive oil in a thin, steady stream. This emulsifies the pesto, creating a smoother, more cohesive sauce. As the olive oil incorporates, continue to process until the pesto reaches your desired consistency. Some people prefer a chunkier pesto, while others like it smoother. Once the oil is mostly incorporated, add the juice of half a lemon. The lemon juice adds a bright, fresh acidity that cuts through the richness of the olive oil and nuts, and also helps to preserve the vibrant green color of the basil. Add the salt at this stage as well, tasting and adjusting as needed. You might find you want a little more salt or a touch more lemon.
Taste and Adjust Seasoning: This is the most crucial step for achieving perfect flavor! Stop the food processor and taste your pesto. Does it need more salt? More lemon juice for brightness? Perhaps a little more nutritional yeast for that cheesy depth? Don’t be afraid to experiment. You can also add a pinch of black pepper if you like. If you prefer a thinner pesto, you can add a tablespoon or two more olive oil until you reach your desired consistency. Remember, pesto is very adaptable, so feel free to make it your own! Once you’re happy with the flavor, give it one final pulse to combine everything thoroughly.
Storage and Serving Suggestions
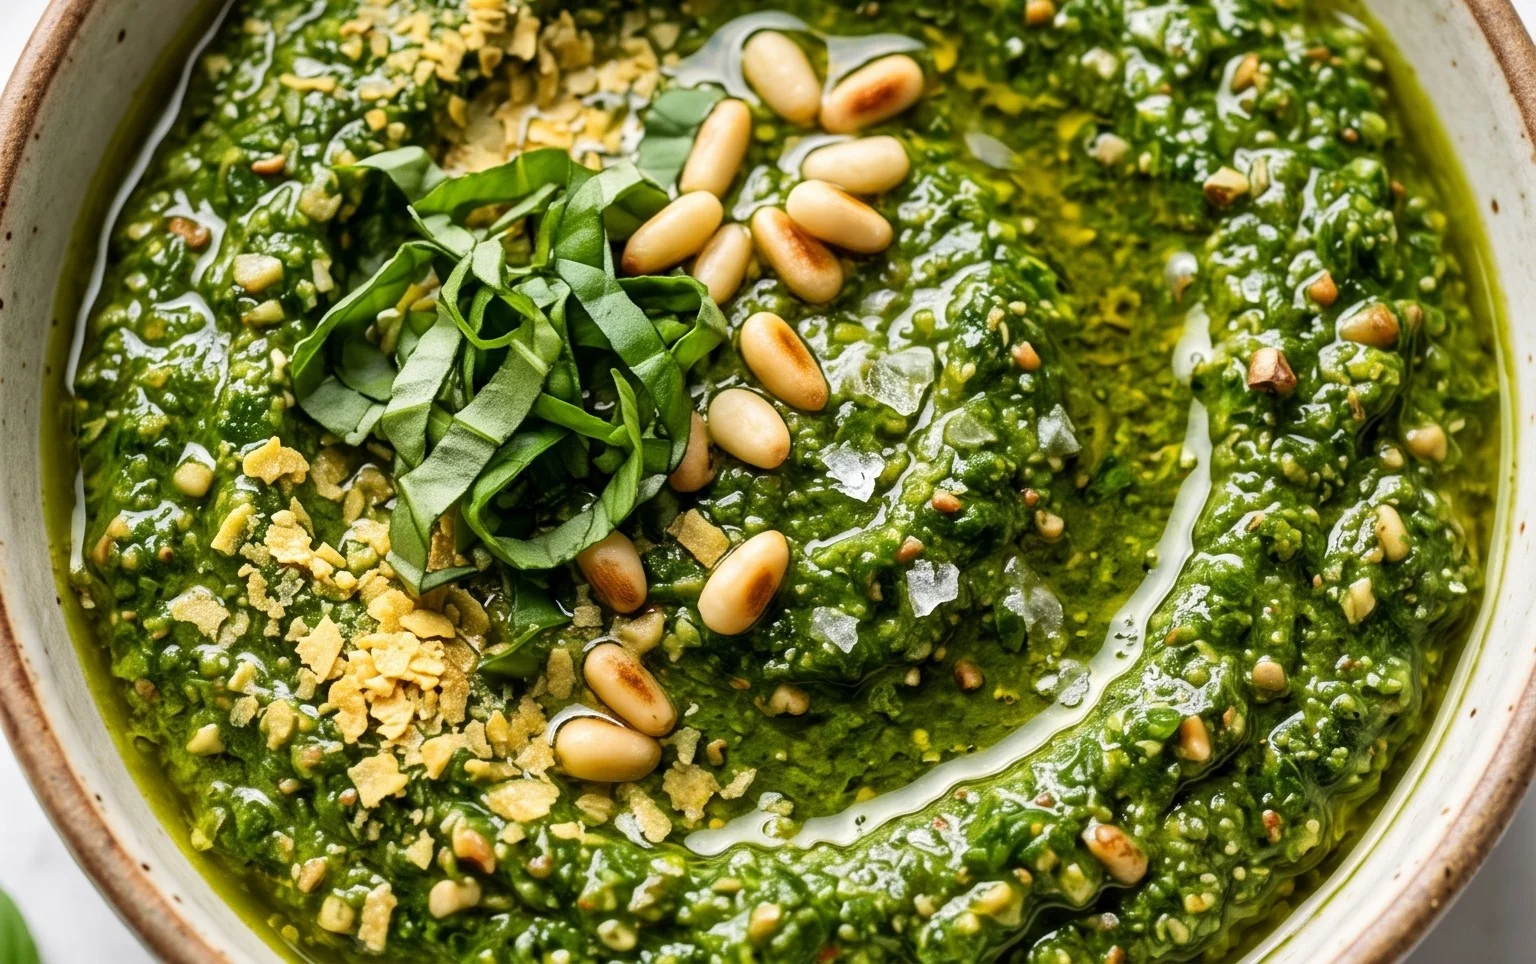
Once your dairy-free pesto is ready, transfer it to an airtight container. For optimal freshness, pour a thin layer of olive oil over the top to create a barrier, which helps prevent oxidation and keeps the pesto from browning. It will keep in the refrigerator for about 5-7 days. You can also freeze pesto in ice cube trays and then transfer the frozen pesto cubes to a freezer bag for longer storage – a convenient way to have fresh pesto on hand for months! This dairy-free pesto is incredibly versatile. Toss it with your favorite pasta for a quick and flavorful meal. It’s also wonderful dolloped onto grilled chicken or fish, spread on toasted bread for an elevated sandwich, mixed into a salad dressing, or served with roasted vegetables like broccoli or potatoes. Enjoy your delicious homemade dairy-free pesto!
Conclusion:
So there you have it – a vibrant, flavorful, and wonderfully dairy free pesto that proves you don’t need cheese to achieve that classic pesto punch! This recipe is fantastic because it’s incredibly versatile, surprisingly simple to make, and caters to a wider range of dietary needs without compromising on taste. Whether you’re lactose intolerant, vegan, or just looking for a healthier alternative, this dairy free pesto is a game-changer.
I love serving it tossed with pasta, dolloped onto roasted vegetables, spread on toasted bread for a delightful bruschetta, or even swirled into soups for an extra layer of complexity. Don’t be afraid to get creative! You can easily swap out the basil for other herbs like parsley or spinach, or add a pinch of red pepper flakes for a spicy kick. Give this dairy free pesto a try – I promise you won’t be disappointed!
Frequently Asked Questions:
Can I freeze this dairy free pesto?
Absolutely! This dairy free pesto freezes beautifully. Spoon it into ice cube trays and freeze until solid, then transfer the pesto cubes to a freezer-safe bag or container. This makes portioning and thawing super easy for future use.
What nuts can I use instead of pine nuts?
Pine nuts can be pricey, so feel free to substitute! Walnuts, almonds, or even sunflower seeds work wonderfully and offer a slightly different but equally delicious flavor profile.
How long will this pesto last in the refrigerator?
When stored in an airtight container with a thin layer of olive oil on top to prevent oxidation, your homemade dairy free pesto should stay fresh in the refrigerator for about 5-7 days.
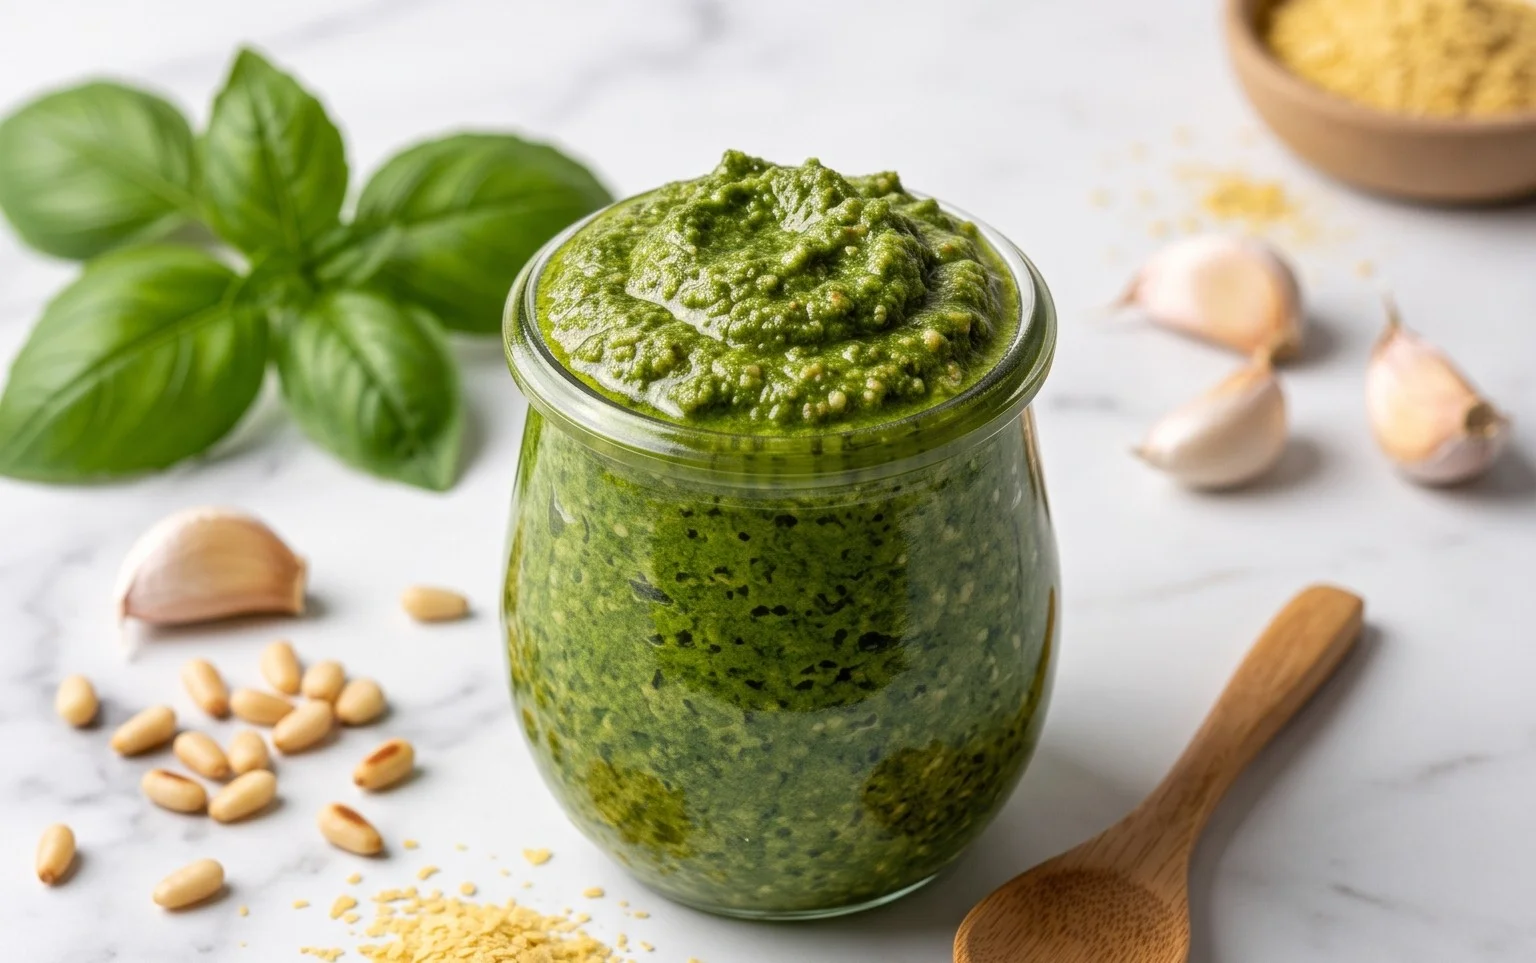
Dairy Free Pesto
A vibrant and flavorful dairy-free pesto made with fresh basil, pine nuts, garlic, and olive oil. Perfect for pasta, sandwiches, and more.
Ingredients
-
3 cups basil
-
1/2 lemon (juiced)
-
1/2 cup pine nuts
-
2 cloves garlic
-
1/4 cup olive oil
-
1/2 tsp salt
-
2 tbsp nutritional yeast
Instructions
-
Step 1
Combine basil, pine nuts, garlic, salt, and nutritional yeast (if using) in a food processor. -
Step 2
Pulse until the ingredients are roughly chopped. -
Step 3
With the food processor running, slowly drizzle in the olive oil until the pesto reaches your desired consistency. -
Step 4
Add the lemon juice and pulse a few more times to combine. -
Step 5
Taste and adjust seasoning as needed, adding more salt or lemon juice if desired. -
Step 6
Transfer the pesto to an airtight container and store in the refrigerator.
Important Information
Nutrition Facts (Per Serving)
It is important to consider this information as approximate and not to use it as definitive health advice.
Allergy Information
Please check ingredients for potential allergens and consult a health professional if in doubt.
Leave a Comment